Follow the instructions to download and install the site manager software.
- If .Net Core is not installed, download Microsoft ASP .NET Core installer from the Microsoft Downloads page. Save the file to a known location.
- Browse to the file you downloaded and double-click to run the .NET Core installer. Follow the prompts through the installation wizard.
- Download the site manager install file from the link supplied to you by Best Practice Software.
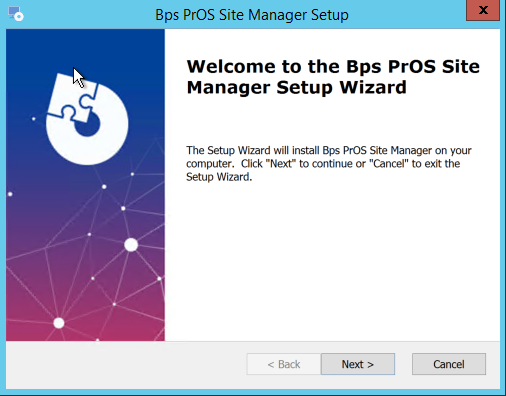
- Double-click the site manager install file Bps.PrOS.Site.ManagerInstaller.exe to open the installation wizard.
- Click Next.
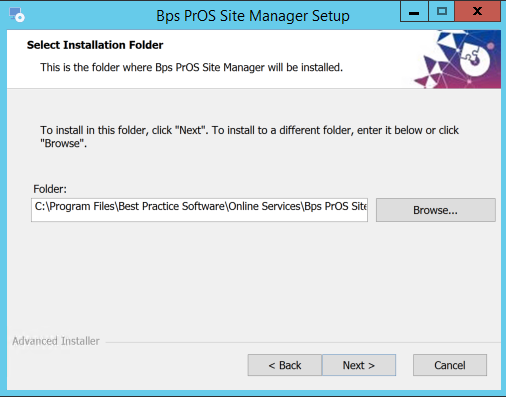
- Click Next to accept the default location.
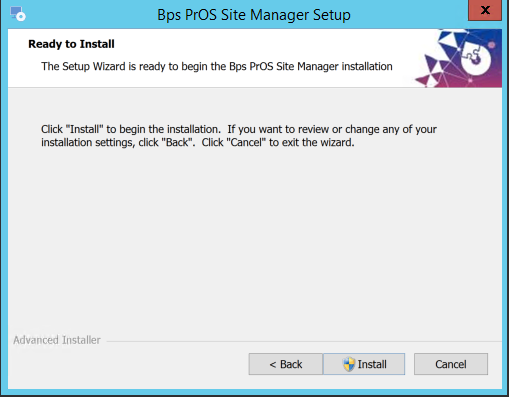
- Click Install to begin installation.
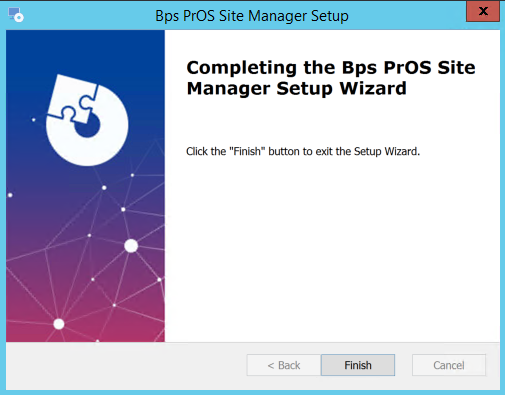
- Click Finish to close the wizard.
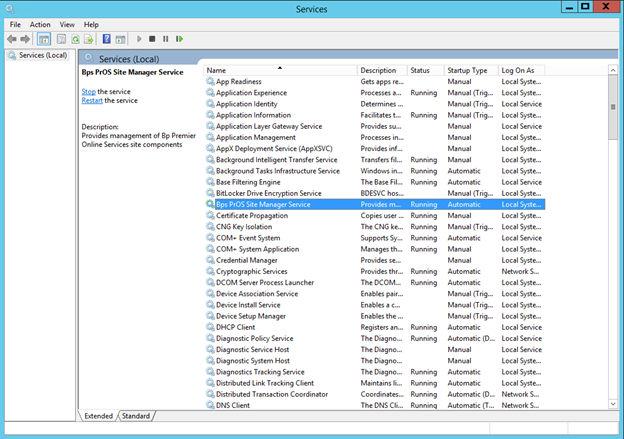
- From the Windows desktop, type 'services' into the search bar and open the Windows Services app. Check that the status for the service BPS PrOS Site Manager is 'Running'.
- If the service is not running, right-click the service and select to start.
- Close the services window.
This Microsoft Knowledge Base article may help you determine if and which version of .NET Core has been installed. Your IT services provider can assist.
Site manager installation is complete
Troubleshooting installation
If the site manager install fails, you can review the logs in Windows Event Viewer to help resolve the issue.
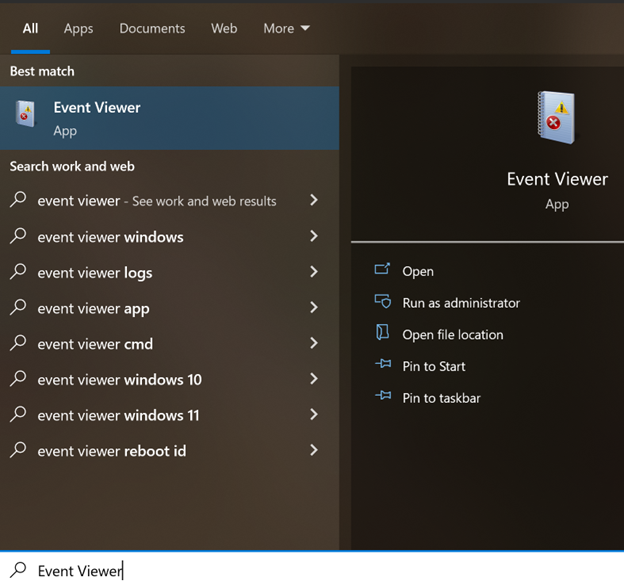
- From the Windows desktop, search for 'event viewer'. Select the Event Viewer app to open.
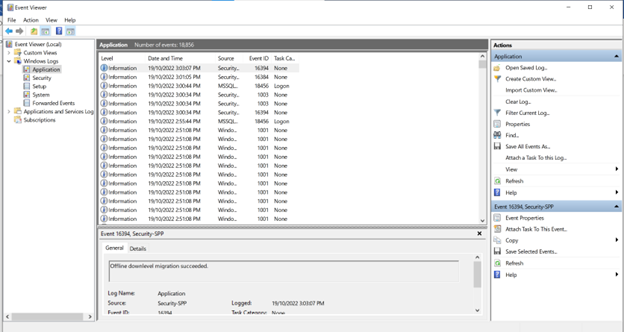
- In the event viewer, expand the Windows Logs section and click Applications.
- Review and send screen captures of any error entries to Best Practice Software for review.
Troubleshooting site manager
If you have any issues after a successful installation, the site manager will write to a log file located at `C:\ProgramData\Best Practice PrOS\Logs`. Send the most recent log file SiteManager.log file to Best Practice Software for review.
Feedback
Last updated 20 November 2023