Notes are used to messages and reminders. Notes are accessed via the right-hand toolbar displayed within the Appointment Book.
- Public notes are displayed with a yellow background.
- Private notes are displayed with a pink background.
Private notes are only displayed on the day they are created or set to display using the Note Date. To see a previous days notes, click on that day in the Appointment Book and change the display to Day View. A Note can be viewed from the Notes list by selecting the ellipses [...] icon.

Create a Note
- Click the New Note button at the bottom of the form.
- Enter the text of your Note in the Test area.
- Tick Public Note to allow the note to be visible to all users. This Note Type will appear in the Notes list with a yellow background.
- Leave Public Note unticked if this note is to on be visible to the logged in user. This Note Type will appear in the list with a red background.
- Tick Send as Popup Message to send a note to a specific user as a pop up message.
- When this box is ticked, Send to User field is enabled.
- Select the user to send the Message to from the drop-down list.
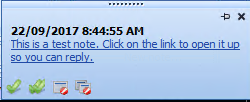
- A pop-up message is displayed in the bottom right-hand corner of your Bp Allied screen.
- Hovering the mouse over the message turns it into a hyperlink.
- Click on the hyperlink to display a split screen version of the Note editor screen to be able to type a reply message.
- This type of message can only be sent to Bp Allied users and is not displayed in the notes list.
- In the Note Date field, select the date for when the note should appear within the notes list.

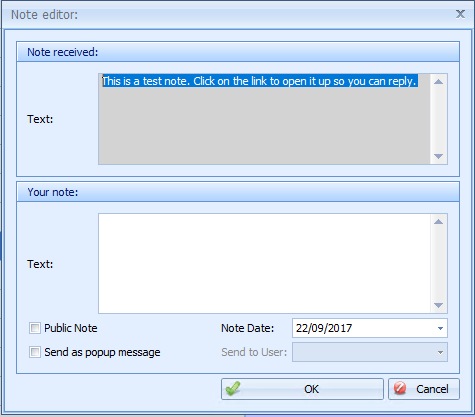
- By default the note date is set to Today.
- Private notes are only displayed on the date they are created or the date they are set to display.
Delete a note
- Go to Appointments > Notes.
- Highlight the record to be deleted, indicated by a chevron > icon.
- Press Delete on your keyboard.
- Select OK to confirm deletion.


 AU
AU 