Documents can be added to a client record via file upload or through scanning and accessing the document from various locations through Bp Allied.
On this page:
IMPORTANT The scanner must have a TWAIN driver installed to be able to scan directly into BpAllied. WIA drivers are not compatible.
Add a document to a client record
Scanning directly into Bp Allied with a hosted subscription is available viaTSScan. Please contact Best Practice Software support via support@bestpracticesoftware.com to have this application installed.
- Select the Appointments or Clients tab.
- Select the client using the Find Client function.
- Select View/Edit from the Client Record column in the search results window.
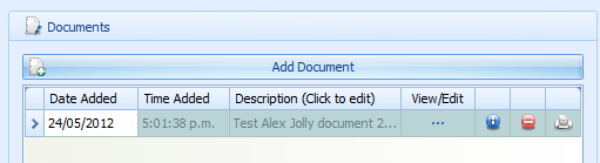
- Click Add Document from the Document/Phone calls tab. Documents can also be dragged and dropped into the field.
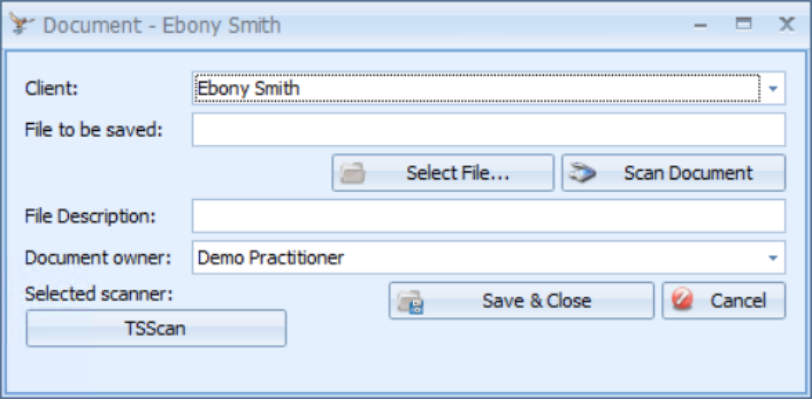
- Select the Client to add the document to if not already selected.
- Click Select File... to browse for a document located on the current workstation, USB or external hard drive.
- Select Scan Document to directly scan and save a document into Bp Allied.
- Bp Allied will use your existing scanning software to scan the document into Bp Allied. If you do not have any scanning software installed, Bp Allied will be unable to scan the document.
- Once you have scanned the document, the file path to the document will be displayed within "File to be Saved".
- The scanner must have a TWAIN driver installed to be able to scan directly into BpAllied.
- Scanning directly into a hosted subscription Bp Allied is available with an add-on called TSScan. Please contact support@bestpracticesoftware.com to have this application installed.
- Enter a File Description.
- Enter the Document Owner. This field is used when a Practitioner leaves the practice and is required to take their records with them.
- Click Save and Close to save the document to the client record.
-
Click
 to open the document.
-
Click
 to view information about the document.
-
Click
 to delete the document.
-
Click
 to print the document.
TIP Quickly attach documents by selecting Attach Document from the top toolbar in the Appointments or Clients tab,
Adding documents via hosted connection or RDP
- Select the Appointments or Clients tab.
- Select the client using the Find Client function.
- Select View/Edit from the Client Record column in the search results window.
- Click Add Document
- Click Select File... to browse for a document located on your computer, USB stick or external hard drive.
![]()
TIP When connecting to BpAllied via a hosted subscription or Remote Desktop Connection, a document or scan can be added to the client record directly from your computer by navigating to any of the drives from the local computers that have been connected. Connection to local computer drives need to be set in the RDP connection set up.
Add Multiple Documents
Multiple documents can be added to a client record using drag and drop.
- Select the Appointments or Clients tab.
- Select the client using the Find Client function.
- Select View/Edit from the Client Record column in the search results window.
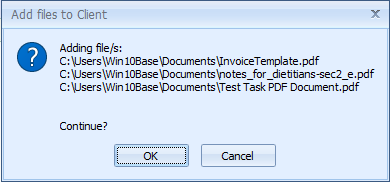
- In the Document/Phone calls tab, drag and drop multiple selected documents into the Documents field.
- Click Ok to attach the documents.
The Add files to Client dialogue box will display.
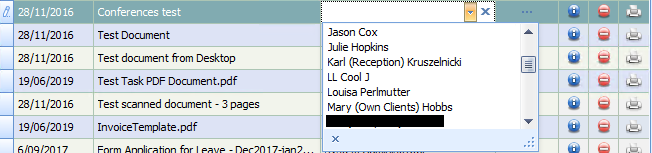
- By default, the logged in user is added as the Document Owner. This can be amended by using the drop down selection in the grid.


 AU
AU 