The Body Chart tab is available by default for the Chiropractor and Massage Therapist Modules. It can be turned on for any other module via Options >
Client Details.
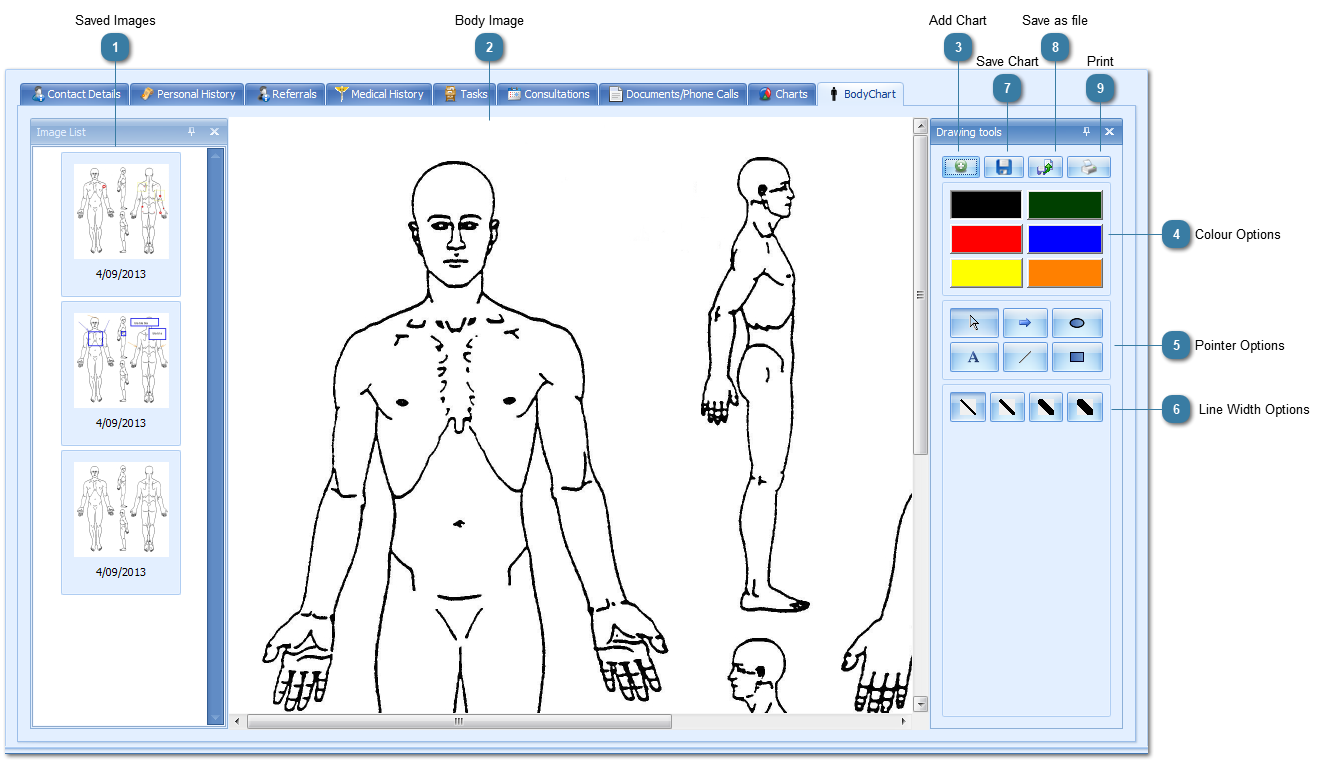
 Saved ImagesPreviously saved images can be selected from this list.
|
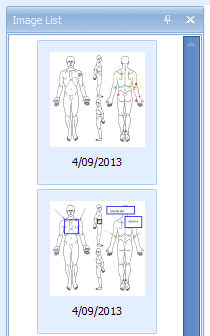
 Body ImageThe selected image file is displayed and annotated here. The image shown is just a portion of the actual image available. Your own image file can be used and is specified in Options > Client Details. |
 Add ChartClick to add a new chart to annotate
|
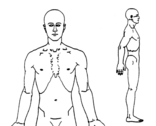
 Colour OptionsClick on one of the colour options to make your annotations in. To change colour click a different colour box.
|
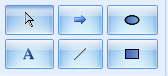
 Pointer OptionsClick on the mouse pointer options to change the type of annotations made
 - Change the mouse pointer back to an an arrow (normal)  - Draw an arrow  - Draw a circle or oval  - Add text - note you need to draw a square/rectangle shape so the text can be displayed  - Draw a straight line  - Draw a sqaure or rectangle |
 Line Width OptionsClick on the line width to make the annotations in
|
 Save ChartClick to Save the chart to the Client's record
|
 Save as fileClick to save the chart as an image file outside of myPractice.
|
 PrintClick to Print the chart to the default printer.
|