A Statement of Account can be created for any client. There are three options: a full history of the account, details over a date range and details for a specified month.

Statements can now be customised by the Bp Allied Support Team. The
Location Address that is used on the Statement is selected in System > Options >
Invoices.
To create a Statement
Open the Invoices module
Find the correct client in the Bill to field
Click on Statement
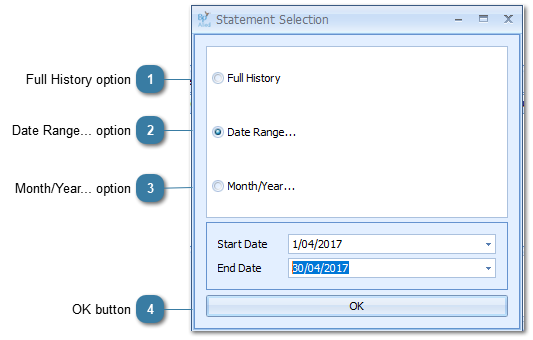
The Statement Selection window will display
Select one of the following options:
 Full History optionThis includes all invoice and payment transactions for the selected party
OR
|
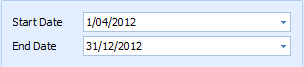
 Date Range... optionChoose a date range for the Statement to cover
OR
|
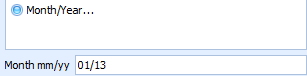
 Month/Year... optionChoose the Month and Year for the Statement to cover
|
 OK buttonClick OK
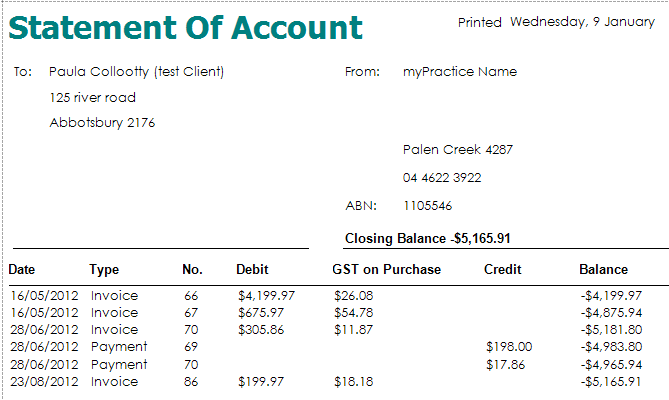
The result will be similar to that shown below. It can then be printed or saved and emailed using the options in the Preview window.
|