Creating a Tyro Payment for an Invoice
There are two ways to receive a payment into Bp Allied, manually or automatically. In many practice's payment is made at the time of invoicing, if this is the case you may select to receive a payment at the time of creating the Invoice. Otherwise, a payment can be added to an Invoice either from the New Payment button at the top of the Invoice module screen, or from the Add Payment button at the bottom of the invoice itself.
To create a manual Ttyro Payment for a selected Invoice
In the Invoices module
Find the relevant Invoice to be paid
Click Add Payment
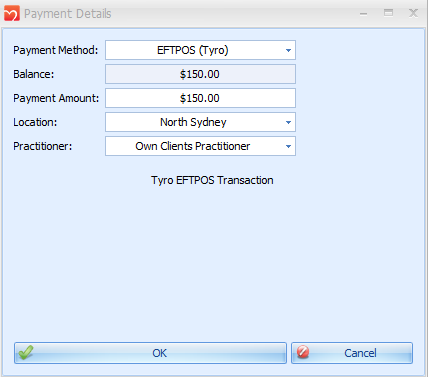
The Payment Details dialog box displays

Select the Payment Method = EFTPOS (Tyro)
Enter the Payment Amount
Location and Practitioner default in from the Invoice. Change these if need be. The Practitioner is used to determine who's bank account the payment is to go into if EFTPOS integration is being used.
Click OK
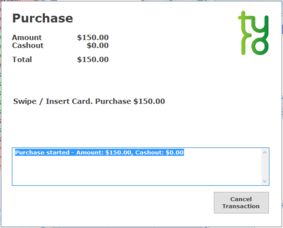
The Tyro Screen will display

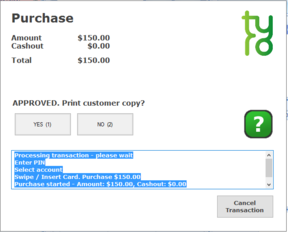
Customer enters their card and pin details

Click Yes
Note: if the payment fails, a message get sent back to BpAllied and allows for the transaction to be resent or paid in a different way.
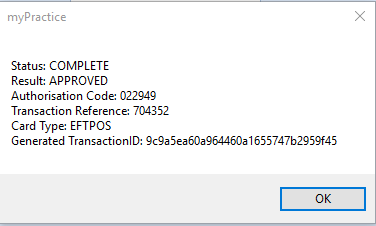
The transaction is approved.

Click OK
The payment will display

Click Save
The Invoices related to this payment can also be reprinted using the Print button. If, the template allows, they will show the amount paid or amount owing on the Invoice.
Editing the Payment
If the Payment Method = Cheque, click on the Payment No to navigate to the payment to enter the Cheque No
If the Payment Date or Location need editing, click on the Payment No to navigate to the payment and amend these
If any Notes are required, click on the Payment No to navigate to the payment and amend these
Click Save to finish the Payment.
Preview or Print a Receipt for this payment