Implementing a Practice Layout
Implementing a Practice Layout
There are a couple of steps to implementing a Practice layout:
1. Create the layout and save it to the network
2. Change the all users to view the Practice Layout
3. Syncing computers will need to Sync Network Docs to receive a copy of the Practice Layout
4. What to do if updating and maintaining a practice layout
5. How to restore a previous copy of your layout
Changing a User to View a Practice Layout
Each user on each computer, will need to do the following:
-
Go to System > Options > Client Details
-
Select Use Practice Layout
-
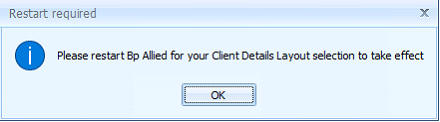
The following message will display
-
Click Ok
-
Click OK to save the change
-
Is the version of Bp Allied being used Syncing?
-
If so, then go to System and click Sync Network Docs. When this is completed carry on.
-
Restart Bp Allied
-
Assuming that the Practice layout has been uploaded to the network, then the next time they open up the Client Details, the Practice Layout version will be seen.
If there is more than one Bp Allied user on a computer, the Support team may be able to help with this by making a change in MPSettings.exe so that the change can be applied to all users on a computer.
Saving the layout
Make the changes to the layout on your local copy of BpAllied client details. Once you have a copy to share, do the following (you must be a Bp Allied System Administrator to do this):
-
Go to System > Options > Client Details
-
Click Save Practice Layout to Network
-
The Administrator validation dialog box will display
-
Select your Username and enter in your password
-
Click Ok
-
A confirmation dialog will display the location that the file has been saved in (your local document location)

7. If this is a syncing computer, the user will need click Sync Network Docs to move file up to the server for distribution to the rest of the practice.
Updating & Maintaining a Practice layout
Because a Practice Layout is automatically updated every time you open Client details, if you are updating and maintaining it, then unless you make all your changes in one sitting and save it, any changes you make will get overwritten. To get around this, do the following:
-
Close the Client Details tab (if open)
-
In Windows Explorer, navigate to your numbered user’s folder, not sure where this is, follow the instructions below:
-
In Bp Allied
-
Go to System > Options > User Administration
-
The user you are logged in as will display by default. Note this number
-
Go to System > Options > System Options
-
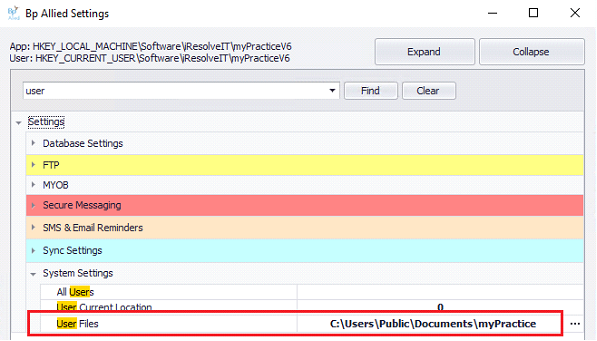
Click Open Bp Allied Settings
-
Navigate to System Settings > User Files. Note this location
-
Close Bp Allied Settings and do not save or change anything
-
Open Windows Explorer
-
Navigate to the User Files location found above
-
Find and open the folder name matching your User ID found above
-
Make a copy of the file called tmpPracticeLayout.xml
-
Rename the file ClientDetailsLayout.xml
-
Go back into Bp Allied
-
In System > Options > Client Details change your Client Details layout to Use Personal Layout
-
Close and reopen Bp Allied
-
Make the changes required
-
Once completed, follow the instructions in Saving the Layout to the network (above) to update the Practice Layout viewed by all users.
-
Follow the instructions in Changing a User to View a Practice Layout (above) to change your layout back to viewing the Practice Layout viewed by all other users.
Restoring a previous copy of your layout
BpAllied automatically saves a backup copy of your layout when changes are made. You can restore one of these if you need to go back to a previous version.
-
Close the Client Details tab (if open)
-
Go to System > Options > User Administration
-
The user you are logged in as will display by default. Note this number
-
Go to System > Options > System Options
-
Click Open Bp Allied Settings
-
Navigate to System Settings > User Files. Note this location
-
Close Bp Allied Settings and do not save or change anything
-
Go to System > Options > Client Details
-
Click Restore Client Layout from file
-
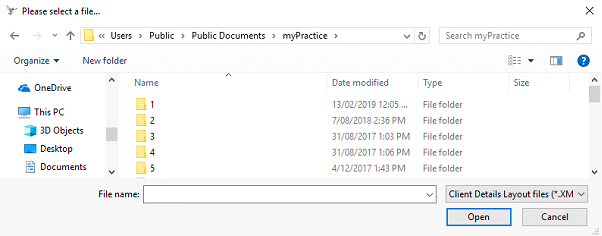
Navigate to the User Files location found above
-
-
Find and open the folder name matching your User ID
-
Back up file names look similar to this: ClientDetailsLayout_Backup_20190213083401.xml
-
Choose a backup file from a date / time relating to when you want to restore from.
-
Click Open
-
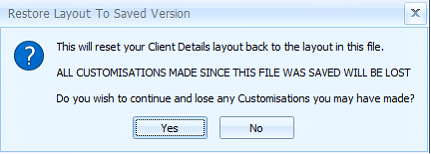
The following warning will be displayed
-
Click Yes, or No as appropriate.