This article explains how to install the Bp Premier Reporting Tool and run a supplied SQL report.
Before you Begin
To set up and use the Bp Premier Reporting Tool, you will need the following:
- The user name and password of a Bp Premier user with the Reports permission set to Allow access.
Download and install the Bp Premier Reporting Tool
- Click to Download the Bp Premier Reporting Tool.
- The file will download to the default download directory for your version of Windows, such as Favourites > Downloads. Alternatively, you may be asked to Open or confirm that you want to download the file.
- Copy the downloaded file to the Bp Premier server or any workstation and double-click the file to start the installation.
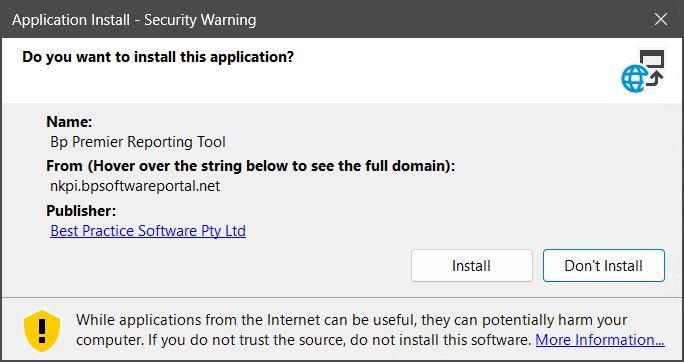
- Windows User Access Control or SmartScreen may prompt for permission to proceed. Click Yes. The Application Install screen will appear.
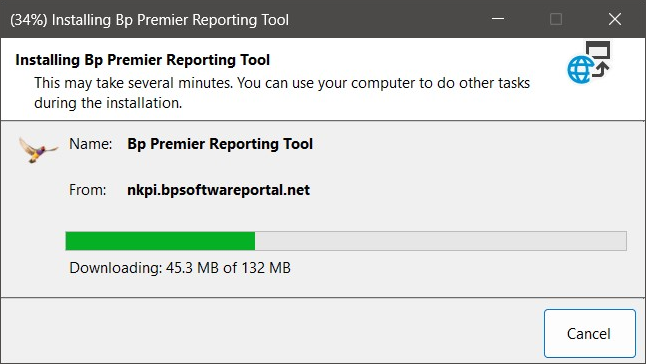
- Click Install. A progress dialog will show the report utility being installed.
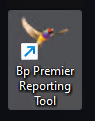
- When the utility has been installed, the Bp Premier Reporting Tool will open. A Bp Premier Reporting Tool icon will also be created on the Windows desktop.
Run the Bp Premier Reporting Tool
- To launch the Bp Premier Reporting Tool, double-click the Bp Premier Reporting Tool desktop icon.
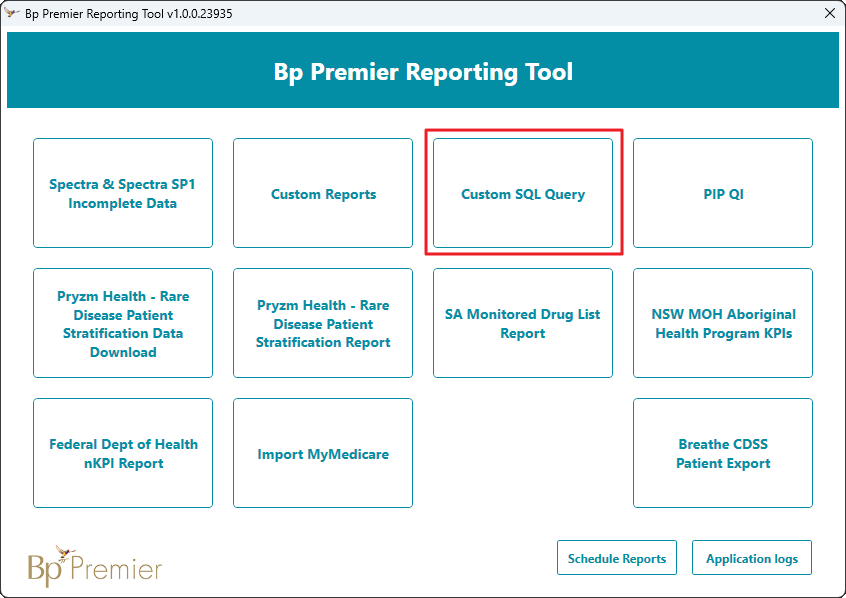
- Click Custom SQL Report. The Login panel will appear.
- Enter the user name and password of a Bp Premier user and click Next. The user must have the Reports permission set to 'Allow access'.
- The Custom Report screen will appear. Enter your SQL Query in the Enter your custom SQL code here text box or click Open Sql… to browse to and open a supplied .sql file.
- Click Show SQL Results.
- To save the results of the query as a CSV file, select Save SQL Results and save the file in a known location.
- Click Finish to return to the Reporting tool.

Last updated: 17 August 2025


 AU
AU 