Bp Premier Support Guidance
Table Dumper
The table dump utility can be run from any Bp Premier workstation or the server. The utility requires the username and password for a Bp Premier user who has permission to access the Configuration function.
If you have any questions, please contact Best Practice Software Support.
- Download the utility from the link in the email sent to you from Best Practice Software Support. If you did not receive a link to the utility by email, download the utility that is relevant for your version below. Right click the Download link and select Save link as or Save Target as to save the file to a known location.
- In a Windows File Explorer, browse to the location of the downloaded file.
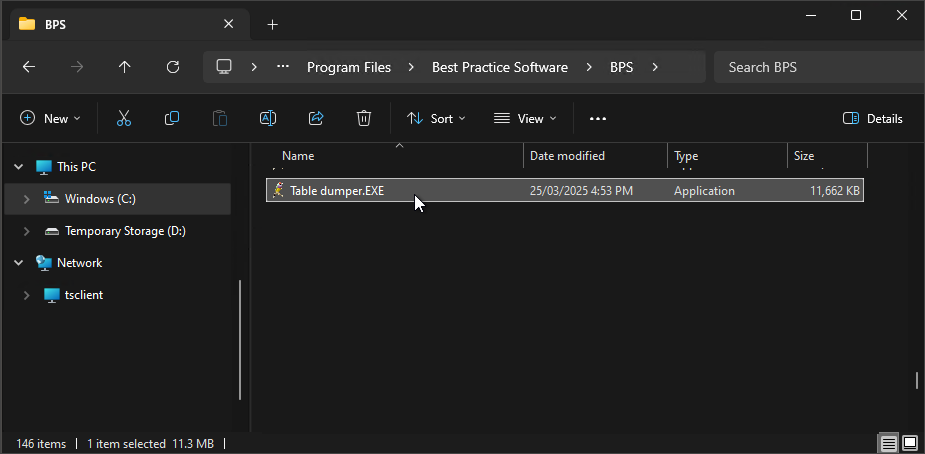
- Copy and paste the Table Dumper.exe file to the installation folder C:\Program Files\Best Practice Software\BPS.
- Double-click the file Table dumper.exe.
- Select a Bp Premier user with Configuration permission access and enter the password for the user. Click Login. The Table dumper screen will appear.
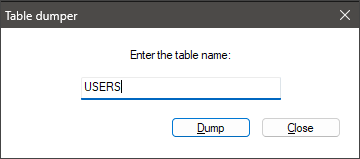
- Enter the table name requested by Best Practice Software Support.
- Click Dump. The utility will prompt for the folder to save the dump file.
- Copy the dump file and attach to a reply email to the original email sent from Bp Support.
|
Bp Premier Version |
Build Number |
Utility |
|---|---|---|
|
Spectra SP1 |
1.13.1.1075 |
|
|
1.13.1.1068 |
||
|
Spectra |
1.13.0.1061 |
|
|
Orchid SP2 |
1.12.3.1042 |
|
|
Orchid SP1 Rev1 |
1.12.1.1023 |
|
|
Orchid SP1 |
1.12.1.1018 |
|
|
Orchid |
1.12.0.998 |
The file will have the same name as the table you entered in step 5 and be in XML format.

NOTE Bp Premier recommend treating the dump file according to your practice's guidelines for handling any patient or sensitive information.
Last updated: 26 March 2025.
   |
|
|
|
|
|
This material is classified as commercial-in-confidence. Unauthorised distribution of this information may constitute a breach of our Code of Conduct, and may infringe our intellectual property rights. This information is collected and managed in accordance with our Privacy Policy, available on our website. © Copyright 2025 |
|
 AU
AU 