Follow these instructions if you are running Bp Premier version Saffron only.
If you set Create new record for unmatched patients in the Online Settings tab in PrOS to 'No', a Bp Premier operator must create a new patient record that matches the details in the appointment created through Best Health Booking.
Log in to Bp Premier as a user with permission to access the Appointment Book.
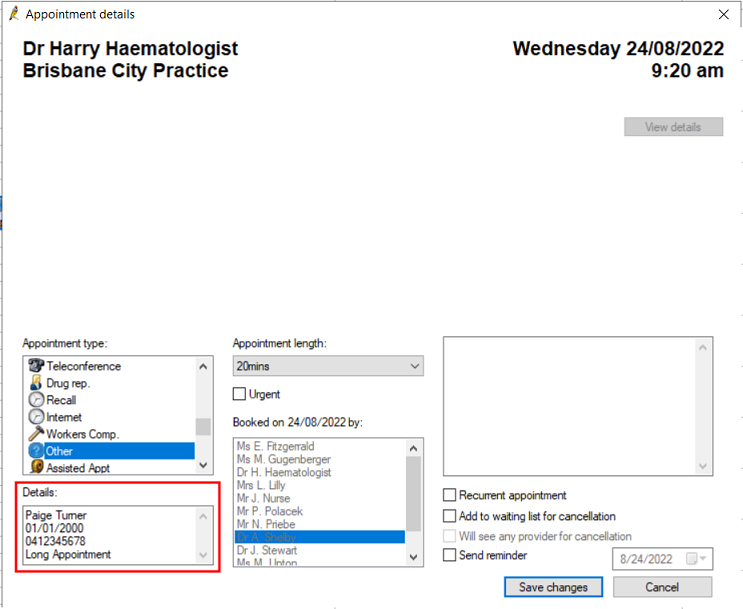
- Right-click the appointment inserted from online booking and select Edit appointment, or double-click the appointment. The Appointment details window will open.
- Highlight the patient's family name and click Ctrl+C to copy. Keep the Appointment details window open.
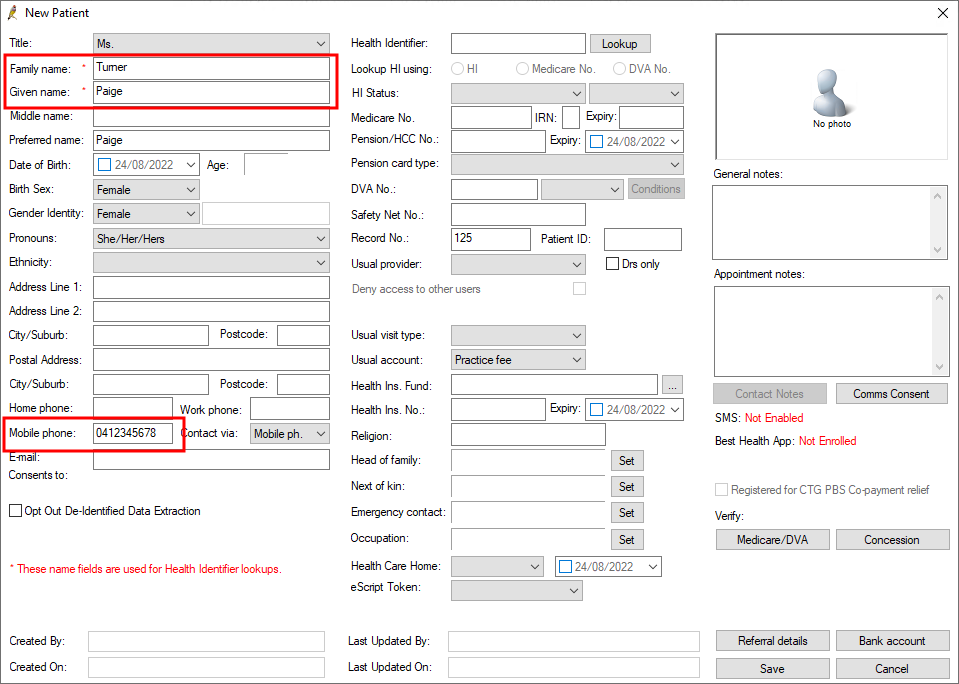
- From the main screen of Bp Premier, select View > Patients and click Add New from the list of buttons at bottom right. The New patient screen will open.
- Click in the Family name field and paste in the family name you copied in step 3.
- Repeat and copy the Given name and Mobile phone values into the New patient screen.
- Enter any other patient demographic information known about this patient. You will need to also supply an Address line 1 and a City to save the record. These details can be edited later if necessary.
- Click Save to save the new patient demographics.
- Return to the appointment book. Click Cancel to close the Appointment details window.
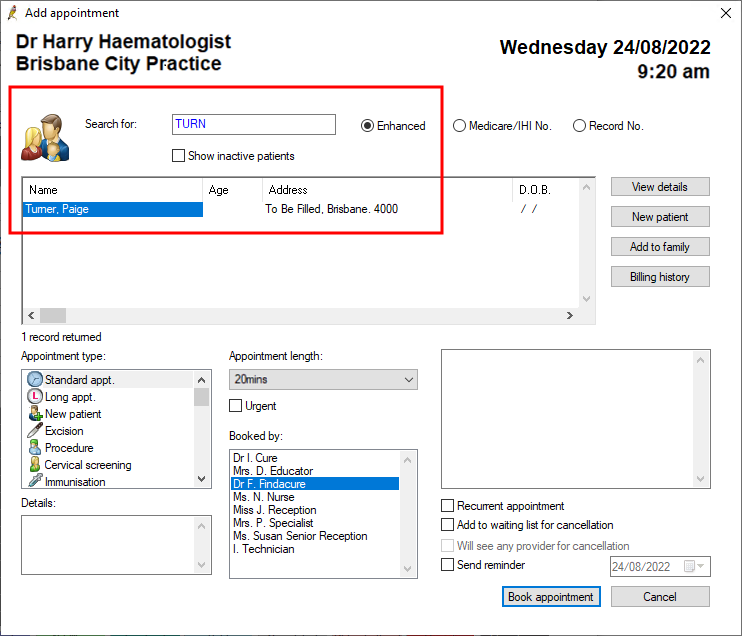
- Right-click the appointment again and select New appointment. Click Yes when prompted to create a double booking.
- In the Add appointment screen, search for and select the new patient you just created.
- Select the correct Appointment Type and click Book appointment to create the second appointment.
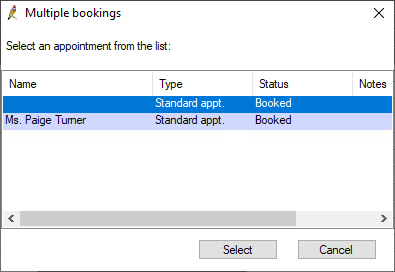
- Right-click the appointment again and select Cancel appointment.
- From the Multiple bookings popup, select the original online booking appointment with a blank Name and click Select.
- Select a reason for cancellation, such as 'Incorrect patient booked', and click Yes.
- If you are prompted to replace the appointment from the Cancellation Waiting List, select No.
- The appointment workflow will now proceed as normal.
The View Details button on the right will be greyed out, because there are no patient details recorded yet. Instead, the patient details from the booking are shown in the Details text field in the bottom left
Feedback
Last updated 24 November 2023


