Phone: For support in Australia, call 1300 401 111 and select option 3 for Bp Allied. Next, select option 1 for Support or Option 3 for Training. For support in New Zealand call 0800 401 111 and select option 3 for Bp Allied. Next, select option 1 for Support or Option 3 for Training
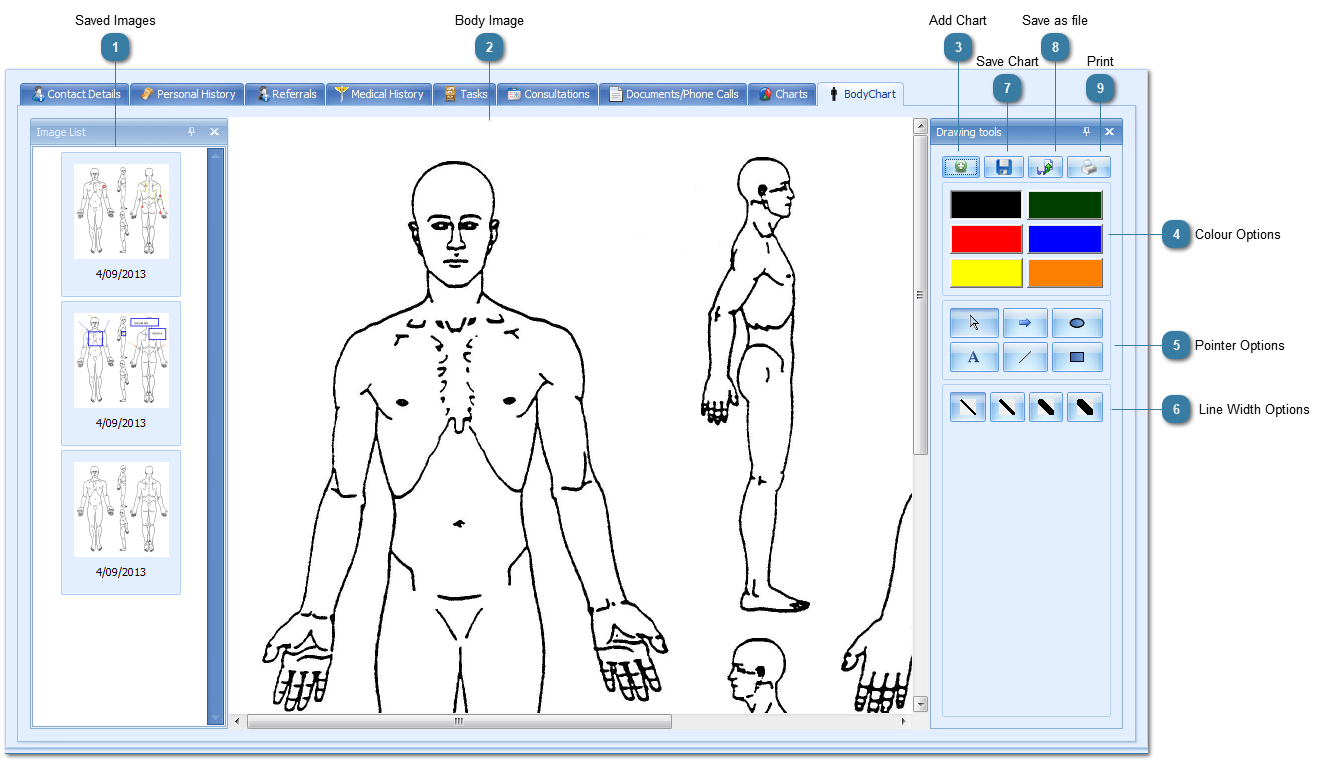
Body Chart
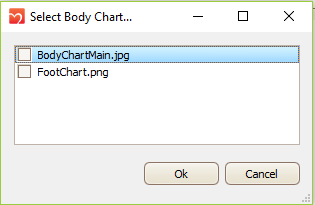
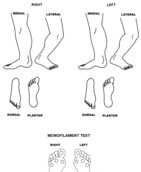
The Body Chart tab is available by default for the Chiropractor, Massage Therapist and Podiatrist Modules. It can be turned on for any other module via Options > Client Details. The Podiatrist module displays a foot chart.
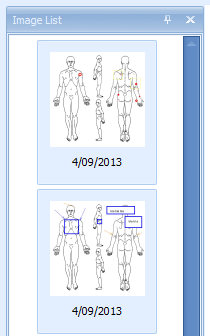
Saved Images
Previously saved images can be selected from this list.
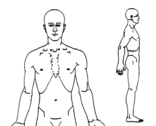
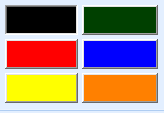
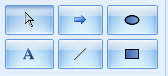
The selected image file is displayed and annotated here. The image shown is just a portion of the actual image available. Your own image file can be used and is specified in Options > Client Details.