This article explains how to add a new user in Bp Omni.
- Select your profile icon in the top-right corner of the menu bar, and select Settings. The Users screen will appear.
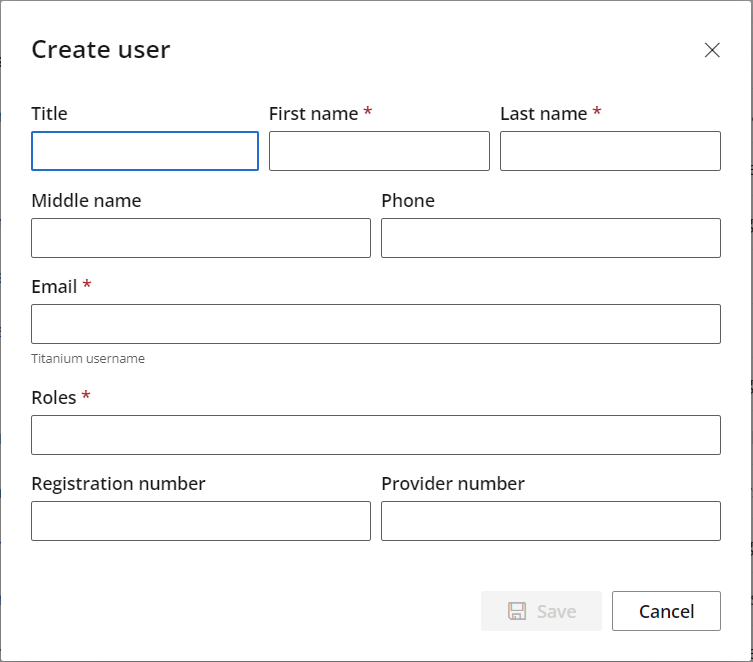
- Click Create user. The Create user screen will appear.
- Enter the user's details. The user's First name, Last name and Email are mandatory.
- Select the user's Roles from the options provided. Roles are used for security purposes, and determine which areas of Bp Omni the user has access to. For example, users with a clinical role will have access to patient records. A user can be assigned multiple roles.
- Click Save. The user will appear in the Users list with the status Pending sign up.
NOTE The email address entered must be unique to the user, as it will be required for sign in.
The user will receive an email with a link inviting them to sign up to Bp Omni. Once the user has accepted the invitation, created a password, and set up multi-factor authentication, the user's status will change to Active.
Setting a PIN number
The first time a new user signs into Bp Omni, they will be asked to create a six-character PIN. The PIN can be any six characters, including special characters.
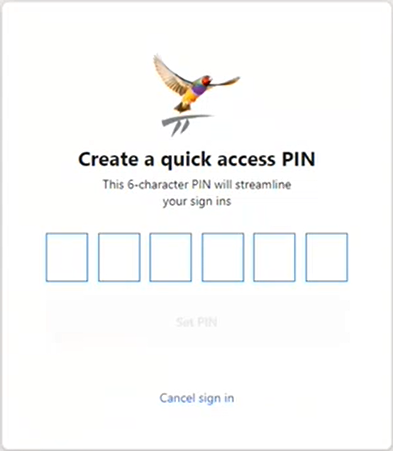
When using Bp Omni, for security purposes the screen will lock after 15 minutes of inactivity. The PIN is required to unlock the screen. See Account Security for more information.
Provider set up
Complete the below steps if the user you have added is a provider.
- Select the newly created user from the Users list.
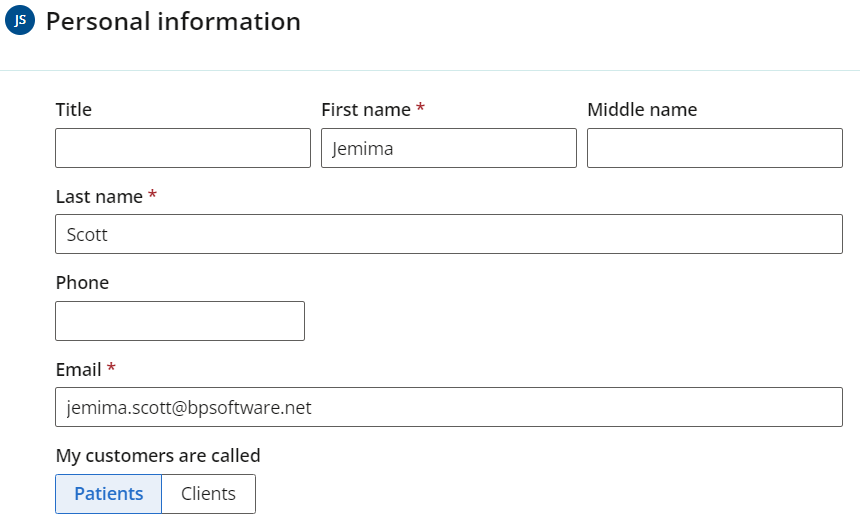
- In the Personal information section, fill in any further details not added when the provider was first created, and indicate if the best term for the provider's visitors is Patients or Clients.
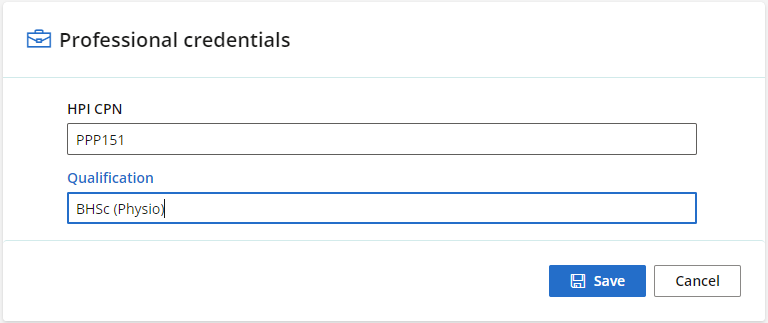
- In the Professional credentials section, enter the provider's HPI CPN and Qualification.
- In the ACC provider type & contract section, click the provider's ACC provider type. The contract section will appear.
- If more than one option is available, select a contract and click Save.
Access and sign in
Users can change their password or edit multi-factor authentication methods when signing into Bp Omni from the Access and sign in card in the user settings.
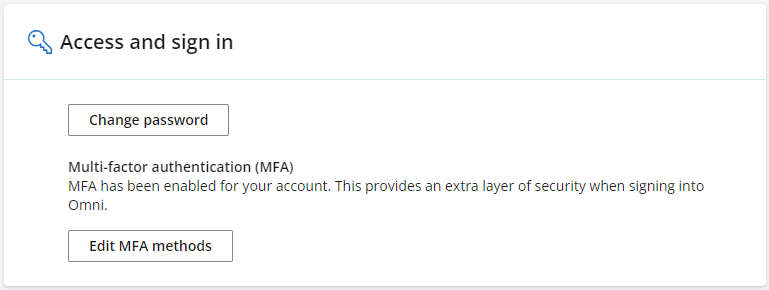
Multi-factor authentication methods include the user's SMS mobile number and email address.
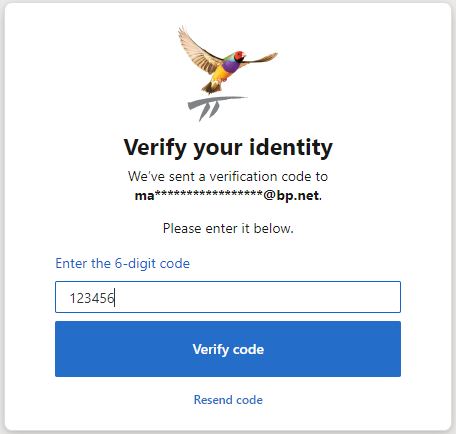
When signing in to Bp Omni the user will be sent an authentication code to the listed SMS number or email address to enter and verify.
User role & security permissions
To configure a user's business role and security permissions, you must first log in as a user with the Business role of Owner or Practice Manager.
See Configure Business Roles and Security Permissions for more information.
ACC Contracts
The ACC contracts card will only appear in the user settings after assigning the user a provider type business role.
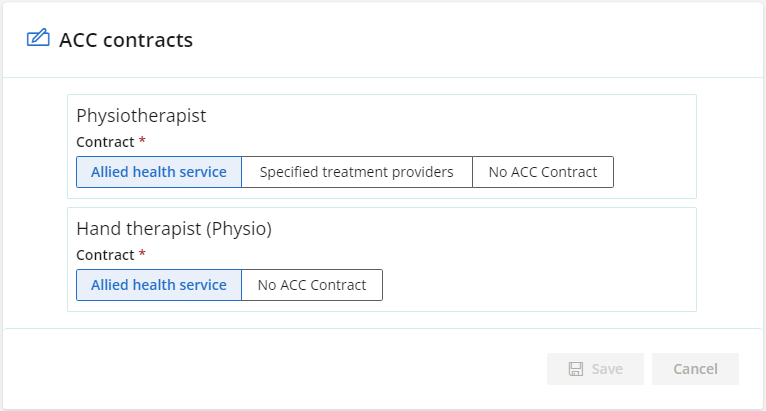
A hand therapist business role can only be added when the user has also been assigned a physiotherapy or occupational therapist business role. See Configure Business Roles and Security Permissions for more information.
Clinical settings
- Click Clinical settings. The clinical settings page will appear.
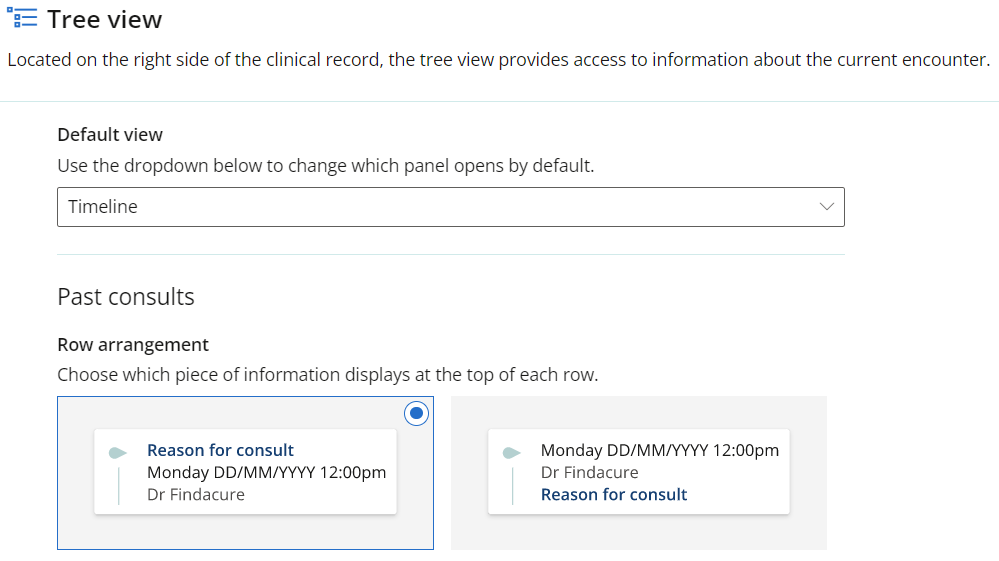
- Under Tree view, select which panel should be open by default, and select how you want past consults to appear in the clinical record.
- Under Clinical tasks, select when the system should automatically generate outcome measure tasks for each claim.
- Click Save.
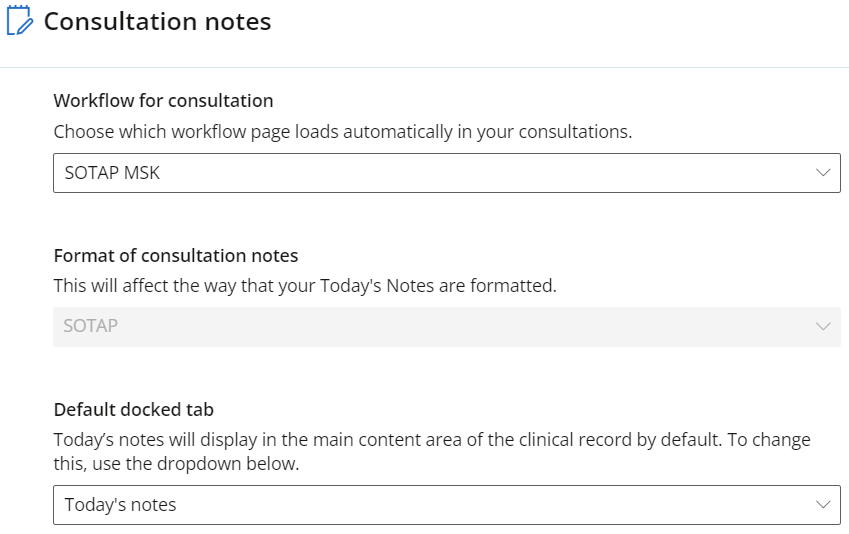
- Under Consultation notes, choose a workflow for consultations, the format of consultation notes, and which tab should be docked at the bottom of the clinical record by default.
- Click Save.
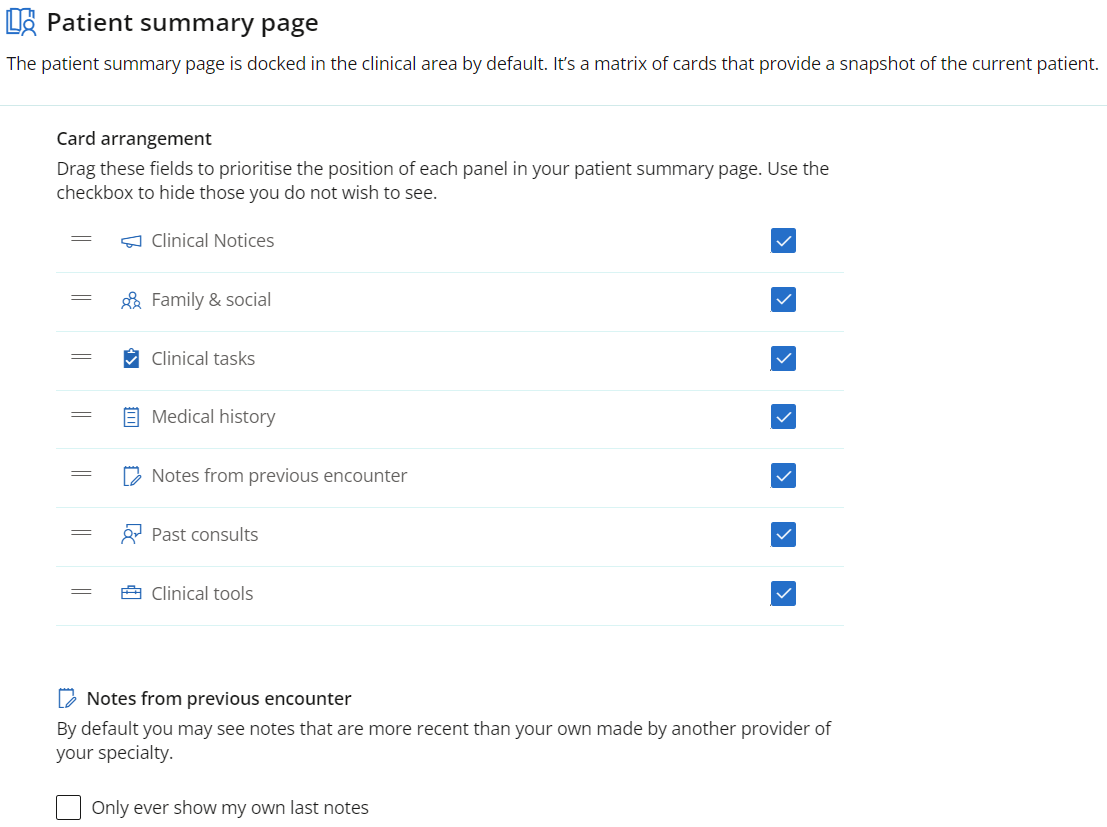
- Under Patient Summary page, deselect any panels that you do not wish to appear in the patient or client summary section of the clinical record and drag the panels into the order you want them to appear in.
- Choose if you would like to see the last notes made by other providers in the clinical record or not, and click Save.
- Return to the user profile by clicking the user's name in the breadcrumbs at the top of the page.

NOTE Under Workflow for consultation, SOTAP MSK must be chosen for physiotherapy ACC workflows to work correctly.
Add working hours
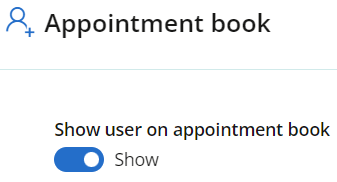
- In the User profile, scroll down to the Appointment book section and toggle Show user on appointment book to Show.
- Click Working hours. The Working hours screen will appear.
- Click Add working hours. A set of fields for entering working hours will appear.
- Enter the date to commence taking bookings from in Start schedule. If you know the last date that bookings should be taken for, enter the date in End schedule, otherwise leave this field set to Never.
- Set the Start time and End time to reflect the provider's regular working hours. If the provider's regular start or end time is on a quarter hour, you can type this into the fields.
- If the provider's working hours differ throughout the week, click the On field and uncheck any days that have different opening hours to the regular opening hours you have entered.
- Click Add working hours. A new set of fields will appear.
- In the new set of fields, click in the On field and check the day or days that you wish to add different opening hours for.
- Select the opening and closing hours for the day or days from Start time and End time.
- If the provider's work hours will stay the same week to week, leave Recur every set to 1. Otherwise, set Recur every to reflect the time that the opening hours you have entered applies to
- Add as many sets of fields as required to reflect the provider's working hours, and click Save.

NOTE You do not need to enter lunch breaks or periods of time that the provider does not wish to see patients or clients. This can be accommodated for in Reserves.
Add Exceptions
Exceptions are one-off instances during which the provider is not at the practice, for example, sick days, or periods of leave. Exceptions can cover a part day, multiple part days, a full day, or multiple full days.
- In the user profile, scroll to the bottom of the screen and click Exceptions. The Exceptions screen will appear.
- Click Add an exception. A new row will appear.

Part day exceptions and part day exceptions over multiple days
- Set At work to Yes.
- Set From and Until to cover the days during which the provider will be unavailable for part of the day. If the part day unavailability only covers one day, set both From and Until to the same date.
- Set the Start time and End time to reflect the time that the provider will be available for bookings that day. If the start time or end time is on a quarter hour, you can type this into the field.
- Add a reason for the exception and click Save.
Whole day and multiple day closures
- Set At work to No.
- Set From and Until to cover the days that the provider will be unavailable for. If the provider is only unavailable for one day, set both From and Until to the same date.
- Add a reason for the exception and click Save.
Add reserves
A reserve is a period of time during which the provider is not available for bookings, such as a lunch break, or time scheduled for administrative tasks. Reserved time displays as grey in the appointment book, and cannot be selected to book an appointment.
- In the user profile, scroll to the bottom of the screen and click Reserves. The Reserves screen will appear.
- Click Add reserves. A new row of fields will appear.
- Enter the date you wish to begin the reserve from in Start schedule. If you know the date you wish to end the reserve, enter the date in End schedule, otherwise leave this field set to Never.
- Set the Start time and End time to reflect the time that the provider will be unavailable for.
- Select the days that the reserve should occur on, how often the reserve recurs and the frequency the reserve recurs.
- Enter a purpose for the reserve, for example, 'Lunch Break'.
- Add any further reserves required for the provider, and click Save.

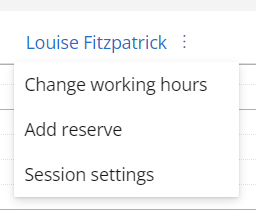
NOTE Once a provider's working hours have been set up through the user profile, you can edit the provider in the appointment book by clicking the provider's name at the top of their column.
Last updated 2 November 2023