This article explains how to set up SMS and email communication in Bp Omni.
Enable communications
- Click your profile icon in the top-right corner of the screen, and select Settings.
- From the menu on the left of the screen, click Practice &locations.
- Scroll down the page until you reach Communications.
- Toggle Send reminders prior to appointment to Yes.
- Click Save.


Create Comms templates
- Click your profile icon in the top-right corner of the screen and select Settings.
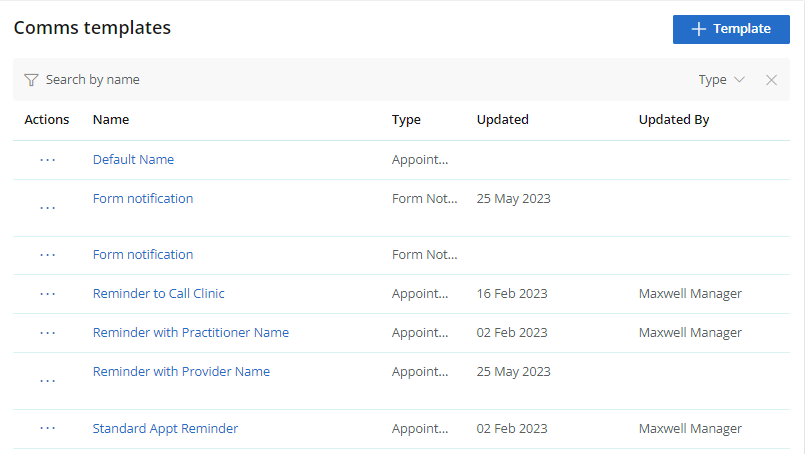
- From the menu on the left of the screen, click Config > Comms templates. The Comms templates screen will appear.
- Click + Template in the top-right corner. The Patient communication template screen will appear.
- Give the template a Name, for example, "Initial Consult Reminder".
- Choose an appointment Type from the list of options.
- If applicable, select a template from the list of Pre-loaded templates and modify the text as required.
- Add your template text into the text box. A preview of the message will appear on the right.
- Click Save or Save and Close.

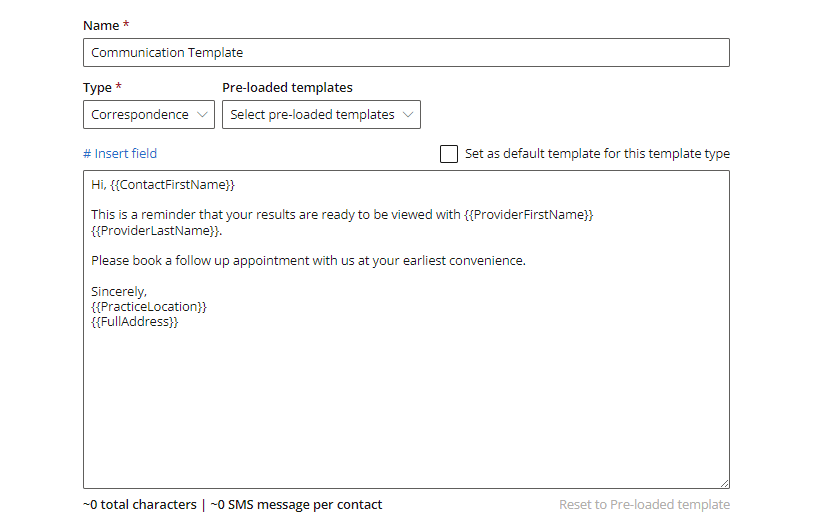
NOTE Use # Insert field to add dynamic fields to your template.
Create Comms schedules
- Click your profile icon in the top-right corner of the screen and select Settings.
- From the menu on the left of the screen, click Config > Comms schedules. The Comms schedules screen will appear.
- Click + Schedule in the top-right corner. The Appointment reminder screen will appear.
- Give the schedule a Name, for example, "Initial Consult Reminder".
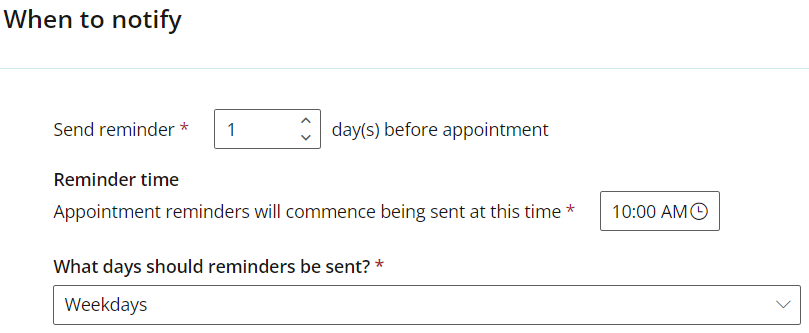
- Select how many days before the appointment the reminder should be sent, the time of day to send reminders, and the days that reminders should be sent on.
- Select the Type of appointments that this reminder should be sent for.
- Select a template to use for the schedule.
- Click Save in the top-right corner.



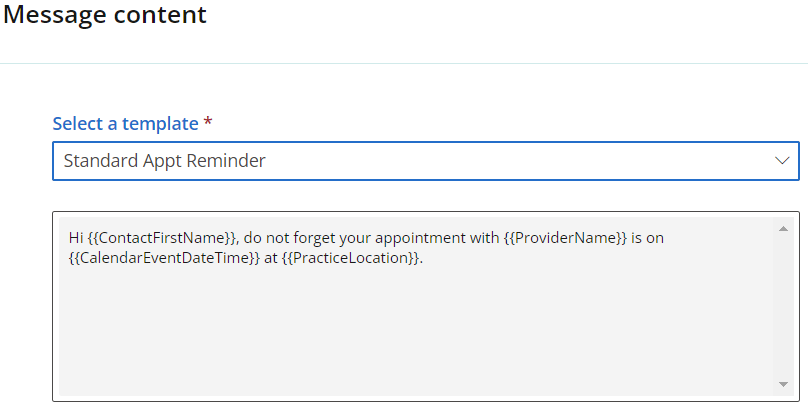
The new schedule will appear in the list of Comms schedules.

Set patient or client consent
Before you can send communications to patients or clients, you must record their consent to receive communications.
- Select Address book > Patients or Clients and search for the patient or client you wish to record consent to receive communications for.
- Click the patient or client's name. Their demographic information will appear.
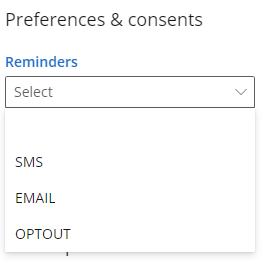
- Scroll down to Preferences & consents. Click either the pencil icon in the top-right, or click Add a preference & consent.
- If the patient or client has consented to receiving reminders, select the their preferred contact method from the options provided.
- Click Save.

Last updated 08 March 2024