
This article will take you through the process of setting up your clinic for use with Best Health Booking and consists of two main sections:
IMPORTANT Bp Omni is currently limited to creating online bookings in 15 minute increments (15/30/45/60). This limitation also extends to booking times. For example, bookings can only be made at 10:00, 10:15, 10:30, 10:45 and 11:00
Before you begin
To access Best Health Booking within Bp Omni, be sure to first assign the correct User role and security permissions. Management of BHB configuration requires a Contributor level of permissions.
In the top-right of Bp Omni, select your profile icon, then select Settings.

BHB configuration
From Settings, select Config, then Online booking.
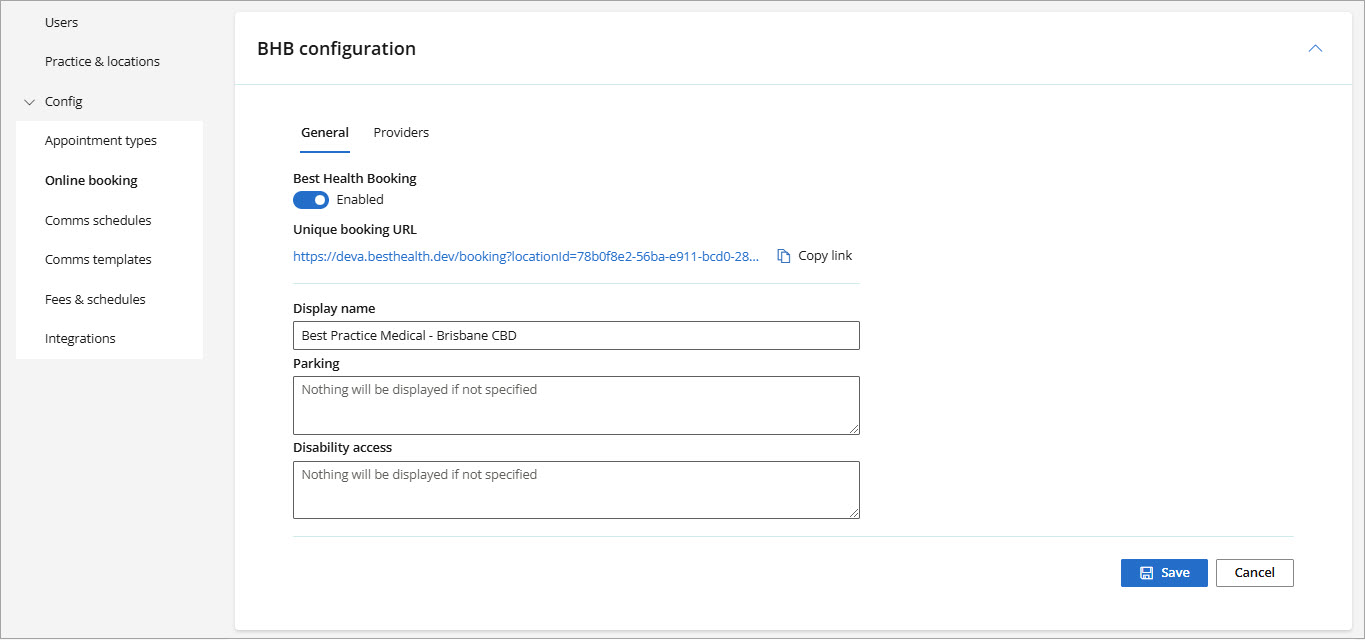
This screen sets your practice information and rules for managing bookings and appointment cancellations. Leave Activate online bookings set to 'Disabled' until you have completed all the steps in this article to avoid incomplete bookings.
General
-
The Unique Booking URL is generated for you and is used to embed to practice websites or social media.
-
Enter your practice online display name, parking and disability access to be displayed to patients that are booking online.
-
Click Save.
Providers
In the top-right of Bp Omni, select your profile icon, then select Settings > Online Booking > Providers. This process enables online booking for a provider, and sets which appointment types can be booked online for that provider. For example, a provider may wish to disable new patients from booking online. Providers can also create a biography for display to patients in Best Health Booking.
There are three steps to setting up your providers:
-
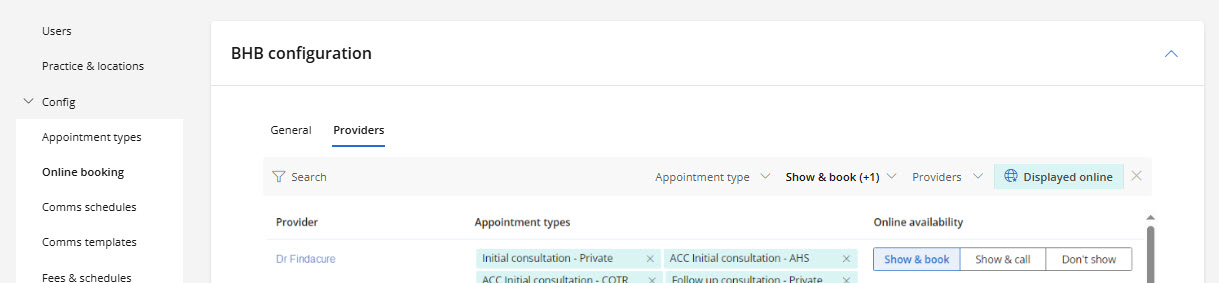
From Settings, select Config > Online booking. and then select Providers.
-
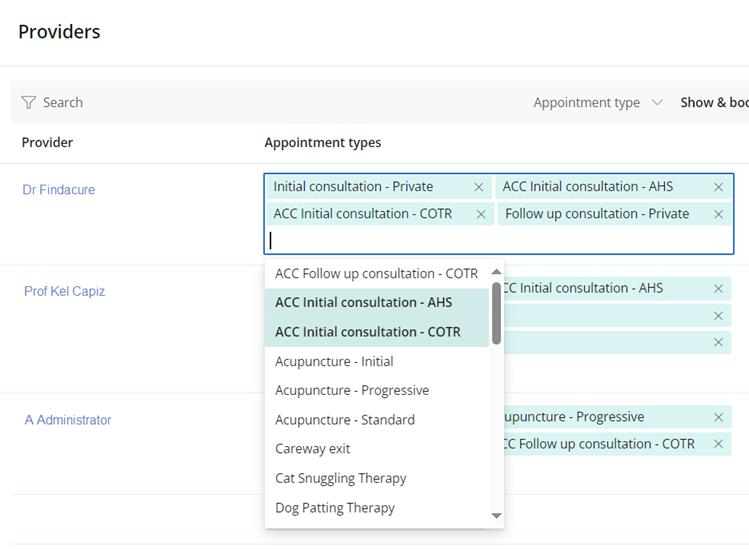
Select the Appointment types field and choose the Appointment types that can be booked online for this provider. If you have not yet set up Appointment types for online booking, see the article on Appointment types to learn more.
To accept online bookings, you must first allocate appointment types to the provider.
From Settings > Config > Online booking, and then select the tab for Providers.
-
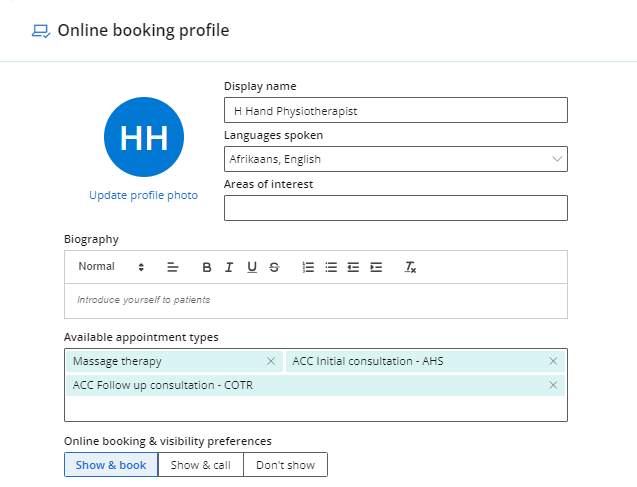
Select a provider from the list to open their Online booking profile.
-
The Display name is the provider's name as displayed to the patient or client during booking.
-
Add the Languages spoken by the provider.
-
Add the provider's Areas of interest.
-
Use the text box and the editing toolbar to create an engaging Biography for the provider that will be displayed to patients or clients.
-
Set the Online booking & visibility preferences to reflect the provider's desired availability online.
-
Select Save.
-
Repeat for each provider who wishes to be bookable online.
What if a Provider prefers to be booked by phone?
If a provider prefers to be booked by phone, set Online availability to Show & call under the 'Providers' drop down. This can also be done from the provider's Online booking profile.
The provider will still be listed in the online booking portal, but a message will display to the patient or client that they must call the clinic to book their appointment. This option ensures the provider is still seen as available to patients who are booking online.
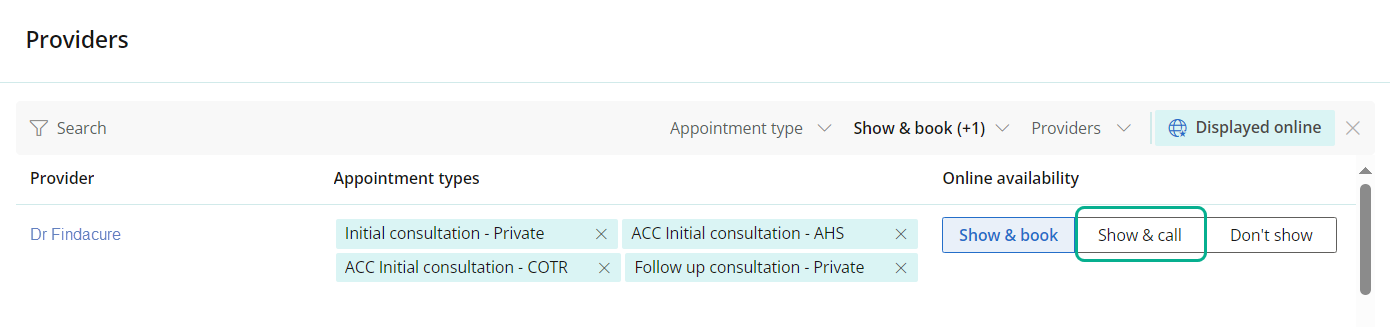
NOTE To enable 'Show & call' providers, select the appointment types that are applicable to your call only providers.
What if a Provider prefers not to be booked online or by phone?
If a provider prefers only to be booked at the clinic, set Online availability to Don't show. The provider will not appear online.
Once you have entered all configuration details, and you are ready to test live, you can activate Online Bookings.
-
Under Online booking settings, switch the toggle to 'Enabled' to accept Best health Booking online appointments.
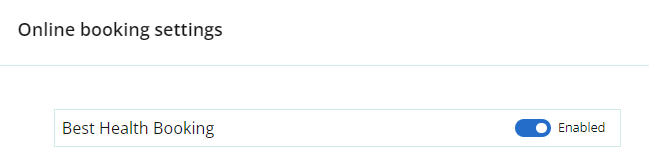
Patients or clients can now book appointments through your website or their Best Health App.
Online Booking Settings
From Settings, select Config > Online bookingand then select the dropdown for Online booking settings.
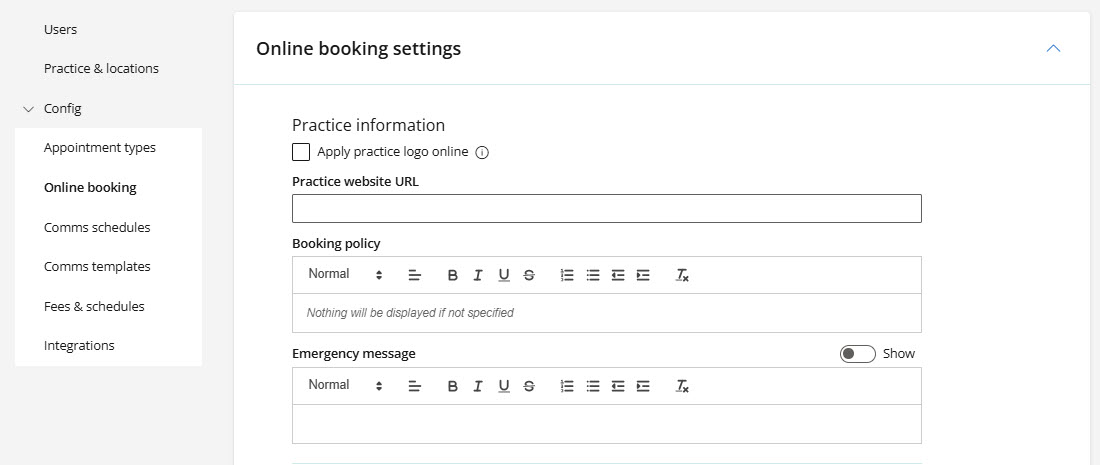
Practice information
-
Click 'Apply practice logo online' to show the practice logo when patients or clients book online.
Hover over the information icon to change your practice logo. -
Enter your Practice website URL.
-
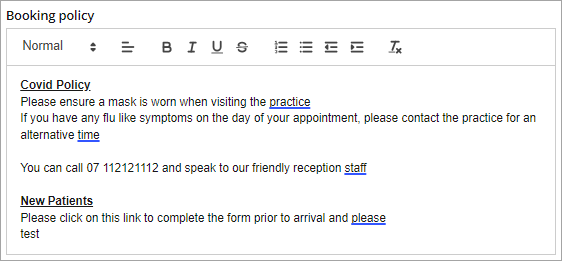
Create a Booking policy that is shown to patients or clients during the online booking process, using the text editor controls.
-
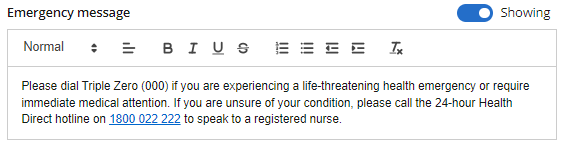
Create a custom Emergency message or use the default message to notify patients or clients who to contact in case of emergency. This can be turn off by toggling the switch to the left (off).
-
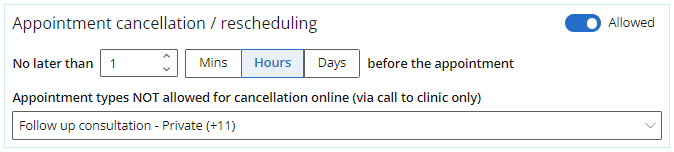
Set Appointment cancellation / rescheduling to allow or deny the ability to cancel or reschedule an appointment online. If you allow cancellations online, set the time period before the appointment period during which the patient can cancel.
Set the appointment types that are NOT allowed for cancellation online and must be cancelled or rescheduled by calling the clinic.
-
Set Booking availability time frames & limits to the number of weeks into the future that patients can book online and the maximum number of daily appointments a patient can book online.
-
Limit the Daily appointments number per patient. If you switch this toggle to 'On', set the maximum number of appointments a patient can book in a day
-
Select Save.

For example, if set to '1 Hours', patients can book an 11:00 am appointment at any time up to 10:00 am that day.
What do I do next? | Related topics
Last updated: 05 February 2025


 AU
AU 