This article explains when to use End consult compared to using Finalise consult and the difference between the two options.
What is the difference between End consult and Finalise consult?
When you are ready to send the Patient or Client to the front office, you will have the option to either End consult or Finalise consult depending on whether or not you have indicated that your notes are complete.
The difference between these two options is that when you select Finalise consult, the clinical record will close and the consult can not be re-opened. When you set Notes incomplete and select to End consult, the billing information will be received by the front office but the clinical record for this patient will remain open and editable.

This is useful when the patient is no longer with the provider, but the provider still has to make changes to their clinical record. To save time, the provider can choose End consult but keep the record open, and send the patient to the front desk to be charged while the provider continues to update their records.
End consult |
Finalise consult |
|
If Notes incomplete is toggled on in the clinical record, you will have the option to End consult. |
If Notes complete is toggled on in the clinical record, you will have the option to Finalise consult. |
|
Clicking End consult will send billing information for the consult to the front desk, but will not close the clinical record. This allows you to continue to edit the clinical record after the Patient or Client has left. |
If you have not clicked End consult, clicking Finalise consult will send billing information for the consult to the front desk and will close the clinical record. |
|
After clicking End consult, the button text will change to Save changes. Click Save changes to save further information to the clinical record without closing it. |
If you have previously clicked End consult, clicking Finalise consult will close the clinical record. |
Add services to the consult
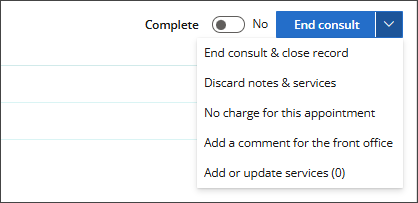
- Click the down-arrow beside End consult and select Add or update services.
- On the left side of the screen, search for the item you wish to add to the appointment. You can search by item number or description.
- Once you have found the item, tick the check box to its left. The item will appear on the right side of the screen under Items to be added to invoice.
- Add any further items as required.
- Click Add items to appointment to return to the clinical record.
- If you are ready to bill the Patient or Client for the consult but wish to keep their clinical record open, click End consult to send billing information to the front office. End consult will change to Save changes.
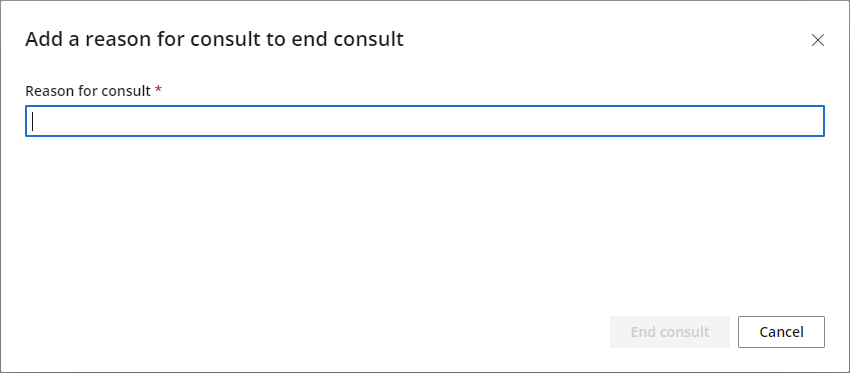
- Select a reason for consult from the list of options and click Save.
If a number appears in brackets after Add or update services, it means that a service is already associated with the consult, based on the appointment type.
The Add items to this appointment screen will appear.
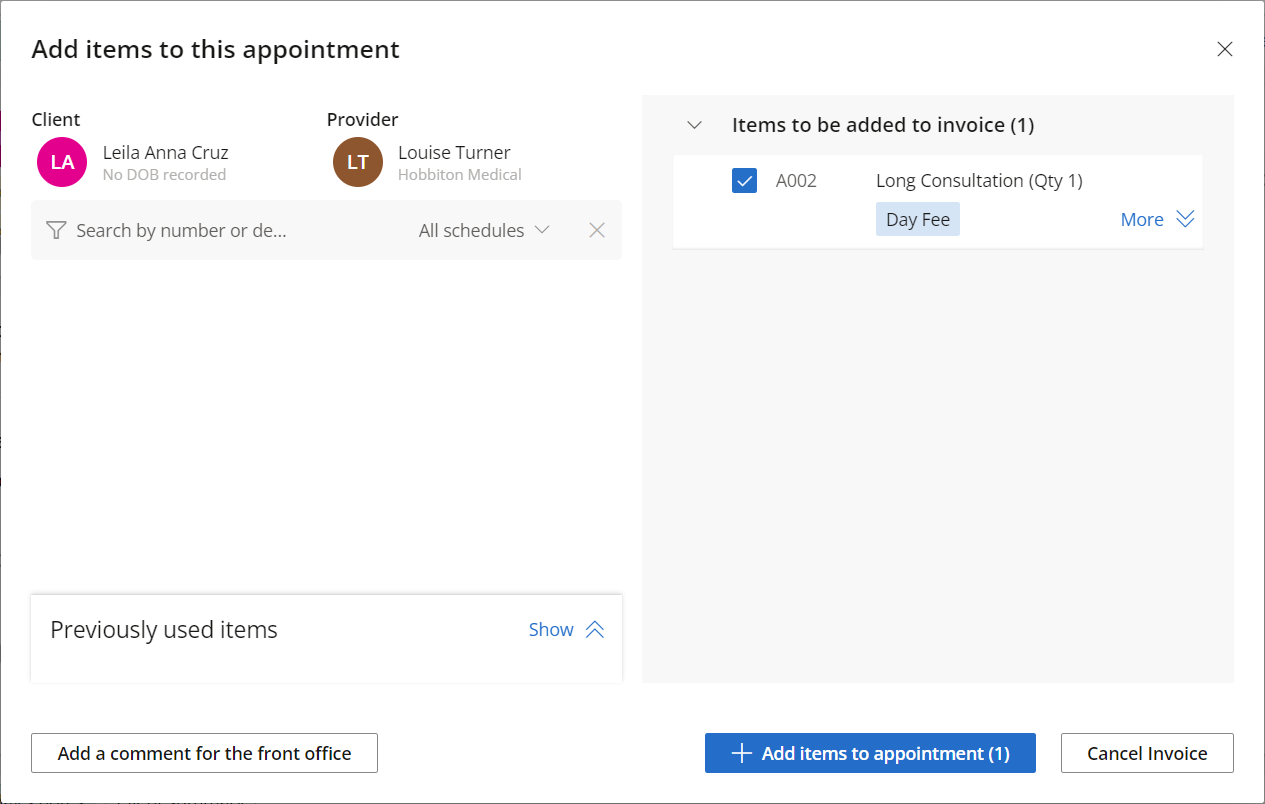
To remove an item from the Items to be added to invoice list, untick the check box to the left of the item.
End or finalise the consult
If you wish to Finalise the consult and close the clinical record, toggle on Notes complete and click Finalise consult. Once you have finalised the consult, you cannot reopen it.

Other billing and consult finalisation options
Clicking the arrow next to End consult also provides the following options:
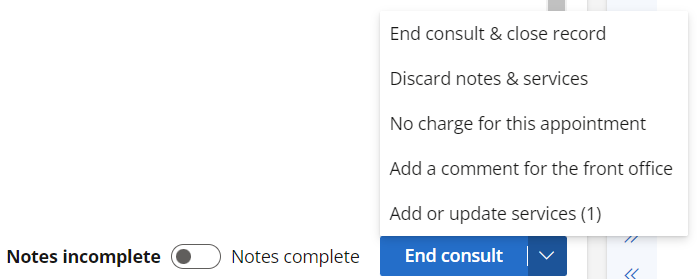
End consult & close record:
Prompts for a reason for visit, sends billing information to the front office and closes the patient record. However, this option does not finalise the consult. You can return to the consult at a later point to finalise it.
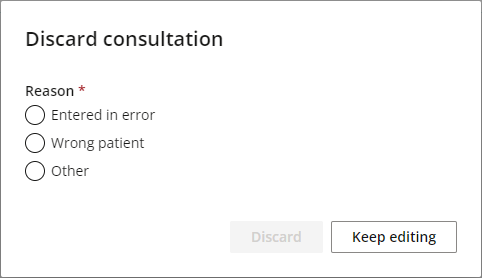
Discard notes & services:
Closes the clinical record and removes any notes and services added. Select a reason that the consultation is being discarded and click Discard.
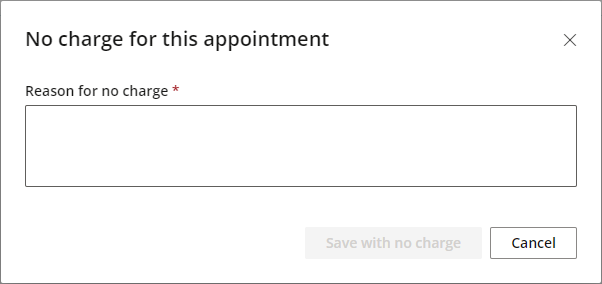
No charge for this appointment:
Opens the No charge for this appointment screen. Enter a reason that the consult is not being charged and click Save with no charge. Front office staff will not have the option to invoice the consult.
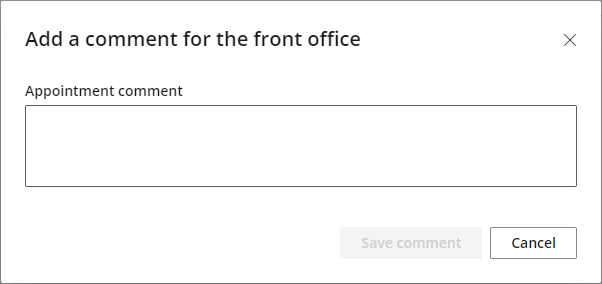
Add a comment for the front office:
Opens the Add a comment for the front office screen. Add a comment and click Save comment.
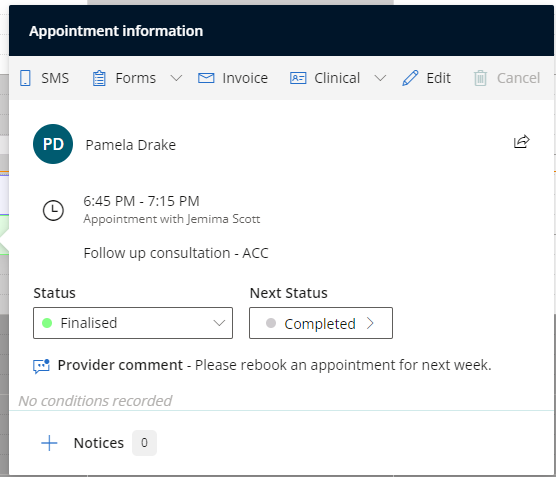
The comment icon will appear next to the invoice icon in the top-right corner of the appointment in the appointment book.
![]()
Front office staff can left or right-click the appointment to view the comment.
Last updated 31 January 2023