This article explains how to add and edit a Patient or Client in Bp Omni.
You can add a new Patient or Client:
- via the Plus icon in the menu bar
- via Address book > New patient or New client
- when creating a new appointment in the Appointment book.
Add a new Patient or Client
- From the menu bar, select Address book > New patient or New client, or click the plus icon in the top-right corner and select New patient or New client. The New patient screen will appear.
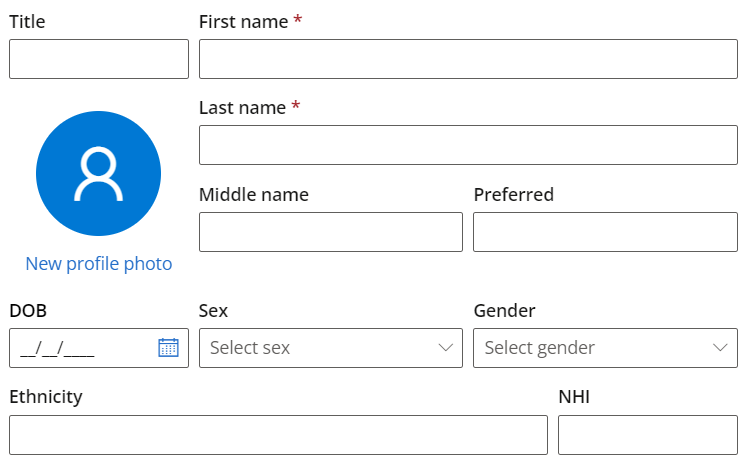
- Enter the Patient or Client's details into the fields provided. First name and Last name are mandatory.
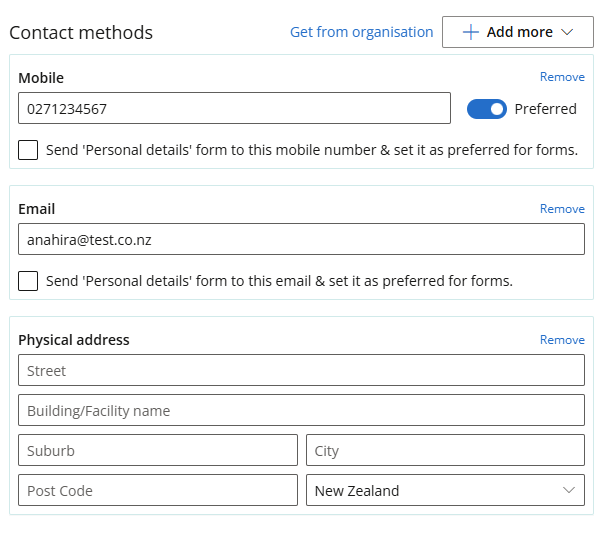
- Enter contact methods for the patient. The Mobile phone and Physical address fields will display by default. You can add further contact methods by clicking Add more in the Contact methods section
-
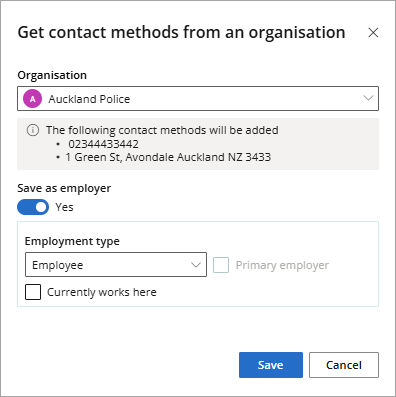
If a patient does not have a linked organisation or you'd like to take details from another organisation, select an organisation from the dropdown.
- If the Patient or Client's account will be billed to someone other than the Patient or Client, in the Account section click Bill to another person. Select an existing person to bill to or click New individual to create a new record.
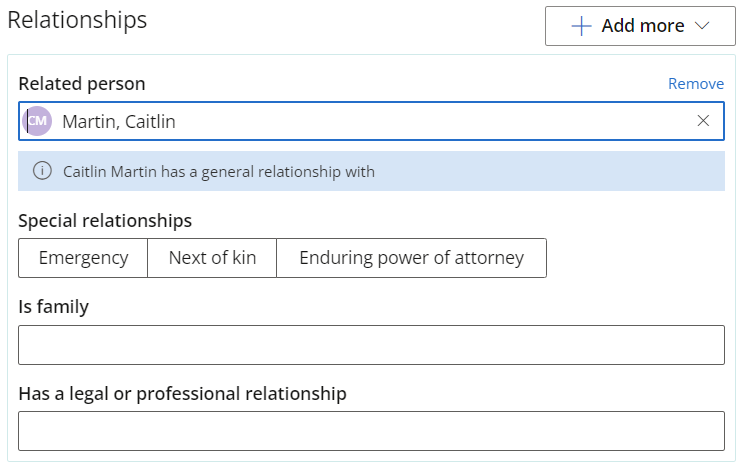
- If you wish to add any relationships to the Patient or Client record (for example, next of kin, a carer, or an external provider), click Add a relationship to this person. Select an existing person or click New person to create a new record.
- If relevant, add further information about the Patient or Client's relationship to the person, for example, if the person is an emergency contact, next of kin or has enduring power of attorney, if they are a family member, or if the relationship is of a legal or professional nature.
- If relevant, add a community services card for the patient.
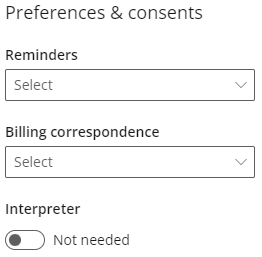
- If the Patient or Client has consented to receive appointment reminders or billing correspondence, indicate the Patient or Client's preferred method for receiving these communications under preferences or consents.
- Indicate if the patient requires an interpreter, and the language that the patient requires the interpreter to speak.
- Click Add an internal health provider to this person to add any internal providers the Patient or Client sees. If the Patient or Client sees more than one internal provider, indicate which provider is the lead provider.
- Click Add an employer for this person to add the Patient or Client's employer.
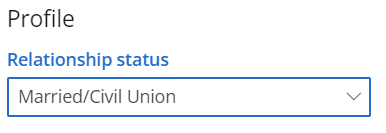
- Select the Patient or Client's Relationship status.
- Click Save.
Selecting 'Get from organisation' will pull the contact details from the linked organisation and display in a separate tab.
You also have the ability to set this organisation as the patient's Employer, choose the Employment type, whether or not this is the patient's primary employer, and whether or not the patient currently works at this organisation.


Alternately, you can indicate that the patient has opted out of reminders or billing correspondence.


Add a new Patient or Client from the appointment book
- From the menu bar, select Appointments > New appointment, or double click a slot in the appointment book. The New appointment screen will appear.
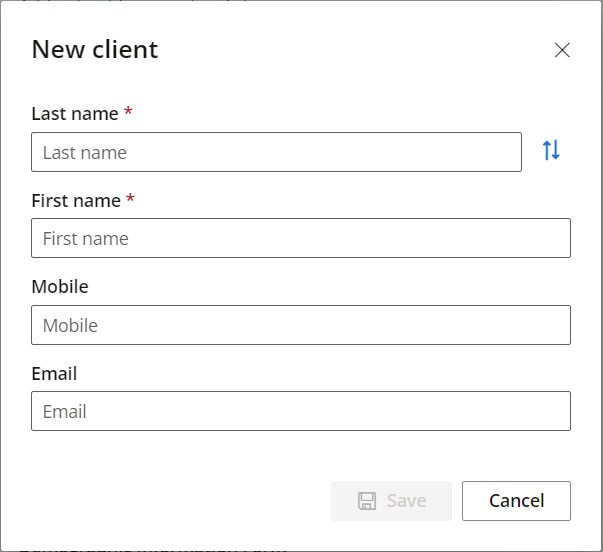
- Click New patient or New client. The New Patient or New client screen will appear.
- Enter the Patient or Client's details and click Save.
You can use the arrow icons to the right of the Last name field to switch the text in the Last name and First name fields.
The Patient or Client's Last name and First name are mandatory. However, if you wish to send the Patient or Client a Demographic Information Form, you must also add the Patient or Client's mobile number or email address.
Send a Demographic Information Form
When adding a new Patient or Client via the appointment book, if you have included a phone number or email address for the Patient or Client you have the option to send them a demographic information form.
Tick Send demographic information form to patient when adding the appointment. The Patient or Client will receive a link to the demographic information form, which they can complete online.

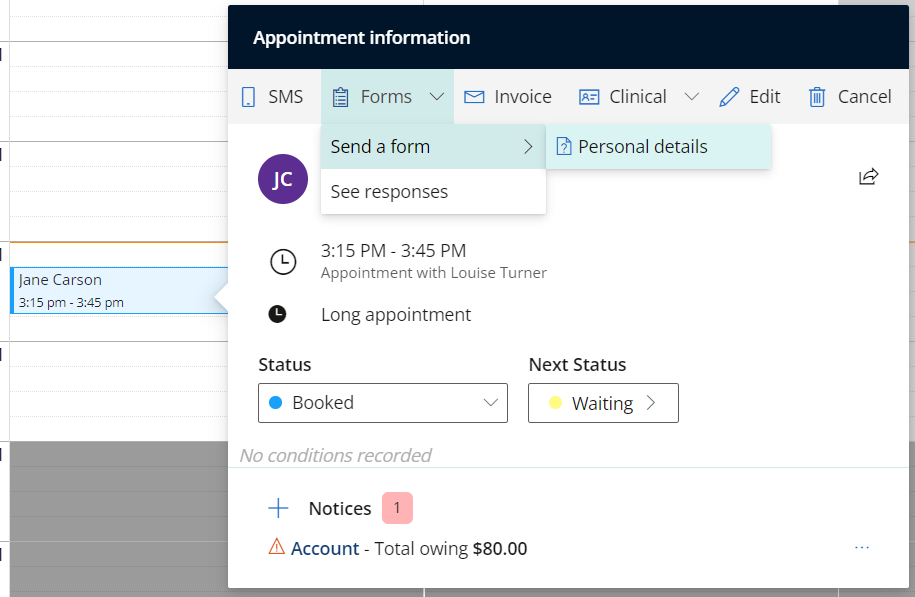
Alternately, if you have already added the appointment and need to send the Patient or Client a demographic information form, click the appointment and select Forms > Send a form > Personal details.
When the Patient or Client has completed the form, the information they have entered will automatically update the Patient or Client's demographic details in Bp Omni.
To view the responses the Patient or Client has provided in the form, open the demographic information for the Patient or Client and select Forms. Any forms that the Patient or Client has been sent will be listed. Click the date in the Responded column to open a PDF containing the Patient or Client's responses.
Form responses are also available in PDF format in the Correspondence section in the clinical record.
See Understanding Online Forms for more information.
Edit an existing Patient or Client record
- Select Address book > Patients or Clients. The People screen will appear.
- Enter the Patient or Client's name in the Search name field, and select them from the list. The Patient or Client record will appear.
- Click the Edit (pencil) icon in the top-right corner of each section of the patient record to edit it.
Last updated 06 July 2023