You can merge patient records from the Patient list screen. For example, your practice may have converted to Bp Premier from a previous clinical application, and you may have duplicate patient records present in the database.
To merge two patient records that have the same patient name, select one record to keep, and one record to merge with the kept record and be removed from the database.
IMPORTANT Merging patient records is permanent and cannot easily be reversed. Best Practice Software recommend that permission to merge patients should only be granted to administrator-level users.
The merge process depends on whether your practice maintains a link to a third party billing package.
Merge patients in an unlinked Bp Premier installation
You must have the Merge patients permission set to Allow access in order to merge patients.
- Select View > Patients from the main screen. The Patient list screen will appear.
- Search for the patient by surname, firstname. Both records should be listed in the patient list. The records will have the same name and details.
- Select the patient record that you want to keep.
- Select Edit > Merge from the menu. If the Merge option is not available, speak to your system administrator to have the user permission added.
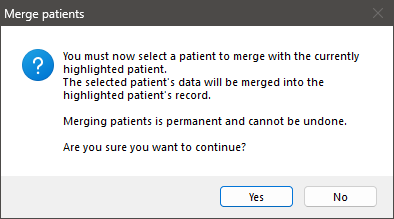
- Read the Merge Patients warning prompt that appears. If you are sure you have the right patient, click Yes.
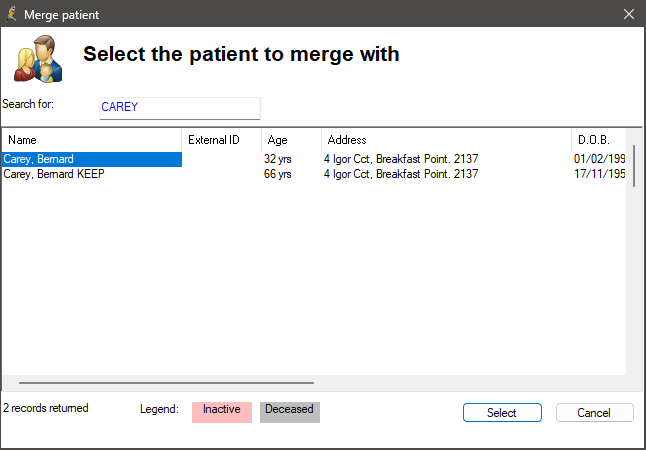
- Search for the patient to merge by surname. The patient selected here will be merged with the first patient and the record removed from the database.
- Select the patient and click Select.
- The second patient record will now be removed and any notes, results, documents, and patient data recorded for the patient will be moved to the patient selected in step 3.


Merge patients in a linked Bp Premier installation
You must have the Merge patients permission set to Allow access in order to merge patients.
Adjust the patient file to identify which record is linked to Bp Premier
This step requires you to edit the patients file in a linked installation. See Link to a billing package for more information.
- Open the patients file in the billing package.
- Adjust the patient street demographic. For example, change 'St' to 'Street', or some minor, easily identifiable change.
- Allow the changes to be updated to Bp Premier. This can take up to 1 minute.
- Open the duplicate records in Bp Premier to identify which record has been updated by the change. The updated record will be the 'kept' record when you merge in the next step. If the other record has not been updated by the change, it is 'unlinked' and can safely be merged.
IMPORTANT If a duplicate patient record exists in the billing package, then a matched record should exist in Bp Premier. Do not proceed. Contact your billing package vendor to discuss duplicated records in the billing package prior to revisiting this procedure.
Merge the unlinked duplicate to the linked patient record
- Select View > Patients from the main screen. The Patient list screen will appear.
- Search for the patient by surname, firstname. Both linked and unlinked records should be listed in the patient list.
- Select the linked patient record.
- Select Edit > Merge from the menu. If the Merge option is not available, speak to your system administrator to have the user permission added.
- Read the Merge Patients warning prompt that appears. If you are sure you have the right patient, click Yes.
- Search for the unlinked patient record. Select the patient and click Select.
- The unlinked patient record will be removed and any notes, results, documents, and patient data recorded for the patient will be moved to the patient selected in step 3.
Last updated: 10 February 2024.