For additional questions you might have about patient details, see Frequently asked questions about the patient demographic. For information about deactivating a patient record, see Database Search: Mark patients as inactive or deceased.
- When booking an appointment from the Add appointment screen, click New patient to open the New patient screen.
- When searching for a patient. Press F2 from the main screen, and click Add new from the Open patient screen to open the New patient screen.
- From the Patient List. Press F10 from the main screen, and click Add new.
TIP The information in the New Patient screen is called the 'patient demographics' in Bp Premier.
|
Field |
Description |
|---|---|
|
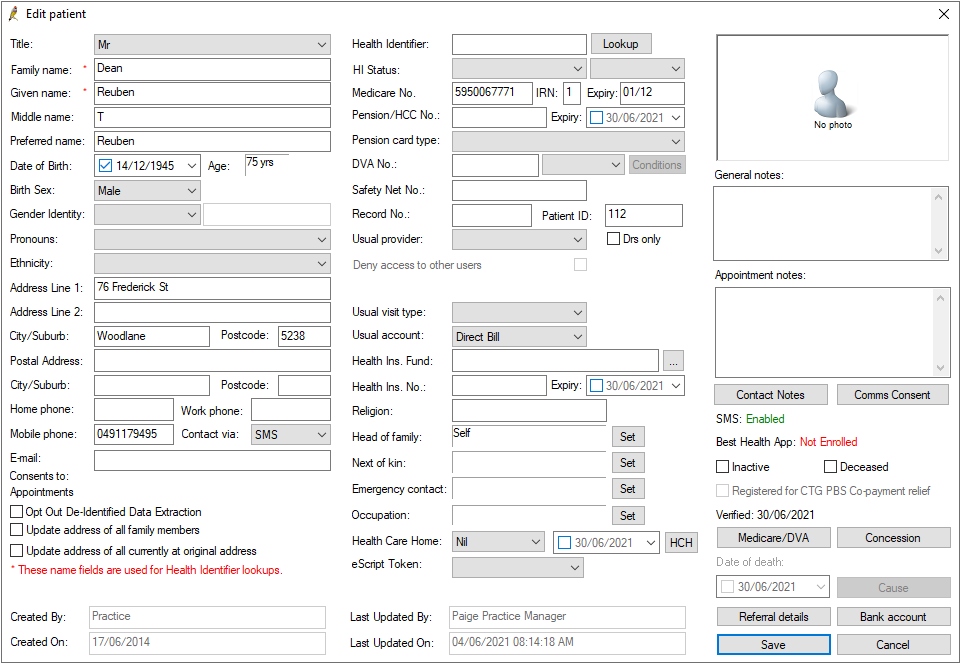
Consents to |
Displays the consent options for Bp Comms that the patient opted for, as indicated on the Comms Consent screen.
|
|
Opt out De-Identified Data Extraction |
Opt out De-Identified Data Extraction relates to the Practice Incentive Programme (PIP). Tick Opt out De-Identified Data Extraction to exclude the patient from the data extraction process. |
|
Update address of all family members |
Updates the residential and postal addresses for all patients who share the same head of family.
|
|
Update address of all currently at original address |
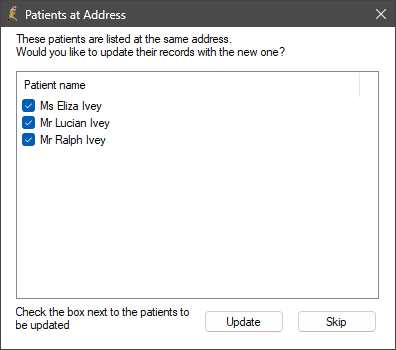
Updates the residential and postal addresses for all patients with the same residential address.
|
You will need an active internet connection to verify Medicare numbers, concession cards, and HI numbers.
Verify Medicare numbers
- To verify a Medicare number, populate the Medicare No., IRN, and Expiry fields and click Medicare/DVA.
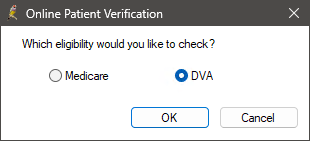
- If the patient also has a DVA number entered in Bp Premier, an alert will appear asking whether you wish to check Medicare or DVA eligibility. Select Medicare.
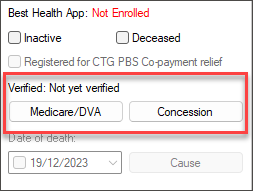
If the Medicare number (or DVA number if entered) has been verified previously, the date it was verified on will appear above the Medicare/DVA button. If the number has not been verified, Not yet verified will appear above the button instead. If you attempt to verify the Medicare number (or DVA number if entered) and the verification fails, the date will revert to Not yet verified.
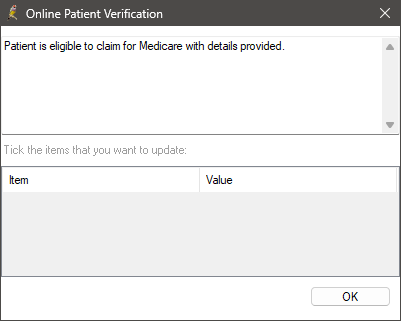
If the eligibility check is successful, An alert will appear indicating that the patient is eligible to receive Medicare benefits.
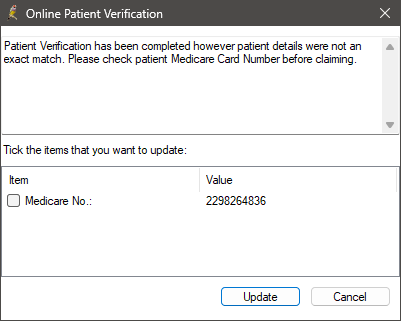
If the Medicare number entered in Bp Premier does not match the number held by Medicare, an alert will appear indicating that the number does not match. To update the Medicare number, select the check box next to the number listed in the alert and click Update.
Verify DVA numbers
- To verify a DVA number, populate the DVA No. field, select a card type from the drop-down menu, and click Medicare/DVA.
- An alert will appear asking whether you wish to check Medicare or DVA eligibility. Select DVA.
If the Medicare or DVA number has been verified previously, the date it was verified on will appear above the Medicare/DVA button. If the numbers have not been verified, Not yet verified will appear above the button instead. If you attempt to verify the Medicare or DVA number and the verification fails, the date will revert to Not yet verified.
If the eligibility check is successful, An alert will appear indicating that the patient is eligible to receive DVA benefits.
If the DVA number entered in Bp Premier does not match the number held by the DVA, an alert will appear indicating that the number does not match. To update the DVA number, select the check box next to the number listed in the alert and click Update.
Verify concession cards
To verify that a patient has a concession or health care card, click Concession. The patient must have a Medicare number entered before the concession card can be verified. An alert will display showing the outcome.
When verifying a concession card, if there are any issues with the patient's Medicare details, you will be given the option to update them.
NOTE This process confirms whether the patient has a concession card, but will not return the patient's concession card number. Ensure you obtain the concession card number from the patient and enter the number in the Pension/HCC No: field.
Verify Health Identifier numbers
An Individual Healthcare Identifier (IHI) is a 16-digit number that is used to identify a person for healthcare purposes. IHIs enable healthcare providers to connect the correct records to the correct person, reducing the likelihood of medical errors or a person's information appearing on the medical record of another patient.

To validate an individual’s Health Identifier number in Bp Premier:
-
If the Health Identifier field is blank, a Lookup button will be present. Select the method by which you wish to look up the HI number, Medicare No, or DVA no. Click Lookup to connect to the HI service to look up the patient's identifier.
-
If a HI number is already in the Health Identifier field, the Validate button will be present. Select the method by which you wish to look up the HI number, Medicare No, or DVA no. Click the Validate button. Bp Premier will validate the HI number and update the HI Status fields if the HI number is valid.
If the patient's information is found by the HI server, the Health Identifier and HI Status fields will be automatically populated.
NOTE The patient's Family Name, Given Name, Sex, DOB, and Medicare or DVA number must be completed and saved in the patient's demographics because this information is sent to the HI service to perform the lookup.
A photo record of patients for visual identification can be useful, particularly if your practice allows arriving patients to self-check in. You must have an existing scanned or captured image file to import, such as from a digital camera at reception.
- Click the Patient Photo box in the top right.
- Browse to the photo you want to import and click Open. The photo will be displayed in a preview window.
- Click Save. The photo will be loaded into the photo area.
- Click Save to save the photo to the Patient Demographic.
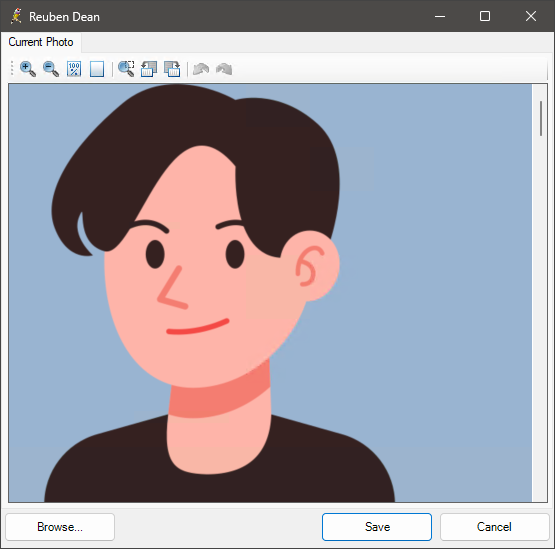
Bp Premier will try to save the photo in the original format. However, if the format is not recognised, the photo will be saved as a .jpg file. The file is resized according to the dimensions set in Setup > Preferences > General > Resize Patient Photo if larger than Width x Height. The default size is 200 x 200.
The photo is also displayed in the top right of the patient's clinical record. You can also:
- insert a photo into a template or document in the word processor
- include a photo when exporting patient records to XML or HTML.
You can designate a patient to be the ‘Head of Family’ for one or more other patients. When practice staff finalise an account for a member of the family, such as a minor, the staff member can select 'Head of family' from the Bill to field and automatically bill to the patient’s designated head of family.
Automatically add a new patient to a family
To automatically add a new patient to a family:
- Press F10 or select View > Patients to open the Patient list screen.
- Search for the head of family.
- Right-click the head of family and select Add to family. The New patient screen will open with the Surname, address, phone number, Medicare number, health insurance and head of family fields already populated.
- Fill in the remaining fields and click Save.
- From the New patient screen, click Set next to the Next of kin field. The Next of kin screen will appear.
- The Next of kin options are:
- Complete the contact details. Manually entered details do not need to be a current patient.
- Tick Use Head of family details if you just want to use the patient's head of family without linking. Changing the patient’s head of family will not automatically update the next of kin.
- Tick Link to Head of family to link to the patient’s head of family. Changing the patient’s head of family will automatically update the next of kin.
- Click Save to return to the New patient screen.
- From the New patient screen, click Set next to the Emergency contact field. The Emergency contact screen will appear.
- The emergency contact options are:
- Complete the contact details. Manually entered details do not need to be a current patient.
- Tick Link to Head of family to link to the patient’s head of family. Changing the patient’s head of family will automatically update the emergency contact.
- Tick Link to next of kin to link to the patient’s next of kin. Changing the patient’s next of kin will automatically update the emergency contact.
- Click Save to return to the New patient screen.
Use the Usual Provider: menu to select the patient's preferred, or usual provider. Practice nurses can also be selected from the Usual Provider: menu. If you only want doctors to appear in the Usual Provider: menu, tick Drs only.
Tick Deny access to other users to limit the patient's entire record to access by the patient's usual doctor only. Patients who have Deny access to other users set in the patient demographic are excluded from appearing in search utility results.
Best Health Booking customers can tick Don't allow patient to book via BHB in the Patient demographic details to prevent specific patients from booking online appointments.

Permission to access the Patient Bank Account details
Orchid SP2 introduces enhanced control over the management of Patient Bank account information. We've added a new permission type called Patient Bank Account, which gives you greater control over who can view, add, edit, or delete these details.
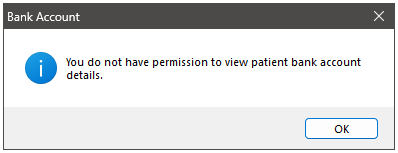
Users whose Patient Bank Account permission is set to No Access will be alerted via a pop up that they do not have access to view patient bank account details.
Users whose Patient Bank Account permission is set to View Only will see the Patient Bank account details but will not be able to add, edit, or delete details.
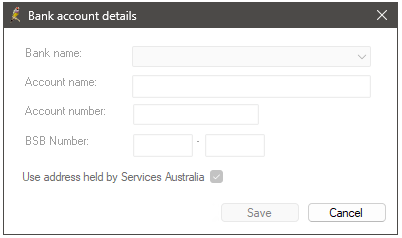
See User Permissions for more information.
Add Patient Bank Account details
Click Bank account to add a patient's bank account details to Bp Premier.
If a patient's bank account details are added in Bp Premier, When a patient pays their account and the claim is sent via patient claiming, the bank account details entered into Bp Premier will be sent with the claim, and the patient's rebate will be paid into that account.
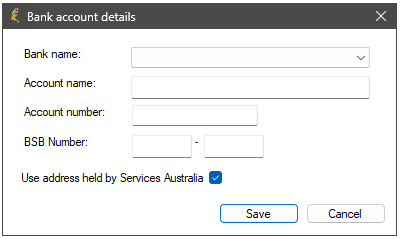
These bank account details are not saved to Medicare, and will not save over any existing bank account details that Medicare has recorded for the patient.
If Use address held by Services Australia is unticked, the patient's address in Bp Premier will also be sent with the claim.
When a claim is sent to Services Australia for an unpaid or partially paid account, Services Australia will send the patient a Pay Doctor Via Claimant (PDVC) cheque, which the patient needs to forward to you as payment for the service. If Use address held by Services Australia is unticked, the cheque will be sent to the patient's address recorded in Bp Premier.
See Patient Claiming: Processing Gap Payments for more information.
Set Patient Ethnicity
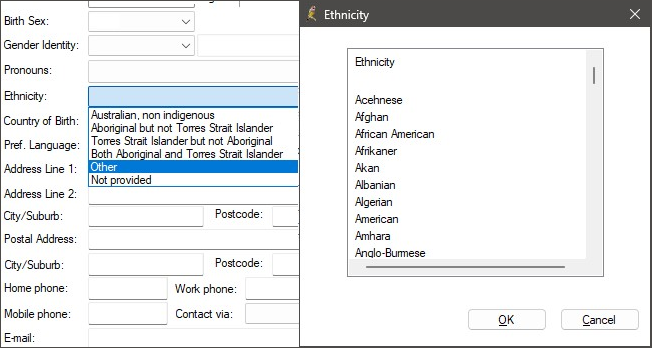
To specify the patient's ethnicity, you can choose from the options provided in the drop down menu or click Other to open a new window. In the new window, you'll find an alphabetically ordered list of ethnicities from which you can make your selection.
Set Country of Birth
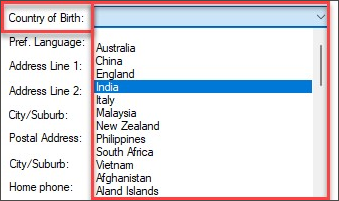
In Orchid SP2 or later you can specify the Patient's Country of Birth.
The top ten Countries of Birth recorded by the Australian Bureau of Statistics will appear at the top of the drop down menu, followed by an alphabetical listing of all other countries.
Set Preferred Language
In Spectra SP1, English appears at the top of the Preferred Language list, followed by the top ten languages recorded by the Australian Bureau of Statistics, and then an alphabetical listing of all other languages.
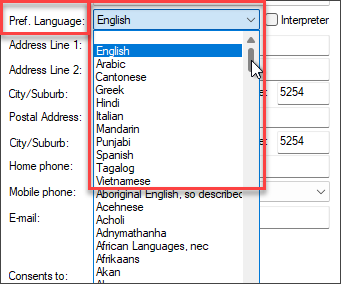
In Orchid SP2 and Spectra, the top ten languages recorded by the Australian Bureau of Statistics will appear at the top of the Preferred Language list, followed by an alphabetical listing of all other languages.
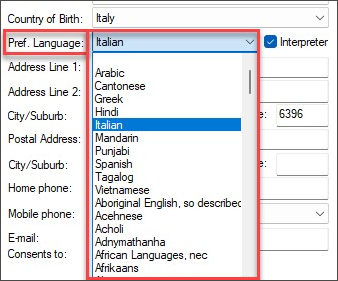
Set Interpreter
In Orchid SP2, you can specify whether the patient requires an Interpreter. The preferred language will be displayed when users are altered that an Interpreter is required.
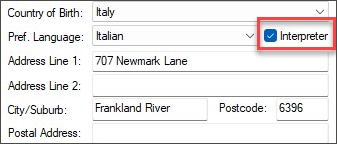
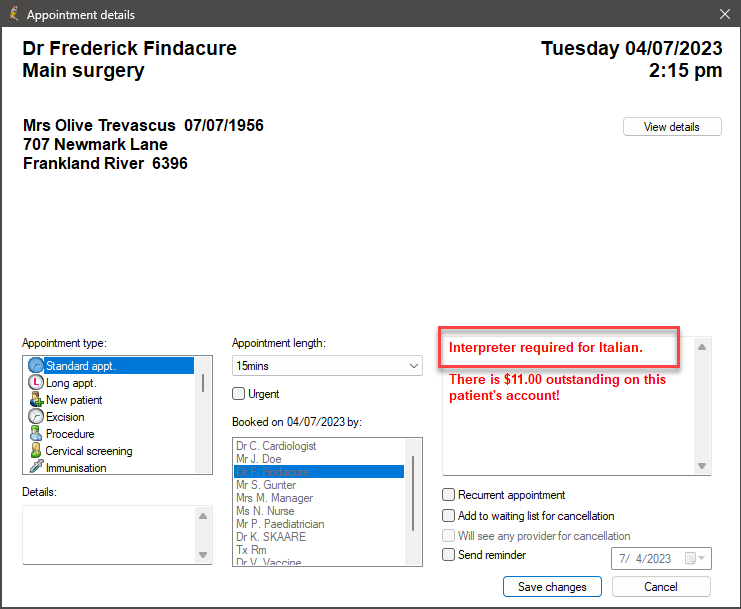
If the Interpreter check box is ticked, Bp Premier will alert users in the following situations that a Patient requires an Interpreter:
- A visible warning appears in the appointment notes section when adding, viewing, or editing an appointment.
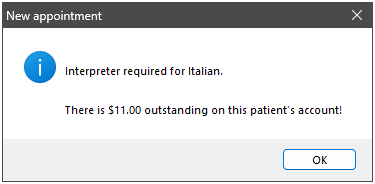
- If the Pop up notes when making appointment option is enabled in Setup > Configuration > Appointments, a pop up notification informs the user about the requirement for an interpreter when creating an appointment. The appointment book configuration settings are practice-wide and will apply to all users.
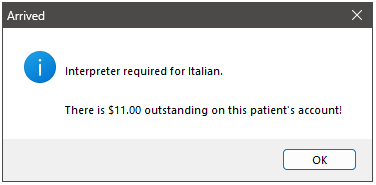
- If the Pop up notes when patient arrives option is enabled in Setup > Configuration > Appointments a pop up notification informs the user about the requirement for an interpreter when arriving the Patient in the appointment book. The appointment book configuration settings are practice-wide and will apply to all users.
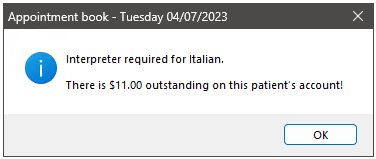
- If the Display appointment notes when opening a patient from the Appointment book or Waiting room option is checked in Setup > Preferences > General settings, a pop up notification informs the user about the requirement for an interpreter when starting a visit from the Appointment book or Waiting room.
- In the Patient demographic details section of the patient's clinical record, Interpreter with the preferred language will be displayed.

Information correct at time of publishing (17 March 2025).


