You can reuse letterheads (headers) and footers created for auto and letter templates in other templates of the same type. The following example shows how to create a header for a letter template. The process is the same for auto template headers and footers.
NOTE Headers or Footers cannot be used in templates that are mail merged with a VIP report.
- Go to Setup > Letter Template. Create a new template, or select an existing template from the left hand side.
- Provide a descriptive name for the template if you are creating a new template and click OK.
- Click the Toggle Header Footer icon in the menu to enable a header or footer.
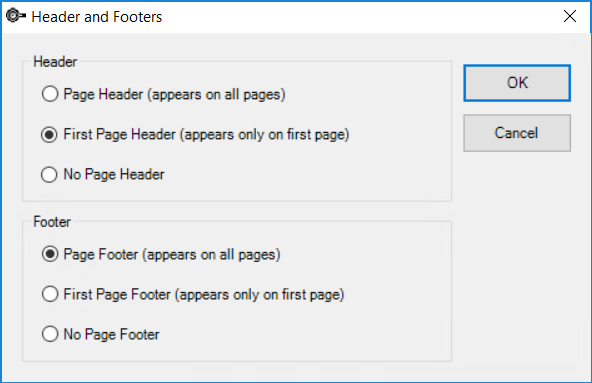
- The Header and Footers window will appear. Select whether you want a First Page Header or footer only, or a 'running' header or footer that will appear on all printed pages. Click OK.
- The space for a header and footer will be enabled for editing in the template working area Use the template editing tools as you would in the template body to create a letterhead or footer design. You can include any lookup fields as normal.
- Save the template when finished.

To apply the header or footer to other templates:
- Select the template from the left had side you want to apply the the header or footer to.
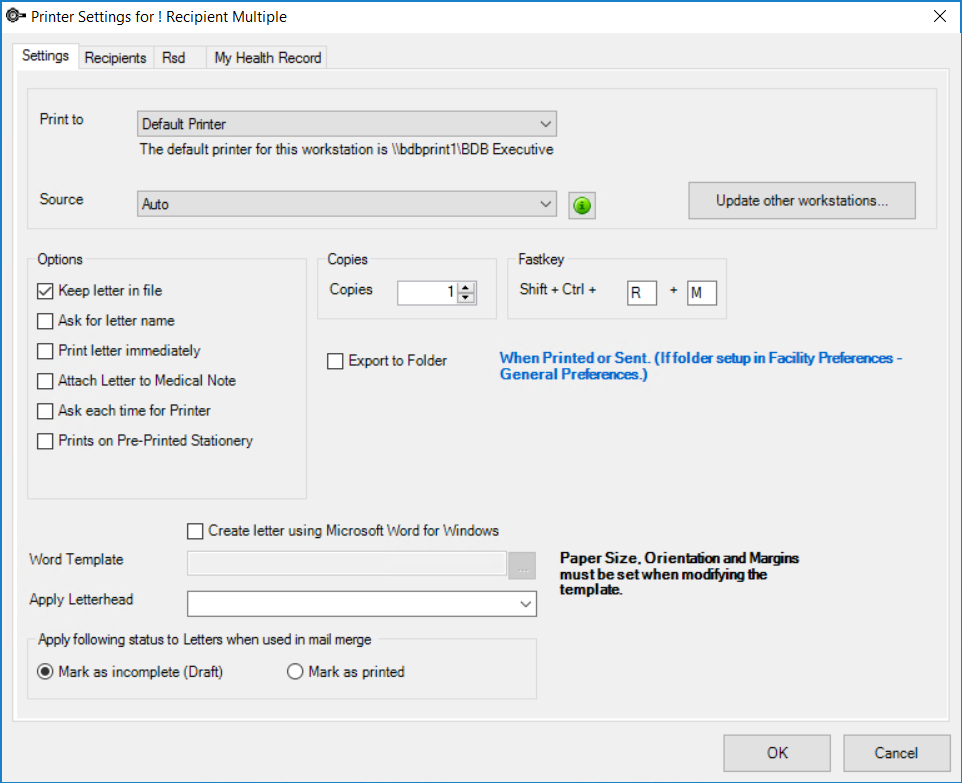
- Click Options from the row of buttons along the bottom of the template editor. The Printer Settings window will open.
- Select the template header to apply from the drop-down list next to Apply Letterhead.
- Click OK to save the changes.
When a document using the template is printed, the headers and footers from the selected template will be printed.
Last modified: July 2020