When you call Best Practice Software Support, staff will almost always ask for your Bp VIP.net version. You may also be asked to supply more information about your installation of Bp VIP.net, such as database and operating system version, or to take a screenshot to help provide a resolution.
The information below will help you locate the information Support requires to resolve your issue quickly.
What is my version of Bp VIP.net?
From the Bp VIP.net main screen, select Help > About. The Version field contains the version and build number.

What is my version of Microsoft SQL Server?
If you are comfortable using a database tool such as SQL Server Management Studio, you can run the below query to view version information. Otherwise, Best Practice Software Support can log remotely in to your server and quickly find out.
-
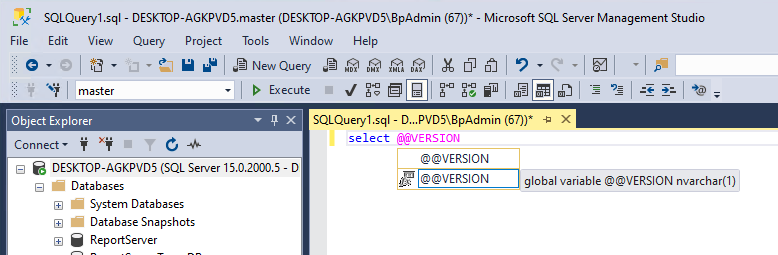
From Microsoft SQL Server Management Studio select the New Query button.
-
Type the query below into the new tab:
-
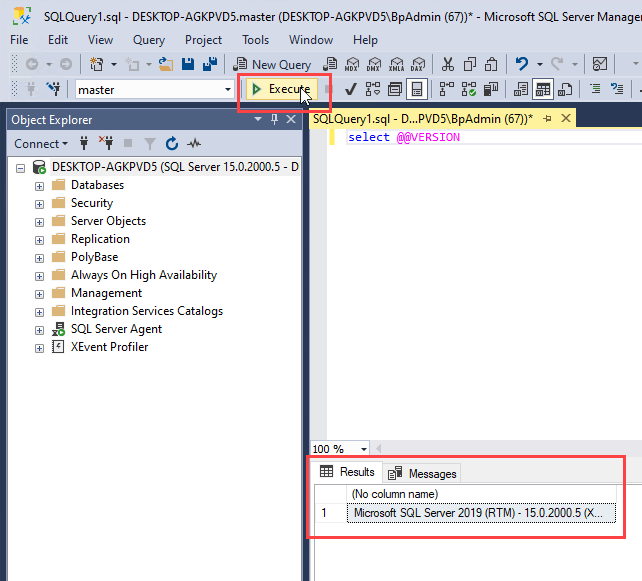
Select the Execute button.
-
The Results will display in a tab at the bottom of the page.

select @@version
What is my version of Windows?
- Open a Windows Run window (press the Windows key
 + R).
+ R). - Type 'winver' in the Open field and click OK.
- The About Windows window will show the version of Windows installed on that computer.
You can also open a Windows File Explorer, right-click This PC from the tree on the left hand side, and select Properties. File Explorer will display more information about the hardware and operating system installed on that PC, including whether the PC is 32- or 64-bit.
How to take a screen capture
At times you may experience errors with your operating system, third party applications, or network that can also affect the ability to run Bp VIP.net. These errors are outside the scope of our application and Best Practice Software may need a screen capture of the error faxed or emailed to Best Practice Software to help troubleshoot your problem.
You can copy a small error message directly into an email with Print Screen, or capture a region of the desktop and edit or de-identify the image in Windows Snipping Tool if you need to.
Copying with Print Screen
Using the Print Screen key captures the entire screen to the Windows clipboard. However, the file may be large and contain too much detail to be helpful. Use ALT + Print Screen to capture the current window in focus to the Windows clipboard.
- Click the window containing the error message or alert you want to capture.
- Press Alt + PrtScn on the keyboard.
- Open a new email in Outlook or whichever mail client your practice uses.
- Press Ctrl+V to paste the captured window into the email.
- Type explanatory text before or after the image, and send the email to Best Practice Software Support as normal.
Snipping Tool
The Windows Snipping Tool is available in Windows versions 7 and later for capturing any region of the desktop and applying some basic image editing.
- Press the Windows key to bring up the Windows desktop. Enter 'snipping tool' in Windows search. The Snipping Tool application will be displayed at the top of the results. Click the application to start.
- Click New and click and drag the mouse around the area of the desktop that you want to capture. The captured region will be loaded into Snipping Tool.
- Use the pen, highlighter, and eraser tools to modify the image. Press F1 to to open Windows Help if you need guidance on how to use Snipping Tool.
- Save the edited image to a known location and copy to the email reply to Best Practice Software Support.
Handling confidential information
For any enquiries that may potentially require a Best Practice Software team member to view sensitive information, consult Best Practice Software Specialist Product Support prior to sending any sensitive information.
Any communicated patient data must be de-identified. That is, any and all references to demographics data inside clinical images or patient record data that may potentially identify the patient must be deleted:
- For screenshots, patient data can be blacked out using an image editor (such as MS Paint, Snipping Tool, SnagIT).
- For text in emails or documents, real-world patient data can be replaced with imaginary patient data (like 'John Citizen') using a text editor, such as Notepad or Wordpad.
- For printed documents which are scanned and emailed, patient data can be blacked out using a pen or marker.
- File numbers may be included in sent material if your practice assigns them. File numbers are unique to your practice.
Best Practice Software thanks you for your understanding and cooperation in assisting us to protect the controlled distribution of sensitive information.
Last modified: 9 November 2022