
You're ready to start setting up online booking! Open https://bppremier.online in any web browser and log in using the email address and password of a Bp Premier user you have set up to access PrOS.
IMPORTANT Before activating Best Health Booking, ensure that you have completed all Configuration steps, including Online Settings, Practice Profile, Appointment Types and setting up Providers. Embedding the Unique Booking URL before completing these steps could result in failed or incomplete bookings.
Set up your Practice Profile
- Premier Online Services (PrOS) will open at the Practice Profile screen.
- To add a practice logo, click Upload Practice Logo. The file size limit is 1 MB.
- The Practice name, Time zone and Practice phone are required.
- Enter the Practice Website Address.
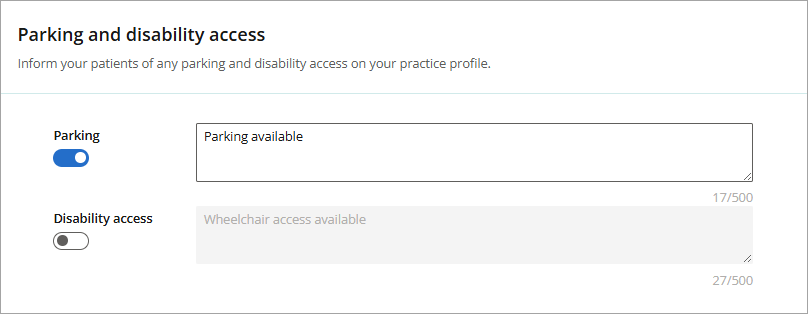
- If applicable, turn the Parking and Disability access switches to the right (On) and enter the text to be displayed to patients when booking online.
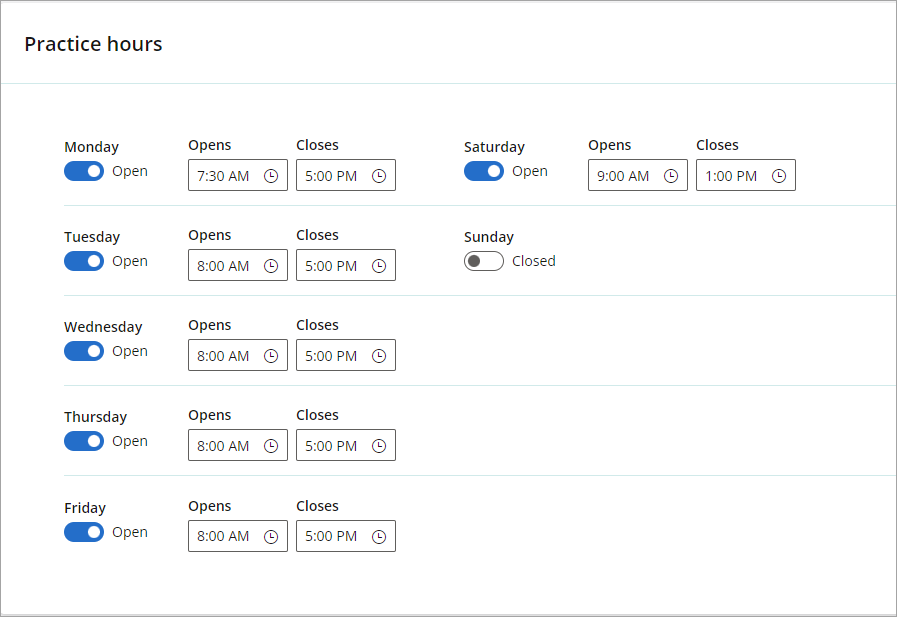
- In Practice Hours, set the standard opening and closing times for the practice. For each day of the week that the practice operates, turn the switch to Open and provide the Open and Close times.
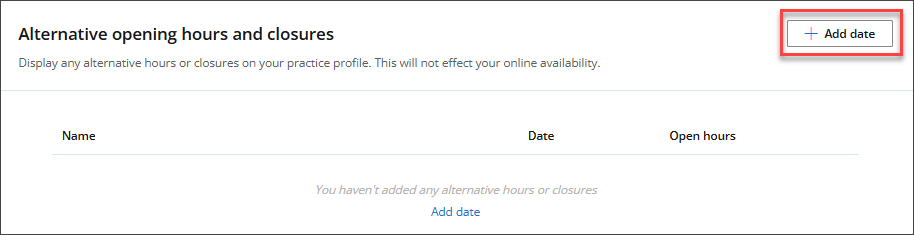
- In Alternative Hours and Closures, you can display any alternative hours or closures. Adding alternative hours and closures will not affect your online availability.
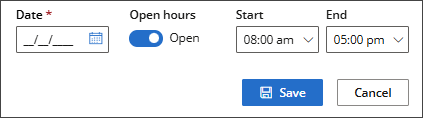
- Click + Add Date. The Alternative Hours and Closures modal will appear.
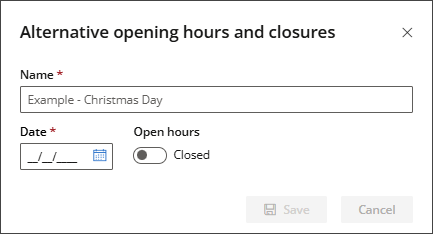
- Enter a Name and Date.
- If the practice will be closed, set the Open hours switch to Closed. If the practice is open, set the Open Hours switch to Open and enter the Start and End times.
- Create a Practice notice.
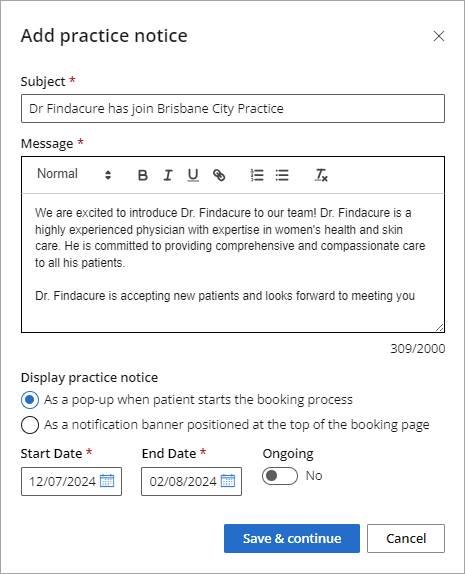
- Click + Add notice. The Add Practice Notice modal will appear.
- Add a Subject line and create a rich-text Message to display to patients.
- Select where you would like to Display the Practice Notice: as a pop-up when the patient starts the booking process or as a notification banner positioned at the top of the booking page.
- Set the Start date and End date, or turn the Ongoing switch to Yes if the message does not have an end date.
- Click Save.
IMPORTANT Some of the information displayed on this page is sourced from Bp Premier. The practice details fields can be updated, and patients will see these changes when they make an online booking. However, any changes made to the practice details fields in PrOS will not be updated in Bp Premier.

The Practice notice lets you communicate any important practice information to patients as they begin the booking process. Multiple notices can be scheduled for your clinic and be set to a timed duration or made ongoing.

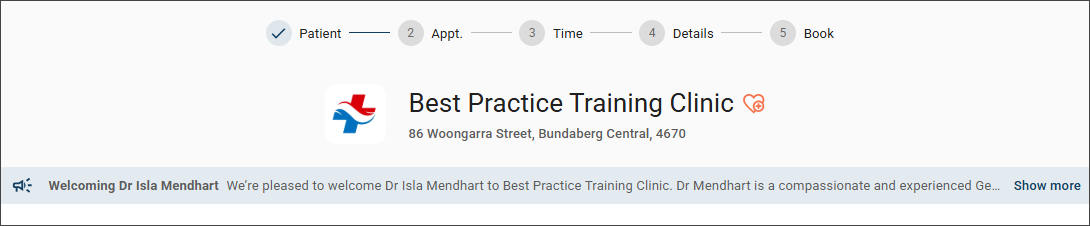
Below is an example of a practice notice banner that a patient would see when booking online.
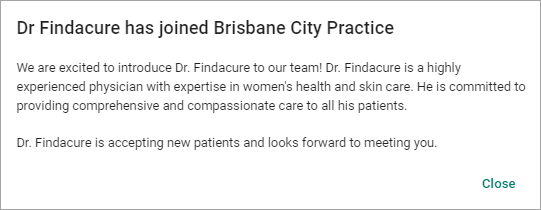
Below is an example of a practice notice pop-up that a patient would see when booking online.
Last updated: 17 November 2025.


 AU
AU 