Notes can be added to a client for each consultation or appointment entered into Bp Allied. Notes added into this field can be merged into letters. The fields available for collecting information on a client are dependent on the module that has been installed.
In the appointment book, select the appointment and right-click to access Client Details. The Consultation Details screen will display when selecting this option from the appointment.
- Select the Appointments or Clients tab.
- Select the client using the Find Client function.
- Select View/Edit from the Client Record column in the search results window.
- Select the Consultations tab.
TIP Quickly navigate to the Consultations screen in the Client Record by right clicking on the appointment in the Appointments tab and selecting Client Details...
The information in the table below is a general guide on the types of information that can be entered. The fields available for collecting client appointment information can be customised if additional information needs to be collected.
|
Field |
Description |
|---|---|
|
Show Consultation |
Select the appointment date to add consultation details for. |
|
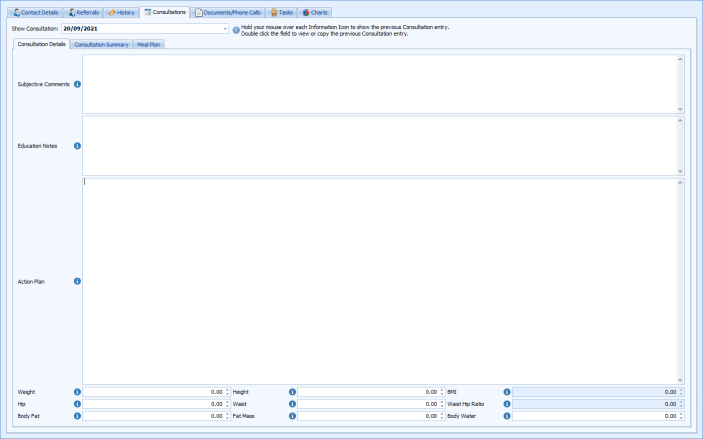
Consultation tabs |
The Consultation notes that can be added to a client are likely to be split into various tabs used to group together information. In the Psychologist Layout, some of the information is displayed on a chart (or graph). |
|
Text fields |
Text fields are used to enter in qualitative information about a client with reference to the label on the left-hand side. Once the available space is used then the scroll bars become enabled. |
|
Notes from previous appointment |
By hovering over the i icon the information entered into this field for the previous appointment is displayed. |
|
Numeric fields |
Numeric fields enable the entry of specific numerical information. When using a numeric field for this, the information can be plotted on a graph over time. |
|
Tickbox fields |
Tick boxes allow specific questions to be answered Yes/No, True/False or Positive/Negative depending on context. A tick in the box equals Yes/True/Positive.
|
Insert a Timestamp in a Consultation Note
- Open the Consultation Details screen from the appointment using the Client Details option.
- Right click in any field from the Consultation Details screen.
- Select Insert Timestamp to insert a date and time stamp into the text field.


TIP The Timestamp format is set up in System > Options > Client Details.
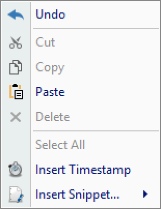
Right-Click Menu
|
Field |
Description |
|---|---|
|
Undo |
Allows the last action to be undone. |
|
Cut, Copy and Paste |
Select text and use the Cut, Copy, Paste and Delete functions as usual. |
|
Select All |
Selects all text in the field. |
|
Insert Timestamp |
Inserts a date and time stamp into the text field.
The format of the Timestamp is set up in System > Options > Client Details. |
|
Insert Snippet |
Insert commonly used text into the consultation field. Snippets are set up in Data Maintenance > Snippets. |


 AU
AU 