
Bp Omni has a number of account security features designed to keep your account safe. These features include Inactivity timeouts, multi-factor authentication, and passwords.
In this article:
Inactivity timeouts and PINs
When logging in to Bp Omni for the first time, you will be prompted to enter your user name and password, and then set up multi-factor authentication (MFA) for your account.
After completing the MFA setup, you will be prompted to create a six-character PIN. The PIN is used to unlock the screen following an inactivity timeout.
If there is no activity in Bp Omni for 15 minutes, the screen will automatically lock and require the PIN to unlock. This additional layer of security helps ensure compliance with health industry security standards.
Creating a secure PIN
Creating a secure PIN for your Bp Omni quick sign in is just as important as creating a secure password for your account. Best Practice Software recommends creating a PIN that includes a combination of letters, numbers and special characters.
- DO: Create a complex PIN that uses a mix of alpha, numerical and special characters where possible, for example, Z900P$.
- DO NOT: Create a PIN that contains three or more consecutive or repeated characters, for example, ABC123 or AAA111.
Adjusting inactivity timeouts
Only users with Practice Information security permissions set to Administrator can adjust the Inactivity timeout settings in Practice & Locations.

Inactivity timeouts
Inactivity timeouts can be adjusted in Bp Omni by navigating to Profile > Practice & Locations and scrolling down to the Security section.
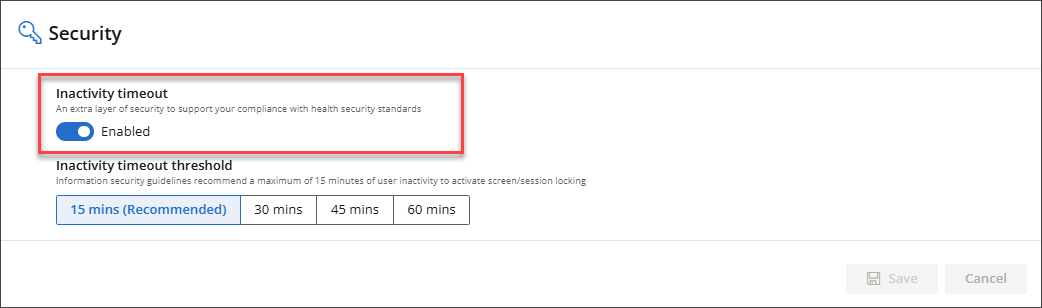
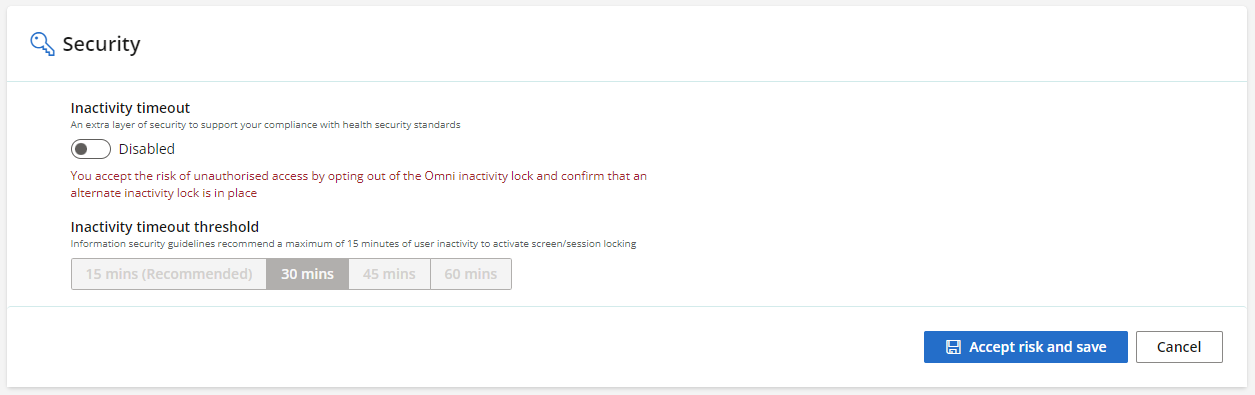
Customers of Bp Omni in Aotearoa (NZ) have the option to disable Inactivity timeouts entirely.
Customers located in Australia do not have this option due to the My Health Record integration that mandates this inactivity lock for integrated Cloud Practice Management Systems.
If customers in Aotearoa (NZ) opt to disable the inactivity timeout, we recommend implementing additional security measures to prevent patient/client data from unauthorised access. To proceed, you must acknowledge this risk as a condition for disabling the inactivity timeout lock. Click Accept Risk and Save.
Inactivity timeout thresholds
Inactivity timeout thresholds can be adjusted in Bp Omni by navigating to Profile > Practice & Locations and scrolling to the Security section.
The default recommended Inactivity timeout threshold is 15 minutes. Information security guidelines recommend a maximum of 15 minutes of user inactivity before screen or session locking occurs.
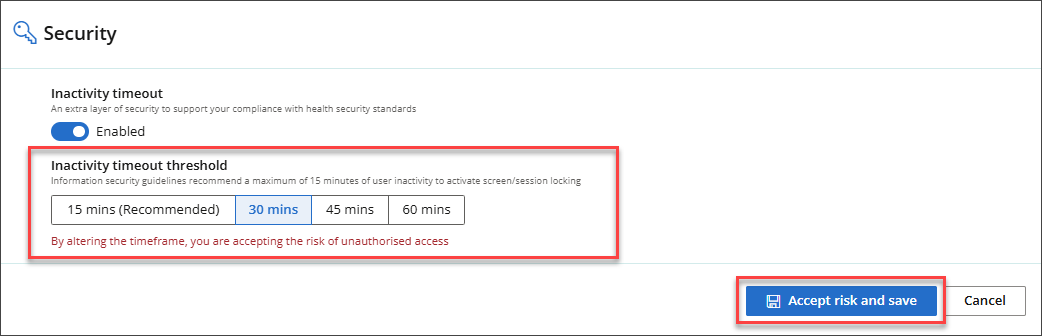
The Inactivity timeout threshold can be increased to 30, 45, or 60 minutes. However, increasing the timeframe also increases the risk of unauthorised access. If you choose to proceed, click Accept Risk and Save.
Work sessions
Each Bp Omni work session lasts 24 hours. If you remain logged in for 24 hours after entering your user name and password, you will be automatically logged out for security reasons.
Bp Omni provides countdown prompts to remind you to Save your work and notifies you 30 minutes before automatic log out.
To avoid losing work, save regularly and log out manually at the end of each day.
Resetting your PIN
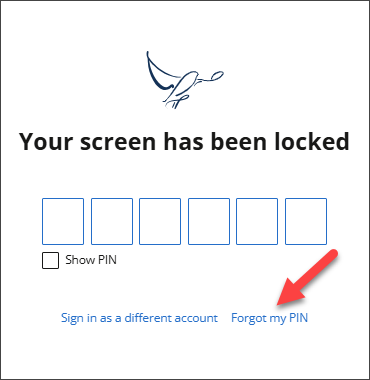
If an inactivity timeout occurs and you cannot remember your PIN, you may need to reset it.
- From the lock screen, click Forgot my PIN.
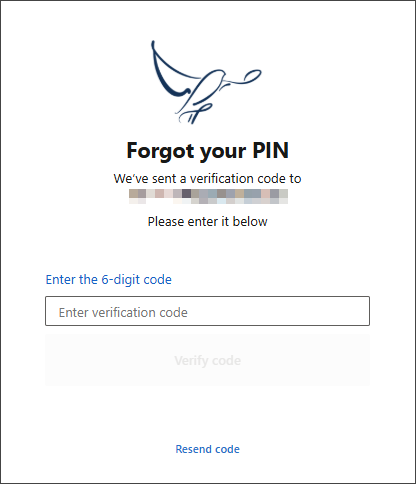
- The Forgot your PIN screen will appear, and a 6-digit code will be sent to the email address you used to sign up to Bp Omni.
- Enter the six-digit code in the field provided and click Verify code. The Create a quick access PIN screen will appear.
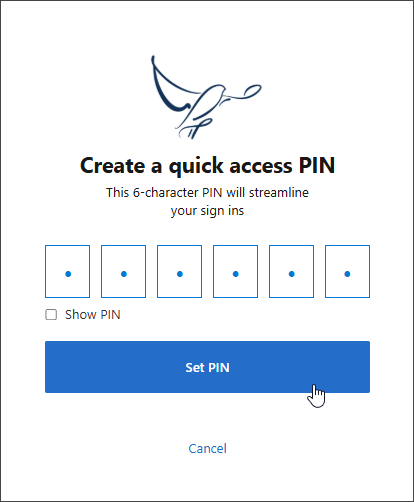
- Enter a new 6-character PIN. The PIN can be any six characters, including special characters.
- Click Set PIN. The screen will be unlocked.
Change your password
When you log into Bp Omni for the first time, you will be asked to create a password. You can change your Bp Omni password at any time via your profile.
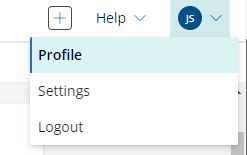
- Click your profile icon in the top-right corner and select Profile.
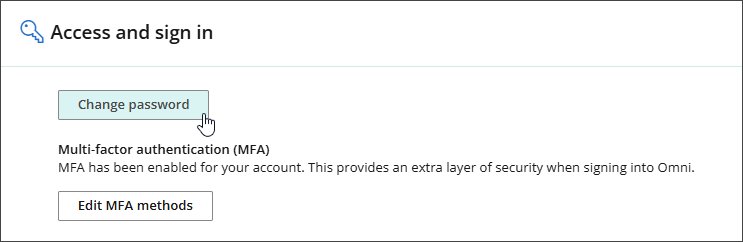
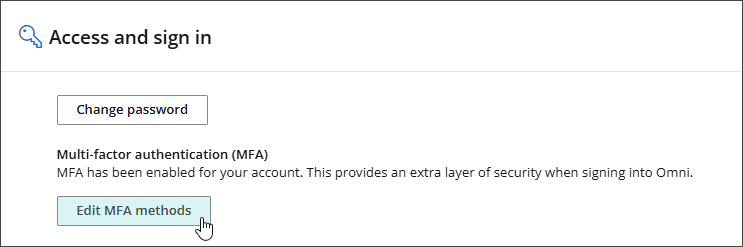
- Scroll down to Access and sign in.
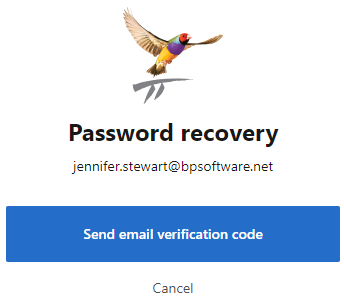
- Click Change password. The Password recovery screen will appear.
- Click Send email verification code.
- Enter the verification code in the field provided and click Continue. A notice will appear indicating that the code was successfully verified
- Click Continue.
- Enter your new password in the New password and Confirm new password fields and click Continue. A message will appear indicating that your password has been reset successfully.
- Click Sign in. You will be signed into Bp Omni with your new password.
Your user profile will appear.
The password recovery screen will change to include a field for entering the verification code.
You will receive an email with the verification code at the email address you have registered with Bp Omni.
Multi-factor authentication
When you log into Bp Omni for the first time, you will be asked to set up multi-factor authentication.
Whether or not you are required to use multi-factor authentication to log into Bp Omni depends on the length of time since you last logged in using multi-factor authentication.
If you log into Bp Omni within 24 hours of logging in with multi-factor authentication, you will only need to log in using your password.
If it has been 24 hours or longer since you last logged in using multi-factor authentication, once you log out you must enter your password and use multi-factor authentication to sign back in.
If it has been 24 hours or longer since you last logged in using multi-factor authentication and you have not logged out voluntarily or due to an inactivity timeout, you can continue to work with no impact.
Edit multi-factor authentication methods
-
Click your profile icon in the top-right corner and select Profile.
- Your user profile will appear.
- Scroll down to Access and sign in.
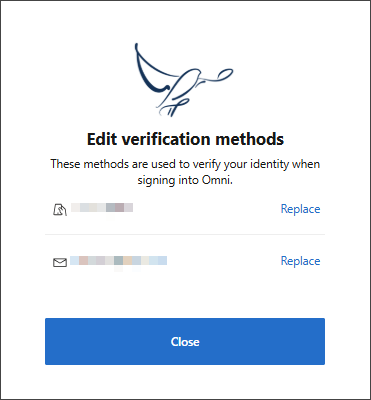
- Click Edit MFA methods. The Edit verification methods screen will appear.
- Click Replace next to either the existing mobile phone number or email address, depending on which multi-factor authentication method you wish to change.
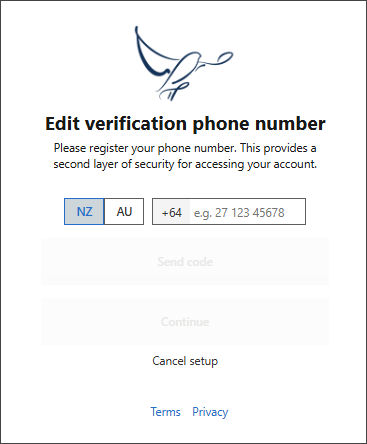
- Based on the option chosen, enter a mobile phone number or email address and click Send code.
- Enter the verification code in the field provided and click Verify code. The Multi-factor authentication method will be updated.
The screen will change to include a field for entering the verification code.
You will receive an SMS or email with the verification code at the nominated mobile number or email address.
Last updated: 13 October 2025.


 AU
AU 