Change the options relating to how the Client Details are displayed.
 Show Client Details form on StartupWhen checked, loads the client details area when myPractice is started.
-
This may slow myPractice load time
|
 Show Client List in "Last Name, First Name" orderWhen selected, changes the order in which you view your client list within Client Details. By default the client list is displayed as "First Name, Last Name".
|
 Include Inactive Clients in Client listTick this box if you wish to include those clients flagged as Inactive within your client list. If you wish to hide these inactive clients leave this unticked. |
 All Practitioners can view/edit all Client DetailsTicking this box allows all practitioners within your organisation to see each others consultation notes. To restrict access to consultation notes from other practitioners, except myPractice Administrators then untick this box. Multiple practitioners can be given access to view a Client's record.  This option is only visible and available to Administrators. |
 Show Client Picture (where available)Selecting this option provides an place within the Client Details are for you to display an image of your client.
|
 Body ChartTicking the Default Body Chart Image enables the Body chart tab in Client Details. Any Body Image can be used if the image supplied is not suitable. This image needs to be located in the myPractice\UserID numbere folder. |
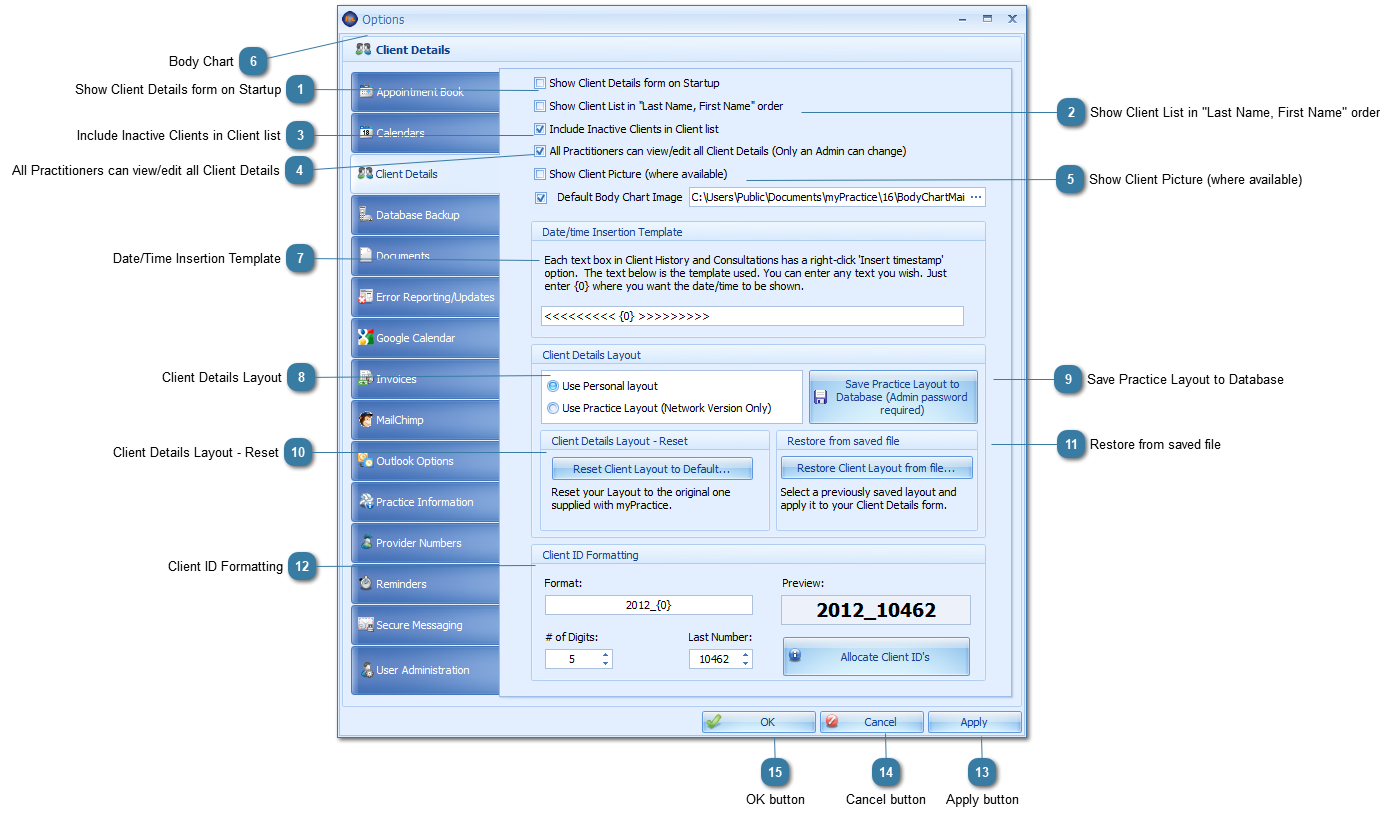
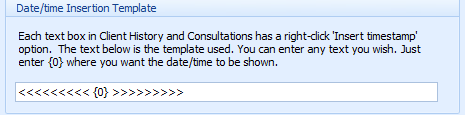
 Date/Time Insertion TemplateEach text box in Client History and Consultations has a right-click "Insert Timestamp" option. This allows you to date a specific field that is not tied to the consultation date. The text ************* {0} ************* is what is inserted into the text box when the time stamp is created where {0} = Date. The ***** can be changed to a symbol or text of your choice.
|
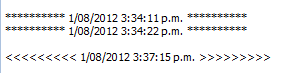
 Client Details LayoutChoose between using your own personal layout, stored locally on your computer or select "User Practice Layout" to view the layout which has been uploaded to your myPractice database.
|
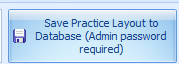
 Save Practice Layout to DatabaseIf you have customised your myPratice layout and wish to share this with other users within your practice click this button to upload your customised layout to the database. Please ensure those wishing to view this layout choose "Use Practice Layout". When you Save the layout to the database you will overwrite any existing layouts which have been uploaded. However, if you make changes to a Practice Layout and DO NOT save it in that same session your changes will get overwritten by the Practice layout when you open myPractice next.
If you are currently using a Practice Layout click on Use Personal Layout then back to Use Practice layout to enable this button.
|
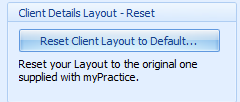
 Client Details Layout - ResetClick this button if you wish to restore your Client Layout back to the layout that was originally installed with myPractice.
|
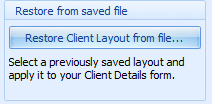
 Restore from saved fileClick this if you wish to restore your Client Layout to a layout you have previously saved.
|
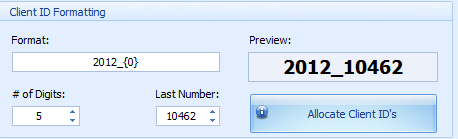
 Client ID FormattingThis was added due to our need to generate a unique id in a certain manner when exporting data to the Better Outcomes in Mental Health Care (ATAPS) website.
The Client ID field on the Client Details tab can be formatted to suit your own specific format. This only applies to new clients created after the format has been set.
-
The total length of the generated ID field must be no longer than 20 characters
Format - this is the layout of the format where {0} inserts the next number in the sequence
# of Digits - this is the number of digits to include in the number sequence
Last number - is the last number used when creating a new Client
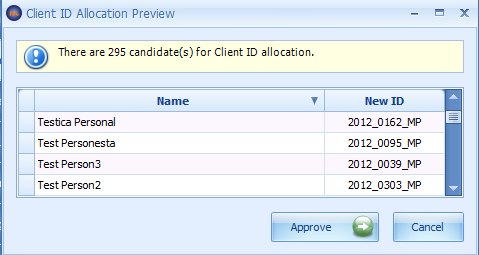
Allocate Client ID's
This is created for those who want to use the MailChimp email service or MYOB exports as all clients exported to either of these programs need a unique ID.
Click to allocate a Client ID to all clients who do not have one. The ID is in the format set up above.
The Client ID Allocation preview is displayed showing the Clients that the ID's are to be allocated to.
Click Approve to allocate the ID's.
This does not overwrite ID's already on a client record, in any format.
|
 Apply buttonClick Apply to save the changes and keep the options window open.
|
 Cancel buttonClick Cancel to disregard changes and close the options window.
|
 OK buttonClick OK to save changes and to close the options window.
|
|