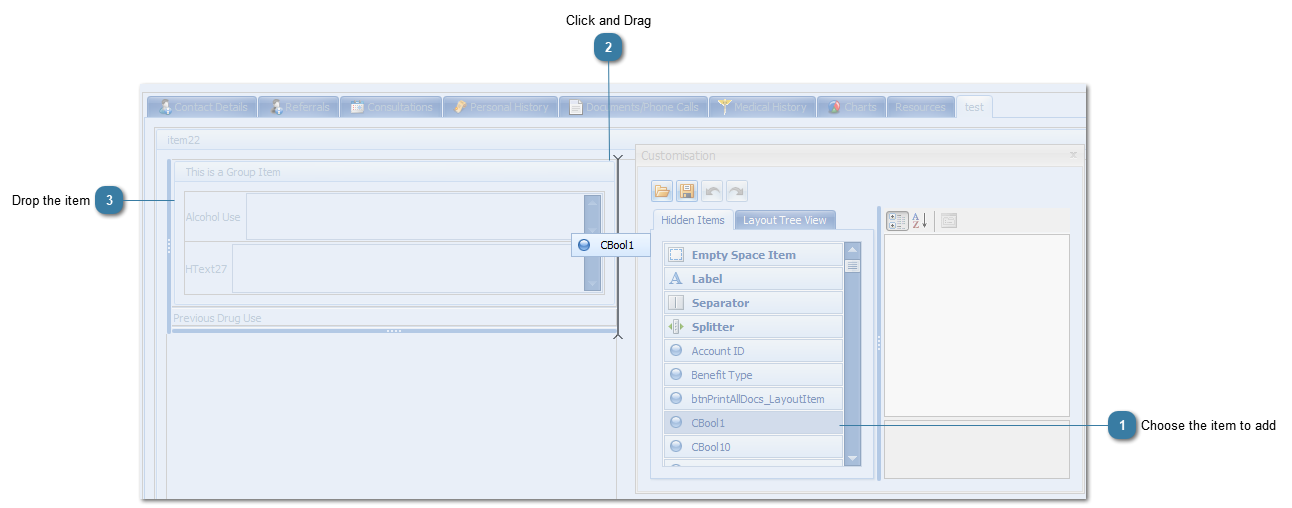
You are accessing documentation for Bp Allied version 5. This is not the latest version of Bp Allied.
Support for this product will cease on 1 November 2020
 
 
Due to changes in security requirements for the Medicare implementation using Medicare Online Claiming in Version 5 is longer available. Please contact our support team about upgrading to the latest version of BpAllied to enable this implementation.
Version 5
×
Menu

Adding a Field


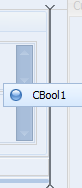
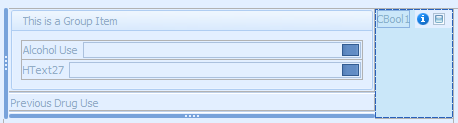
Fields, Labels, Empty spaces, Separators and Splitters are all added to a form in the same way using "Drag and Drop". This method can also be used to add an pre-created Tab and dragging and dropping it into the location for a Tab.
 
Adding a Field
 
1

Choose the item to add

1. Choose the item to add
Click to select the field to add
  • Scroll down to find additional fields if necessary
2

Click and Drag

2. Click and Drag
With the left mouse button still clicked, drag the field off the customisation form and over the Client Details window
A grey line (or box) will display as the field is moved across the form in any of the places available for the field to be inserted
Move the field around until the correct insertion line is displayed
3

Drop the item

Let go (or drop) the left mouse button to insert the field at the point of the insertion line
If it is not in the correct position, click on the field and drag again into the correct position.
 
The changes are automatically saved when exiting the Customisation form