Setting up Email and SMS Scheduler Settings
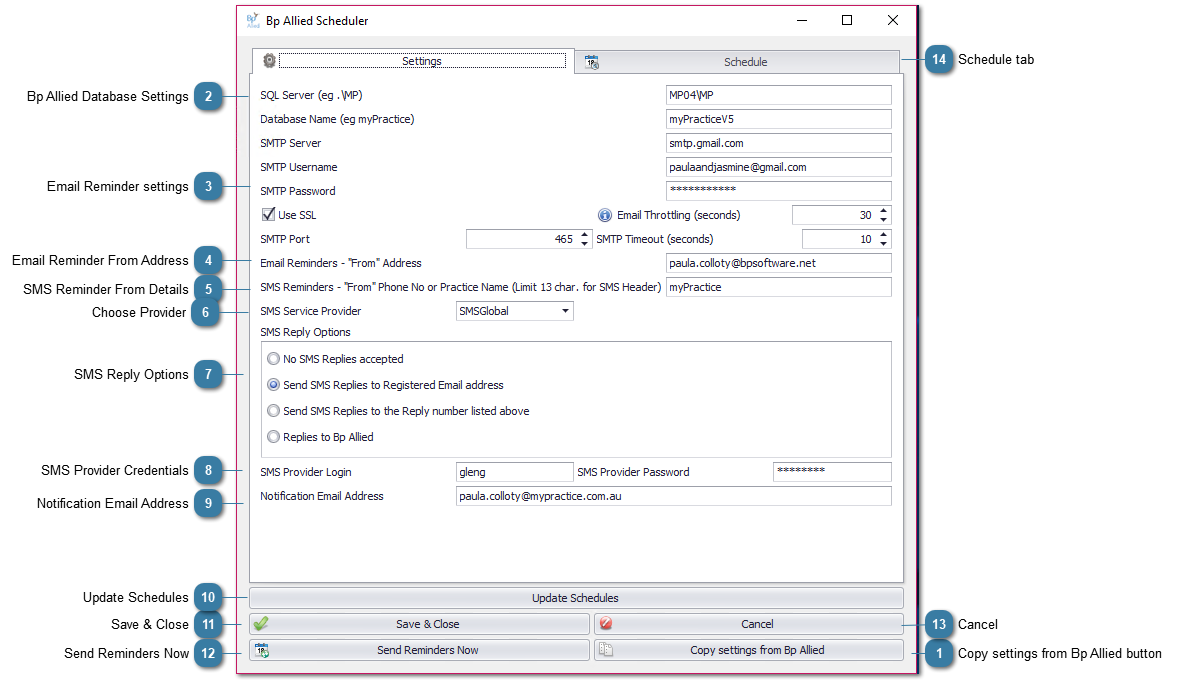
This tab in the scheduler is used record the settings required to enable both email and SMS messages to be sent and received by Bp Allied and the Bp Allied Scheduler. The information is the same as that recorded within the Bp Allied
Options > Reminders settings.
These settings need to be set up in conjunction with the settings saved in the
Schedule tab.
 Copy settings from Bp Allied buttonIf Email and SMS reminder information is already set-up in Bp Allied then click this button to copy the settings over. Only the blank fields need to be filled unless a setting is incorrect in which case it should be corrected.
|
|
 Bp Allied Database SettingsThis information should be copied across regardless of any settings already setup as this information is required for Bp Allied to save information into the database. Please call Bp Allied if you need help with this as it is information that we can easily help with.
SQL Server - the name of the SQL Server instance (not of the server that SQL is installed on)
Database Name - the name of the Database within the SQL Server instance. It is usually Bp Allied or a version of your practice name if your database is hosted.
|
|
 Email Reminder settingsSMTP Server - This is the server used to send your email. It is usually prefixed by "mail" or "smtp". This information will be available on your email hosts website. Search for details on the "Outgoing" or SMTP mail server.
For example the gmail server is smtp.gmail.com (as shown above) or hotmail is smtp.live.com
SMTP Username and Password - This is the username and password used to access your email.
Use SSL - This will be dictated by your email host.
Email Throttling - As some ISP's throttle the number of email that can be sent per minute (or other period of time e.g. per 10 minutes) this allows emails to be delayed between sending to work around these restrictions. Note, this also may need to be used if Reply to Email is the SMS reply method as the SMS's actually get sent as an email behind the scenes.
SMTP Port - The SMTP Port is the channel that the mail is transferred using and will be dictated by your email host. For example gmail is 465 and hotmail is 25.
SMTP Timeout - The timeout indicates the time allocated to trying to send a message before it stops trying, if, for some reason the message cannot be sent. Most email hosts also have recommendations on this timeframe. Google suggests between 1 and 5 minutes.
|
|
 Email Reminder From AddressThis is the address that the reminder email is addressed from. It does not have to be the reply to email address. It would be usual for this to be a central email address, for example, admin@yourmaildomain.com.au or reception@yourmaildomain.co.nz.
|
|
 SMS Reminder From DetailsThis is the phone number or name that the SMS Reminder is addressed from.
 Maximum characters = 13 with no spaces e.g. 0440123561258 or FromHapHealth |
|
 Choose ProviderSelect the Provider that you are using
|
|
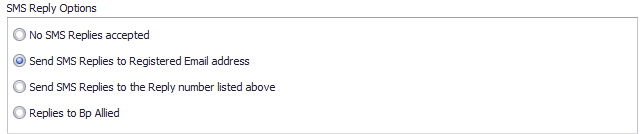
 SMS Reply Options
Choose the applicable reply option
1: To be able to send replies to a registered email address then the Email Reminder settings above need to be filled out
2: To be able to receive SMS replys then the Sender ID/Reply Number field above must be filled out with a valid mobile number e.g. 0480256789
-
There appears to be some phones / networks that do not receive the reply number correctly so not all clients maybe able to use this option and hence the reply number should be included in the reminder message.
|
|
 SMS Provider CredentialsSMS Global or SMS Central account details
|
|
 Notification Email AddressThis is the address that the reply email is to be sent to. It would be usual for this to be a central email address, for example, admin@yourmaildomain.com.au or reception@yourmaildomain.co.nz.
|
|
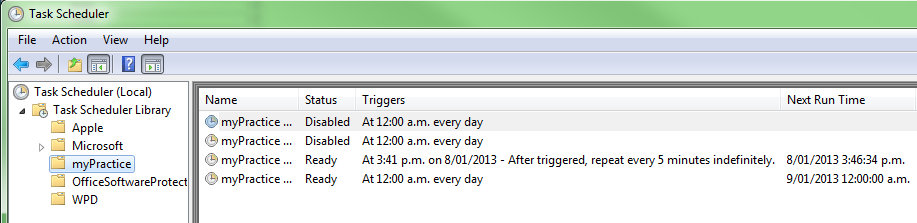
 Update SchedulesClick to update any changes made to the schedule tasks above. This enters them into the Windows Task Scheduler for you.
Both the Settings and Schedule tabs need to be filled in before clicking this to update the Task Scheduler.
|
|
 Save & CloseClick to Save the settings and Close the scheduler
|
|
 Send Reminders NowClick to send any scheduled Reminders now
|
|
 CancelClick Cancel to Close and not save an Settings
|
|
 Schedule tabClick the Schedule tab to setup when the reminders are going to be sent. |
|