Adding Clients to the Waiting List
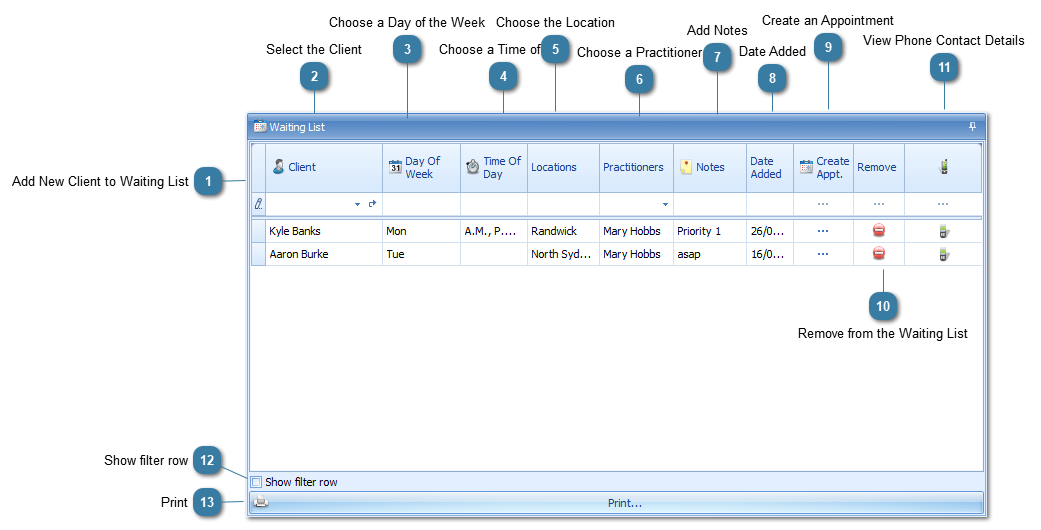
The Waiting List can be used to hold details of clients who are waiting for an appointment as soon as one becomes available. e.g. they could be scheduled into a slot when an appointment has been cancelled. The creation of an appointment for a client on the waiting list when a space becomes available is a manual task. It can however be initiated from the waiting list. The waiting list entry must be manually removed after the appointment is created.
 Add New Client to Waiting ListClick the text Click here to add a new row to begin entering a client to your waiting list
|
|
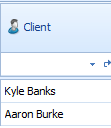
 Select the ClientChoose the client to add to the list by either
-
Using the drop down list and scrolling down the Client List
OR
Start typing the clients name to see a shortened version of the Client List
 Clears the field of any information typed in |
|
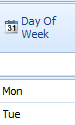
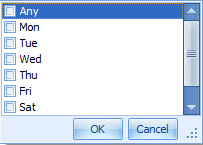
 Choose a Day of the WeekSelect the day(s) of the week the client can attend an appointment by ticking the options in the drop down list
-
More than one option can be selected
|
|
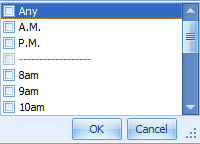
 Choose a Time of DaySelect the time period for which the client can attend an appointment by ticking the options in the drop down list.
-
The options include AM, PM, Any or a specific time. -
More than one option can be selected
|
|
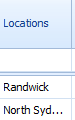
 Choose the LocationSelect the Location(s) where the client can attend an appointment by ticking the options in the drop down list.
-
More than one option can be selected
|
|
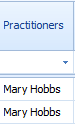
 Choose a PractitionerSelect the Practitioner(s) the client wishes to see.
-
More than one option can be selected
|
|
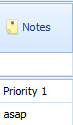
 Add NotesAdd any additional details specific to the client on the waiting list.
This could be used to manage priority as all fields can be sorted
|
|
 Date AddedThis defaults to the date the Waiting List entry was created.
|
|
 Create an AppointmentClick the Create Appointment button  to create a New Appointment for the client displayed on the waiting list.  The waiting list entry must be manually removed after the appointment is created. |
|
 Remove from the Waiting ListClick the Remove the button to remove the client from the waiting list.
|
|
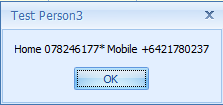
 View Phone Contact DetailsClick the phone icon to see the clients phone contact details
-
An * denotes the Primary Phone number
|
|
 Show filter row
Tick the Show filter row to display the filter row at the top of the form. See Grouping, Filtering and Sorting for more details on how to use filter fields.
|
|
 PrintClick Print to display a preview of the Waiting List
The Waiting List can then be printed from the preview
|
|