
This article explains how to manage document templates in Bp Omni.
In this article:
Bp provides a number of default templates with Bp Omni. These options include:
- Letter
- Referral Letter
- Discharge Letter
- Outcome Measure
- Medical Certificate.
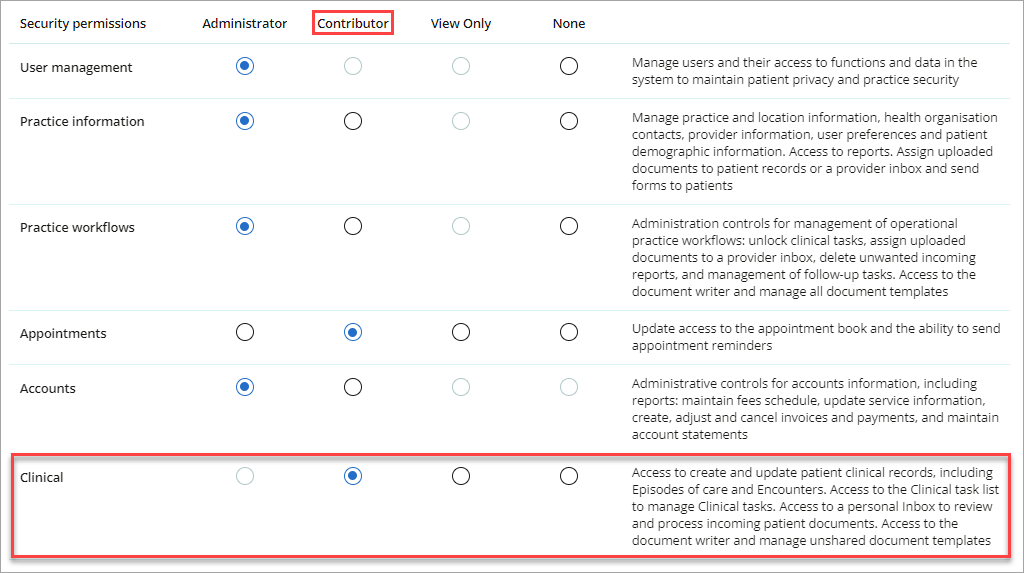
NOTE For access to the document writer and the ability to manage templates, user roles in Clinical must be set to Contributor at a minimum to create, edit and delete templates. Learn how to configure business roles and security permissions here.
|
Administrator |
Access to the document writer and ability to manage all document templates |
|
Contributor |
Access to the document writer and ability to manage unshared document templates |
|
View Only |
Does not allow access to the document writer or templates |
How to create custom templates
From the navigation menu, select Admin > Manage templates & forms > Document templates. Select New template from this window. Give this template a name and select the document type. A few of these options include:
- Assessments
- Claim reviews
- Radiology reports
- Specialist letters
- Treatment plans
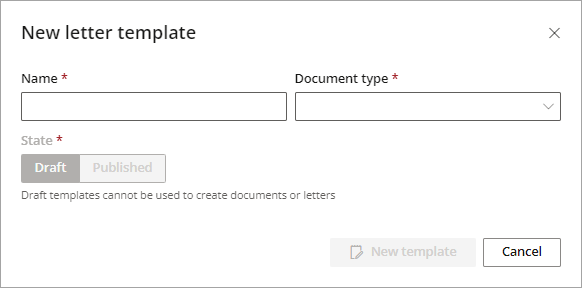
The following example shows how to create a new Medical Certificate template.
After you have created a template, you can select the template when using the document writer.
Using Headers and footers
The document writer allows the creation of headers and footers for your letter. Headers and footers are sections of a document that appear in the top and bottom margins. They generally contain information such as the page number, date, and document name. Headers and footers are especially useful for including information that you want to display on every page, or specific pages only.
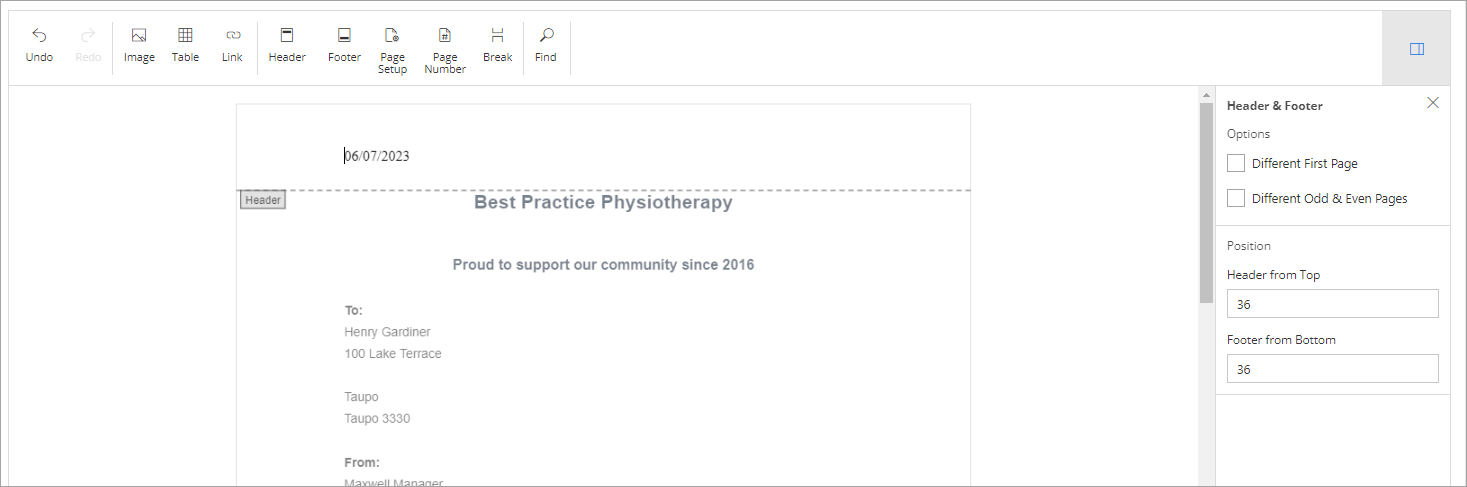
Headers and footers to be displayed across all pages, have a different first page or have different odd and even pages. From this screen you can adjust the margin from the top and bottom of the letter, respectively. Merge fields can be added to the header and footer in the same manner as the rest of the document.
Creating a Practice letterhead
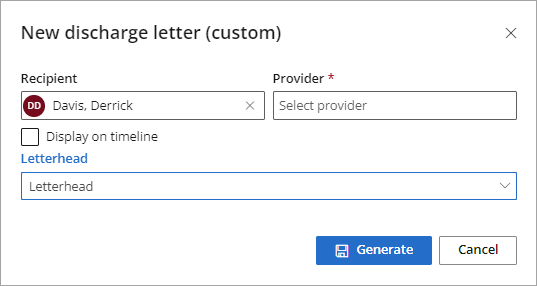
When sending correspondence to a patient, you have the option to choose a letterhead to accompany the template you have selected.
- To create a Practice letterhead in Bp Omni, click your profile icon in the top-right corner and select Settings.
- From the menu on the left of the screen, click Practice & locations. The Practice & locations screen will appear.
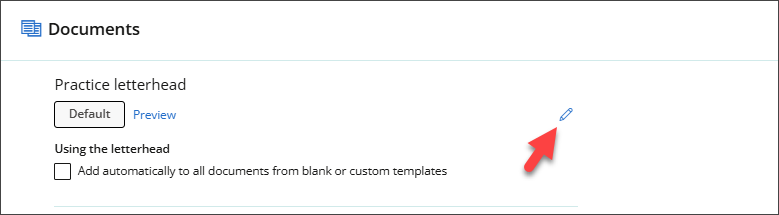
- Scroll the page until you reach the Documents section.
- Click the pencil edit icon to open the letterhead template in the document writer.
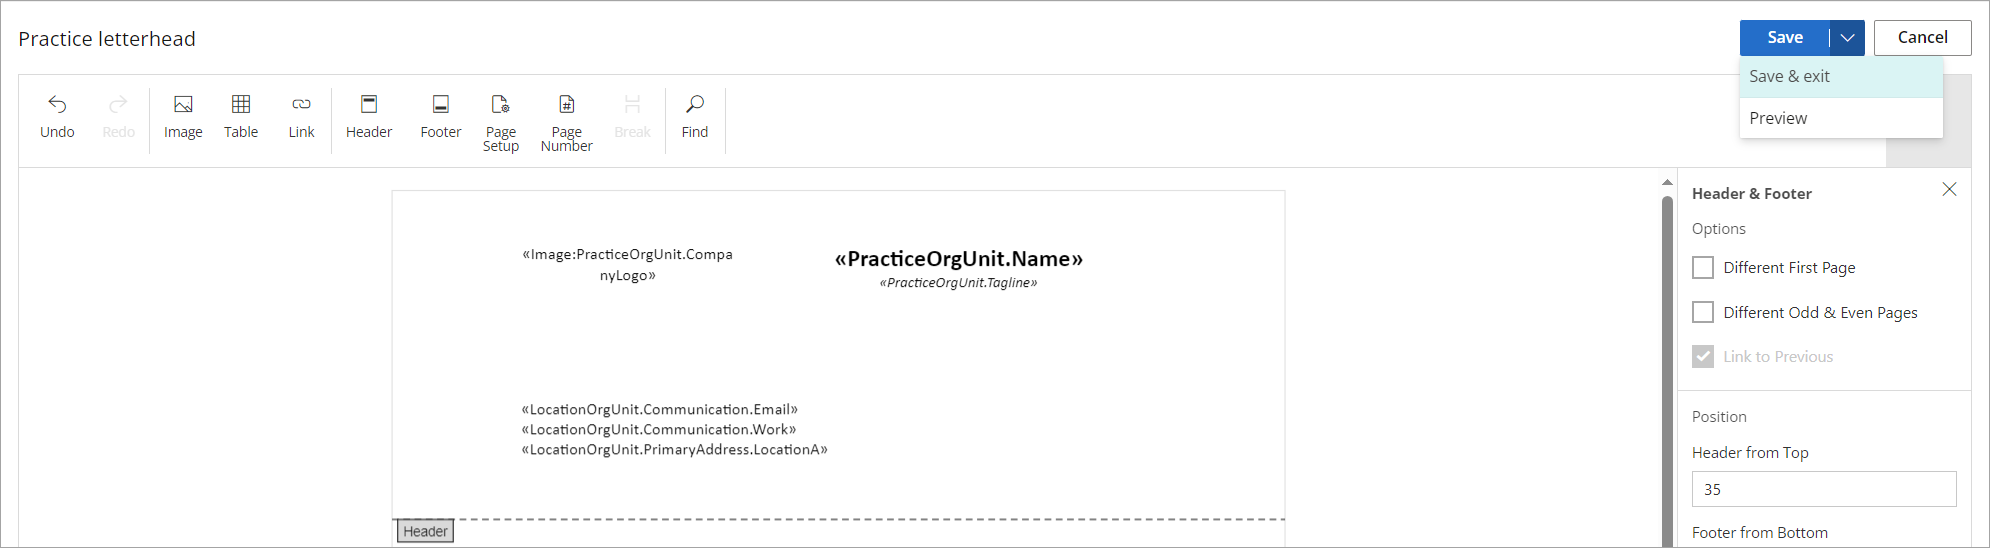
- Add the required merge fields to the header and footer.
- Once all required fields have been added and the header and footer are complete, click Save & Exit or Preview to finalise the letterhead.
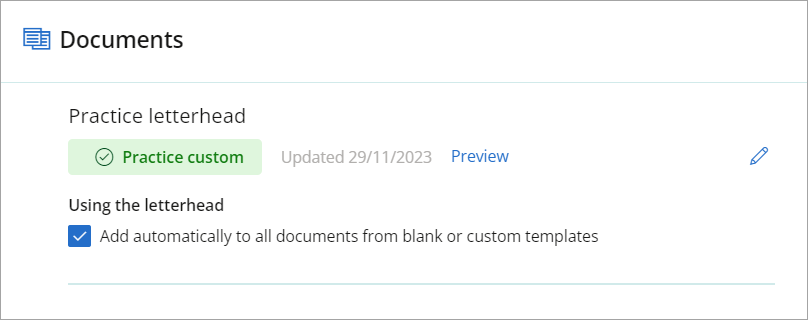
- The Practice Letterhead can be automatically applied to all documents created from blank or custom templates by selecting the Using the letterhead checkbox.
NOTE Accessing Documents requires Practice Information - Administrator security permissions. Learn how to configure business roles and security permissions.
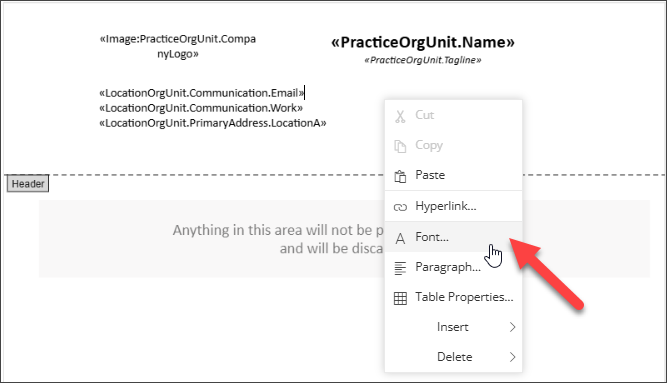
To access editing options such as font and table formatting, right click in the document header.
The Practice Letterhead can only be viewed or edited from Settings.
This option is un-checked by default. If left un-checked the custom practice letterhead can still manually be selected when created any blank documents or documents using custom templates.
Autofill templates
Autofills allow you to create shortcuts for frequently typed phrases in Today's notes or the Document writer, saving time while taking notes during a consult or writing a letter.
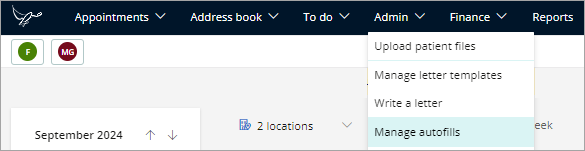
Autofills can be accessed and created from either the Admin menu in the top navigation bar, the Document writer, or from Today's notes in the clinical record. Autofills can only be deleted from Admin > Manage templates & forms > Autofills.
Create a new Autofill template
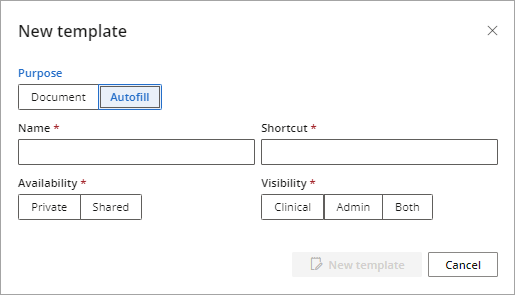
- Select Admin > Manage templates & forms > Autofills and choose New template.
- Give the template a name and a keyboard shortcut.
- Set the availability to either Private or Shared. Practices can create practice wide shared autofills.
- Set the visibility of this autofill. Visibility indicates where this Autofill will be usable in the software.
- Select New template. You will be directed to the document editor.
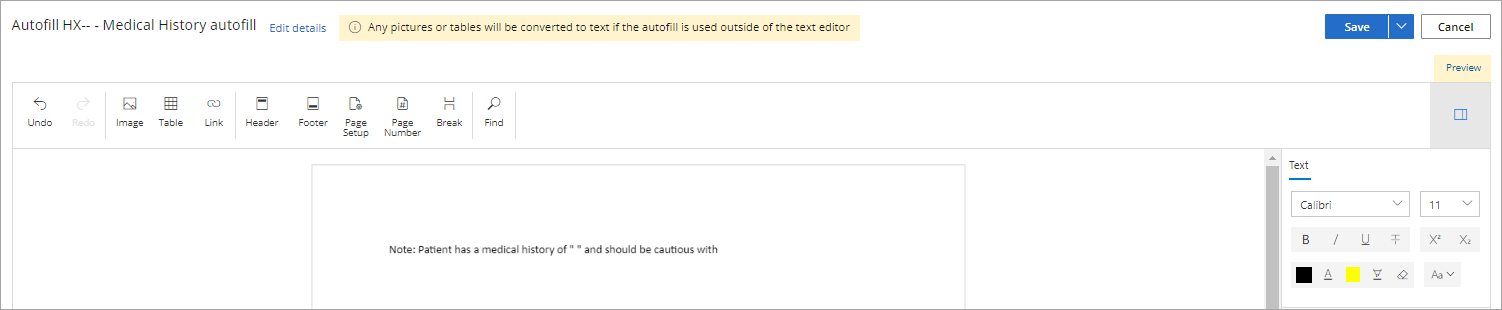
- Add the text that will be auto filled when this template is used and press Save.
Users can customise a shared autofill and create their own private copy. If a private copy for a user exists, the private shortcut’s contents will be applied whenever it is used.
Autofills formatted in the document editor can include text formatting and merge fields. Autofills can also be nested
The template will now be usable in Today's notes if Clinical visibility has been checked, by typing the keyboard shortcut or selecting the autofill icon to view all autofill templates and choosing a template.

Editing or deleting an existing template
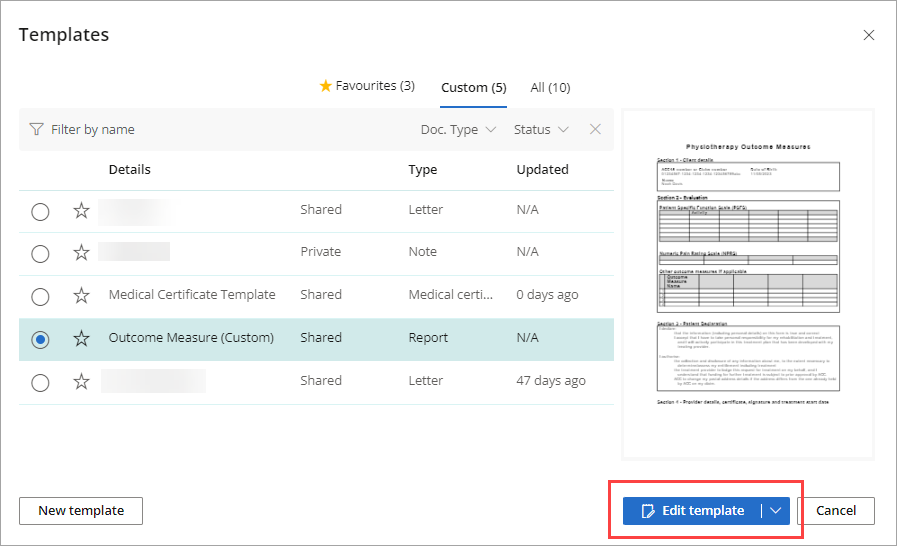
- From any screen, select Admin > Manage templates & forms > Autofills. The Autofills templates modal is displayed.
- Select Custom to show only user-created templates. You cannot edit and save supplied templates; you must save them as a different name.
- Select the template you want to update and click Edit templateor select the down arrow, this willow allow you to Delete the template. If an autofill is Private and cannot be edited, you can 'Save as copy' to create your own copy of the autofill.
- Make the changes necessary and select Save.
Last updated: 04 March 2026.


 AU
AU 