Phone: For support in Australia, call 1300 401 111 and select option 3 for Bp Allied. Next, select option 1 for Support or Option 3 for Training. For support in New Zealand call 0800 401 111 and select option 3 for Bp Allied. Next, select option 1 for Support or Option 3 for Training
Add a New Client
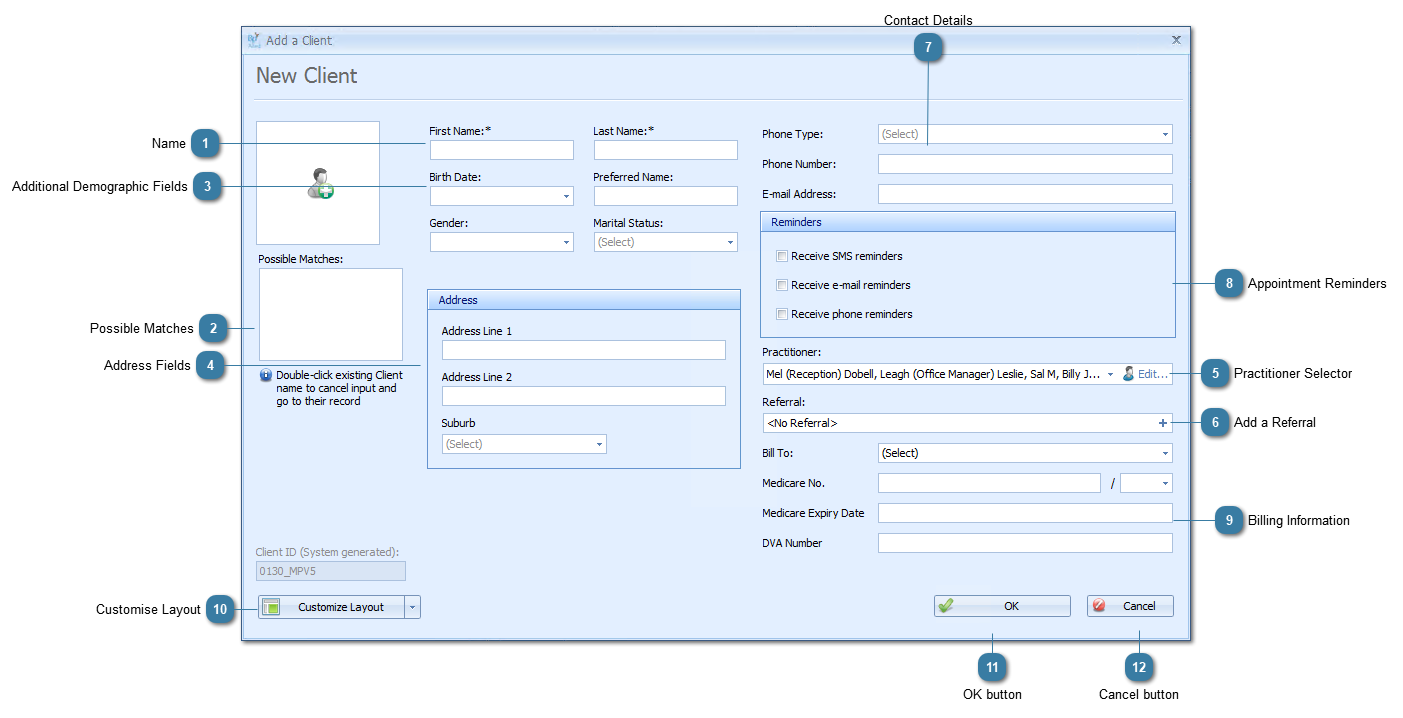
Use the New Client form to add a new client into your Bp Allied database.
Name
Enter a First Name and Last Name for a client.
This is the ONLY information required to be entered into this screen. The OK button could be pressed and an appointment for the client made.
For Medicare, DVA and Patient Claims the following rules apply:
Characters accepted are alpha-numeric characters, apostrophes, hyphens and spaces, however there can be NO spaces immediately before or after the apostrophes and hyphens.
The maximum field length is 40 characters. If the maximum field length is exceeded, the following type of warning will display:
The following characters can NOT be used when entering a First Name or Last Name fields. All practices who have Medicare Online Claiming enabled will automatically have these checked for when adding or editing a client and sending a claim.
An example of the warning that will display in the First name or Last name fields if they do not meet the validation criteria.
The name will need to be changed before it can be saved.
Tip: Enter the Clients name as it appears on their Medicare card. Use the Preferred name field for any names that the client prefers to be called, it will show up in brackets on the Appointment Book screen.
Examples:
Apostrophes
O’Toole – Valid
O’ Toole – Invalid (one or more spaces after apostrophe)
‘Toole – Invalid (one or more spaces before apostrophe)
Hyphens
Anne-Marie – Valid
Anne -Marie – Invalid (one or more spaces before hyphen)
Anne- Marie – Invalid (one or more spaces after hyphen)
Preferred Names
Robert AKA Bob – Valid
Robert (Bob) – Invalid (’(’ and ‘)’ are not one of the allowed characters)
Once you begin typing a name into this form you may be displayed a list of possible matches, review this list to ensure you do not add the same client into the database twice. You can double click the client displayed in this Possible Matches area to go to their record and cancel entering a new client.
This allows the additional of a referral using the most basic information. The referral may need to have additional information added to it via the Client Details at a later stage.
The Referred by (Client) field has been removed from this section and can be added as a separate field via the Customise Layout option.
Preferred Payment type can be set so that when a payment is taken this option is automatically selected
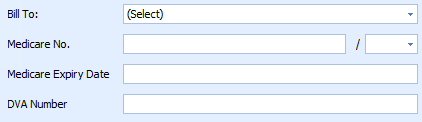
Bill to sets the Third Party to be selected when Invoicing
Add DVA and medicare information if required
Please note that if Medicare Online Claiming is to be used for either Medicare or DVA billing then these values will need to be verified within the Client Details form.
The customisation of the Add a New Client is discussed specifically by following this link. Included in this is a list of fields available for inclusion.