Bp SMS Autotext templates will be available for New Zealand users in Bp VIP.net Topaz SP2 in accordance with mobile network provider policy updates. Templates will be imported from the Live Update utility and can be set as defaults from the Communications tab in Facility Preferences.
If Bp SMS is already configured, after upgrading to Bp VIP.net Topaz SP2, users will need to import and update the default templates to one of the newly supplied system templates to continue sending SMS messages.
IMPORTANT The autotext SMS system templates provided cannot be modified or edited. To retain functionality of customisable autotext SMS messages, sites will need to purchase their own short code from the Bp Sales team.
Import Bp SMS Autotexts
- Go to File > Utilities > Live Update.
-
Select Import > Bp Library > Auto Text > Bp FTP and click Next.
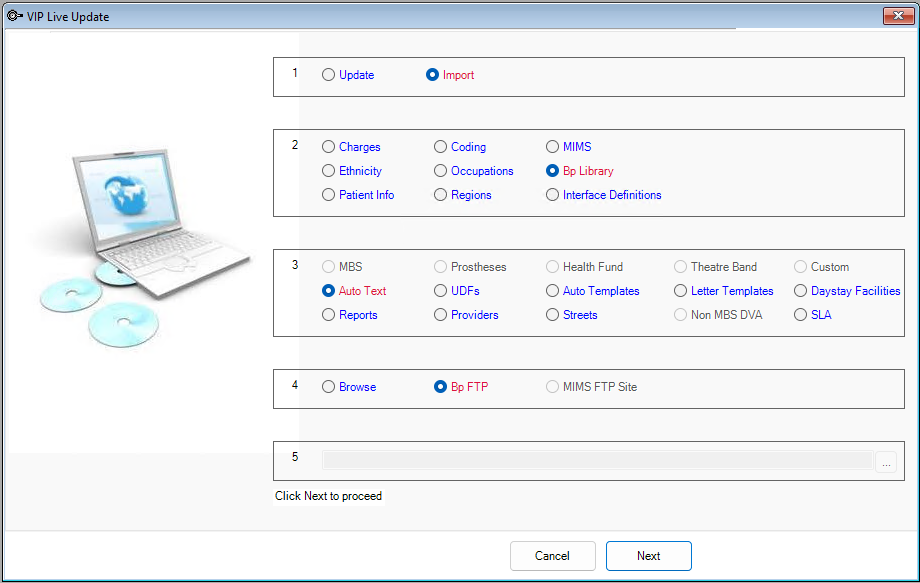
- From the AutoTexts to import... screen, select \New Zealand Specific > \SMS Auto Text > NZ SMS restricted autotexts and click OK.
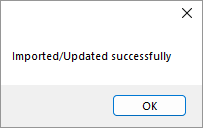
- The templates will import. A notification will display when the import is complete.
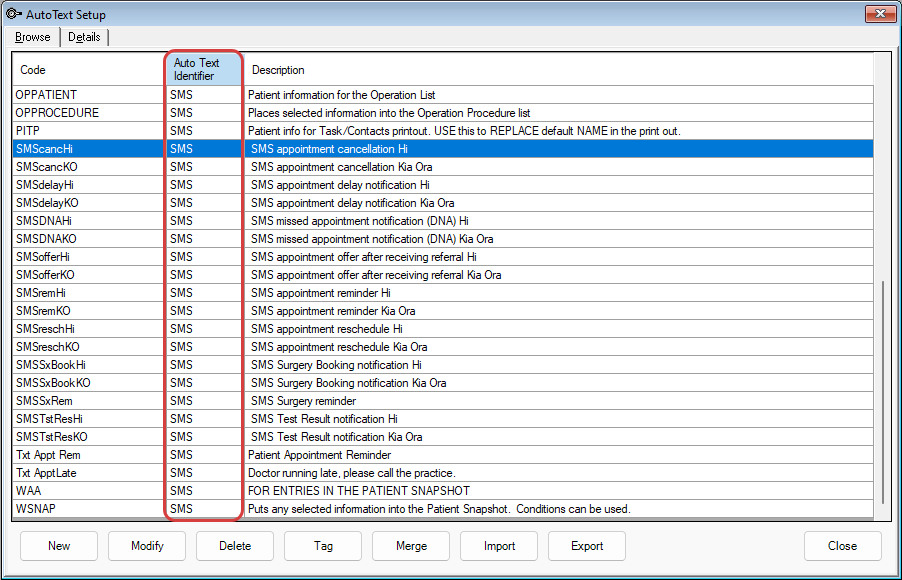
- Go to Setup > Autotext to view the imported templates. The Auto Text Identifier will be SMS.
- Select Modify to view a read-only record of the template. The SMS checkbox is ticked by default and cannot be modified.


Set default SMS templates
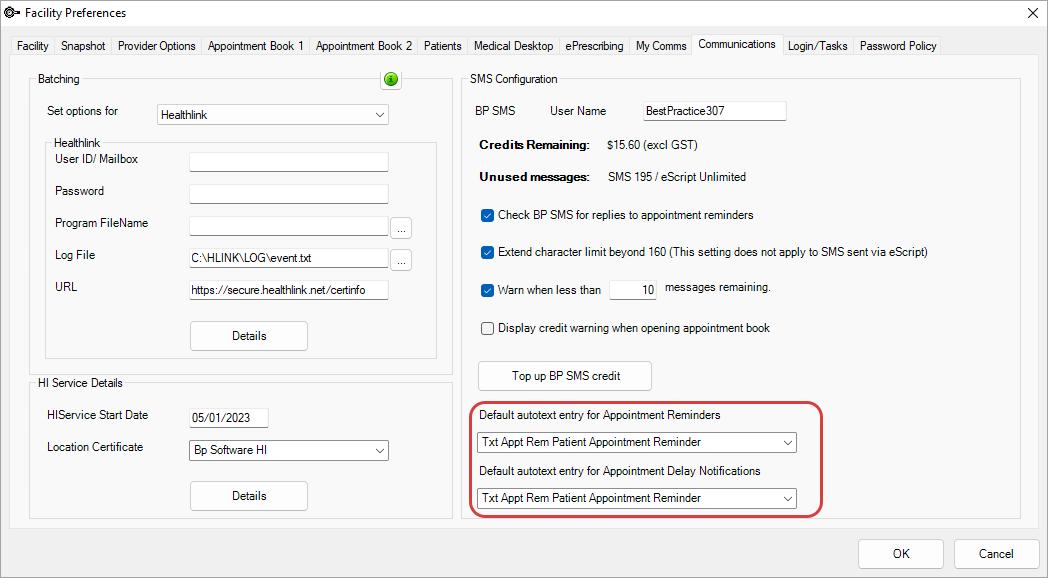
- Go to Setup > Facility Preferences > General Preferences.
- Select the Communications tab.
- Use the drop-down fields to select a Default autotext entry for Appointment Reminders and Appointment Delay Notifications.
- Click OK to save and close.
See Set up and top up Bp SMS for information on other SMS configuration options.
Use Bp SMS templates
Bp SMS Autotext templates can be sent from the Send TXT Messages and Send Bulk Appointment Reminders screens.
IMPORTANT All message fields are read-only and cannot be edited. New fields cannot be inserted into messages.
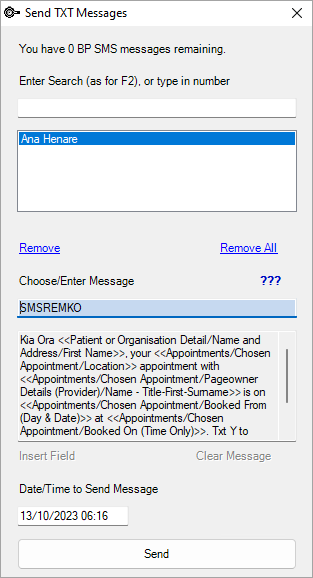
Send TXT Messages
- Open the Send TXT Messages screen from the Appointment Book.
- Select the template from the Choose/Enter Message field.
- Click Send.
See Send text messages to patients for further details.
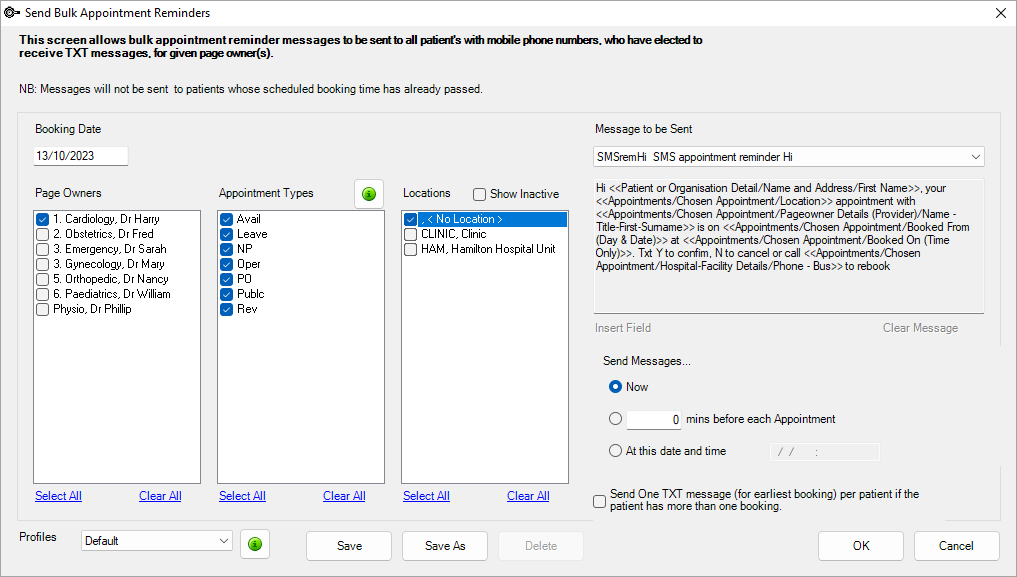
Send Bulk Appointment Reminders
- Open the Send Bulk Appointment Reminders screen from the Appointment Book.
- Select the template from the drop-down selection under Messages to be Sent.
- Click OK.
See Bulk Appointment Reminders for further details.
Preview TXT Messages
The Message field in the Preview TXT Messages screen is view only and cannot be edited.

Last modified: 15 December 2023