
This article explains how to enable SMS Appointment confirmations, create and edit Comms Schedules, and set Communication preferences for recipients in Bp Omni.
In this article:
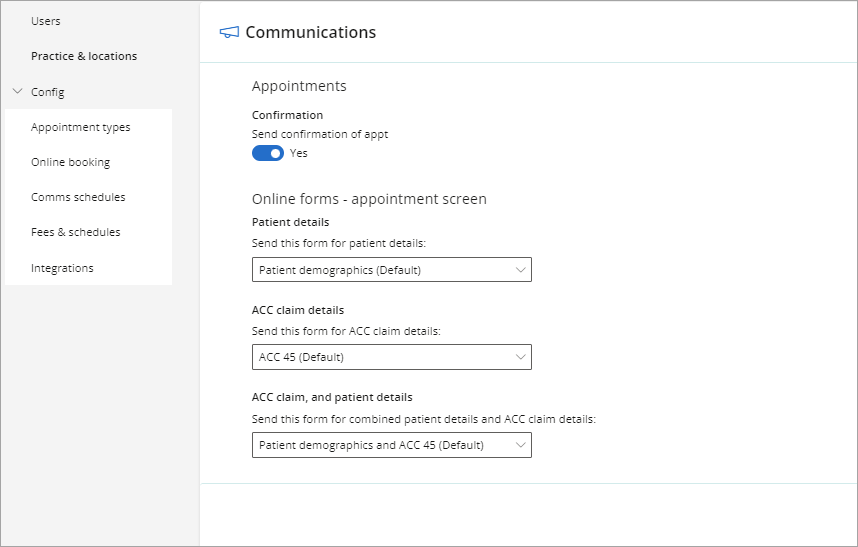
Enable Appointment Communications
- To enable Communications, click on your profile icon located in the top-right corner of the screen, then select Settings.
- Select Config from the menu options on the left, then click Practice & locations. The Practice & locations screen will appear.
- Scroll down the page until you see Communications.
- Toggle the Send confirmation of appt switch to Yes.
- Click Save.

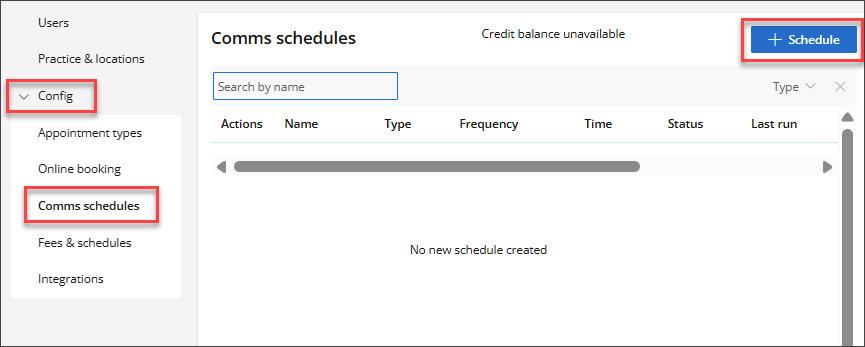
Create Comms schedules
- To create a Comms Schedule, click on your profile icon located in the top-right corner of the screen, then select Settings.
- Select Config from the menu options on the left, then click on Comms schedules.
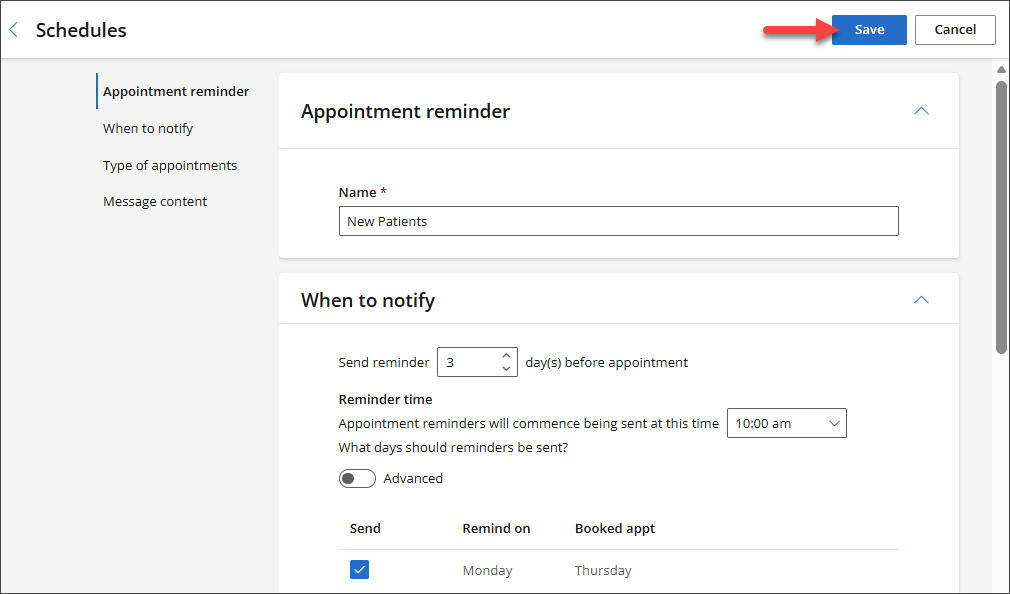
- Click + Schedule in the top-right corner. The Appointment Reminder screen will appear.
- Give the reminder a Name.
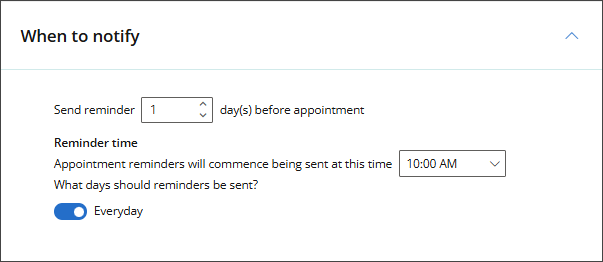
- Set the number of day(s) before the appointment that the reminder should be sent.
- Enter a Reminder time to schedule when reminders will be sent.
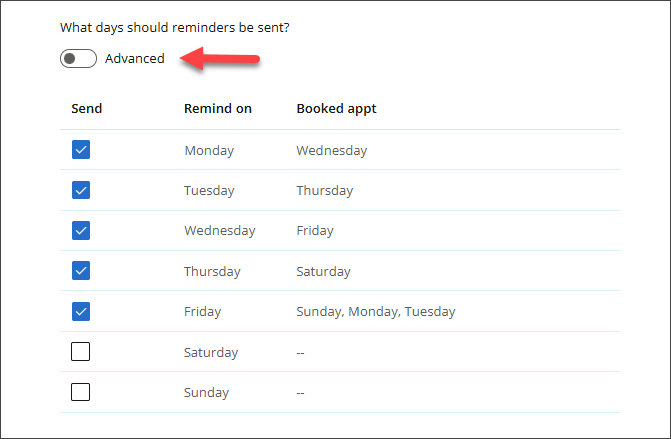
- Toggle the What days should reminders be sent? toggle to Advanced to set reminders by week day.
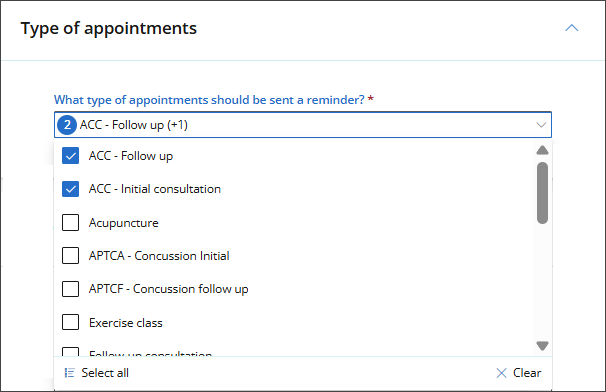
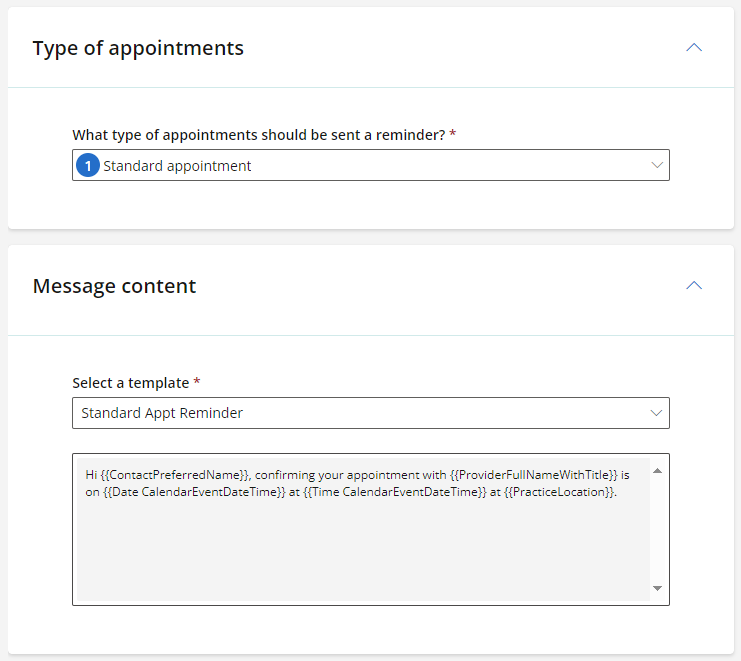
- Choose an appointment Type from the dropdown list of options.
- Select a template from the dropdown list.
- Click Save.
Appointment reminder
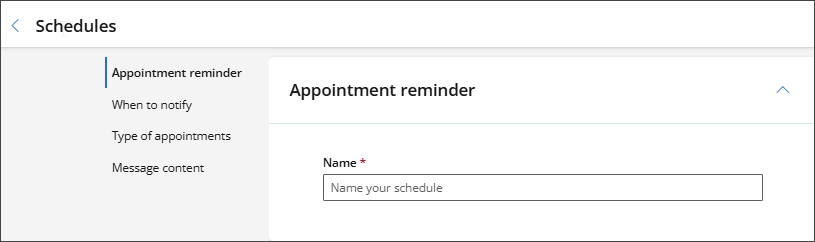
When to notify
Type of appointments
Message content
NOTE Comms templates cannot be customised for users in New Zealand.
Edit a Comms Schedule
- To edit an existing Comms Schedule, click on your profile icon located in the top-right corner of the screen, then select Settings.
- Select Config from the menu options on the left, then click on Comms schedules.
- Locate the Comms Schedule you want to edit, click the Action menu, and select Edit.
- The Schedule for an existing appointment reminder will appear. Edit the details as required, then click Save.

The Comms Schedule will be updated, and you will be returned to the Comms Schedules screen.
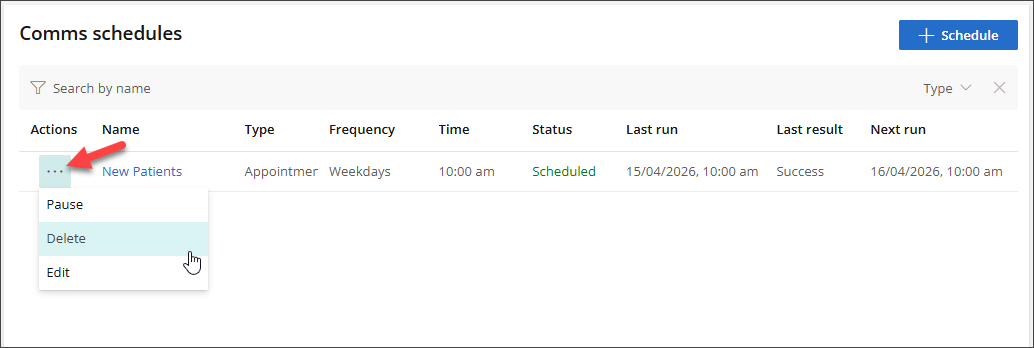
Delete a Comms Schedule
- To delete a Comms Schedule, click on your profile icon located in the top-right corner of the screen, then select Settings.
- Select Config from the menu options on the left, then click on Comms schedules.
- Locate the Comms Schedule you want to delete, click the Action menu, and select Delete.
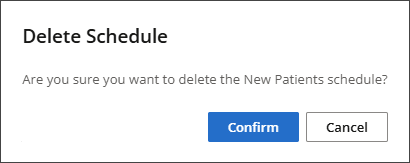
- The Delete Schedule modal will appear. To proceed with deleting the schedule, click Confirm.
The Comms Schedule will be deleted, and you will be returned to the Comms Schedules screen.
Set communication preferences for recipients
Communication preferences are set when editing the patient, client, organisation or individual's demographic details from the Address book.

Select EMAIL, SMS or OPTOUT from the dropdown selection for:
- Appointment reminders
- Appointment confirmations
- Clinical reminders
- Billing correspondence
- Online forms.
Last updated: 15 April 2026.


 AU
AU 