If you have just installed Bp VIP.net, you may have been supplied with an SQL Server backup file (.bak) that contains data converted from a previous package, or is a database preformatted by Best Practice Software based on information supplied about your practice. You will need to restore this .bak file to your Bp VIP.net SQL Server database before you can start to use the software.
When you first log in to Bp VIP.net, you can supply the location of the .bak file, and Bp VIP.net will create the initial database for you.
IMPORTANT This method is for new installs only. Do not use this method for restoring a backup to an existing Bp VIP.net database in use. Use SQL Server Management Studio instead. See Restore the database for more information.
Set up a new install database
- Copy the SQL Server .bak file to a location on the machine on which you installed SQL Server , or connect the media containing the backup file (for example, insert a mem stick into the machine).
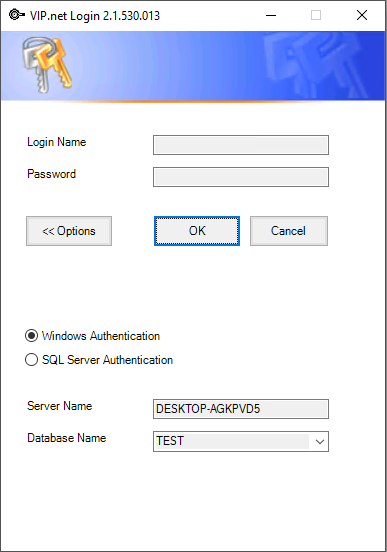
- Start Bp VIP.net. The Bp VIP.net Login prompt will appear.
- Click Options>> to open up the database connection options.
- Select the Windows Authentication radio button.
- Type the name of the computer into the Server Name field and tab out of the field. Bp VIP.net will attempt to connect to the SQL Server instance installed.
- If Bp VIP.net cannot connect, ensure that you have the correct server name and that SQL Server and the Windows firewall have been set up correctly.
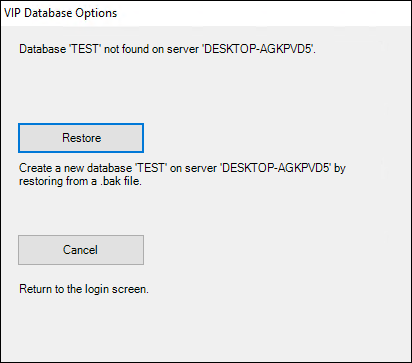
- Enter the name you want to assign to the new database in the Database Name field and click OK. Bp VIP.net will alert that it cannot find the database, and ask if you want to create a new database.
- Click Yes. Bp VIP.net will prompt for the location of the .bak file. Navigate to the file and click Open.
- Bp VIP.net will prompt for the folder in which to store the new database. Select a folder to store the database files and click OK.
- Bp VIP.net will begin creating and upgrading the new database. Do not interrupt the process.
- The next step depends on the type of .bak file supplied:
- If Best Practice Software supplied a preformatted database, the database will have a system username and password (such as 'admin / password1') you can use to log in to Bp VIP.net.
- If the database is generated from converted data, it will not contain a pre-existing username and password. Contact Best Practice Software Support to obtain an initial login credential.
- Log in to Bp VIP.net with the supplied credentials.
- Select File > Utilities > Import Licence. (This is the only menu option available at this point.)
- Click Import Licence and browse to the licence file supplied to you by Best Practice Software. Click OK.
- If the licence file is valid, Bp VIP.net will report that the licence file has been successfully imported.
NOTE You must restore the .bak file from the machine with SQL Server installed. You cannot restore from a network share.


You can now begin using Bp VIP.net.
Related topics
Last modified: 14 September 2022