You can deactivate a patient record if a patient passes away, or ceases attendance at the practice. You can also record and extract additional details through UDF fields.
Deactivate a patient
- Press F2 to search for the patient you want to deactivate and load into the snapshot.
- Press F3 to open the Patient Details.
- Tick the checkbox Deactivate on at the bottom left of the window.
- Bp VIP.net will prompt you to confirm that you want to deactivate the selected patient. Check that you have the right patient and click Yes.
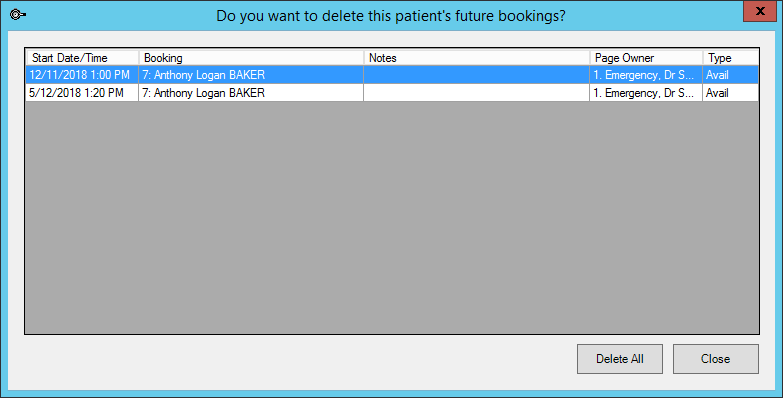
- If the patient has future appointments booked, Bp VIP.net will prompt to confirm if you want to delete the future bookings.
- Click Delete All to delete or Close to keep the appointments.
- Select the Reason for deactivation.
- Click OK in Patient Details to close the window. The patient is now deactivated.

The Deactivate on field will be ticked. The deactivation date is automatically populated with the current date and cannot be modified.

NOTE Administrators with permission can right-click in the Reason drop-down and select Maintain list to add new reasons for deactivation.
Include deactivated patients in searches
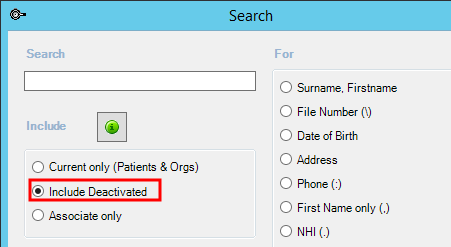
To include deactivated patients in searches and lists, tick the Include Deactivated option where available.

Reactivate a patient
Open the Patient Details for the patient and untick Deactivate on. Bp VIP.net will prompt you to confirm that you want to reactivate the patient. Click Yes. The patient will now be available to edit and book appointments as normal.
Record the time and place of death
The following UDF preset fields are available to record additional information about a patient who has died:
- Death date
- Death date and time
- Place of death.
- From the main menu of Bp VIP.net, select Setup > User Defined Forms.
- Select the UDF you want to add the fields to and click Modify.
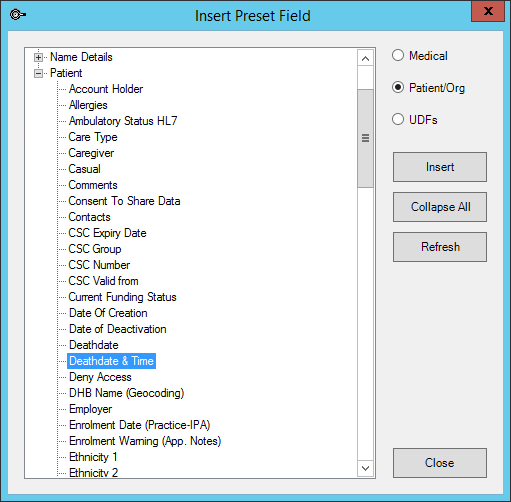
- From the Form Designer, click the Preset icon to open the Insert Preset Field window.
- Select Patient/Org from the right hand side and open the field tree at 'Patient'. The fields 'Deathdate', 'Deathdate & Time', and 'Place of Death' will be available to insert.
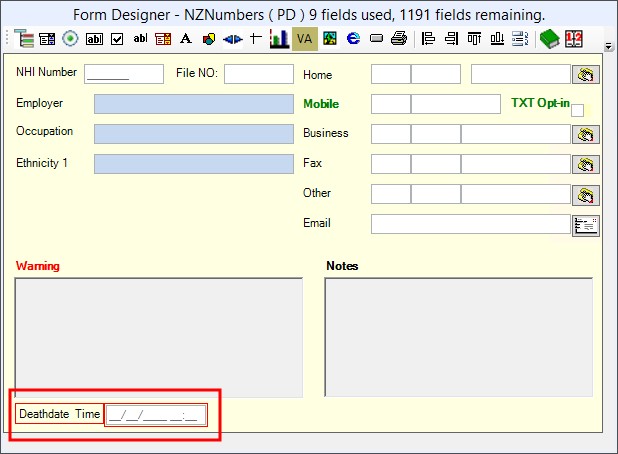
- Select the field you want to insert and click Insert. The field and label will be inserted into the UDF.
- Position and edit the UDF as normal. See Create a UDF for more information.


The UDF fields can now be inserted into a letter from MyComms. See Create letter and auto templates for more information.
Related topics
Last modified: July 2020