
This article explains how to set up your practice when you first log into Bp Omni and configure practice details from the Practice & locations settings.
NOTE This process should be completed by the practice owner.
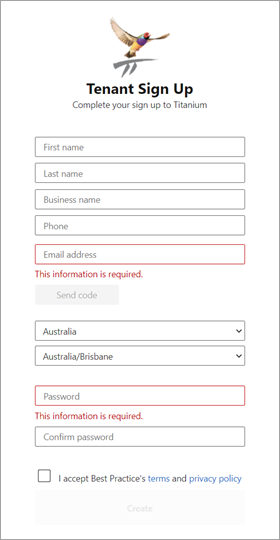
- Go to the URL supplied to you by Best Practice Software to access the Bp Omni Tenant sign up screen and enter the following details:
- First name
- Last name
- Business name
- Phone number
- Email address
- Click Send code.
- Select your Country and time zone.
- Enter your Password and confirm the password.
- Tick I accept Best Practice's terms and privacy policy, and click Create.
Once you have entered an email address, the Send code button will be enabled.
Your Bp Omni tenant has now been created, and you will be logged in.
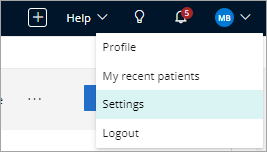
- Click your profile icon in the top-right corner and select Settings.
- From the menu on the left of the screen, click Practice & locations. The Practice & locations screen will appear.
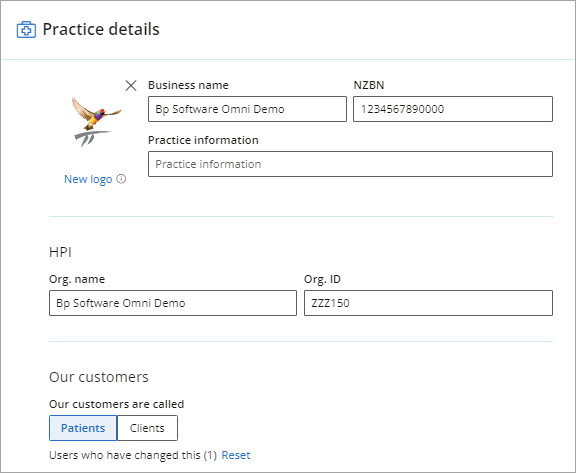
- Enter your Practice Details, including the Business Name, New Zealand Business Number (NZBN), and Practice Information.
- To add a logo, click New Logo. Select your saved logo image and click Open.
- If applicable, enter your Org. name and Org. ID in HPI.
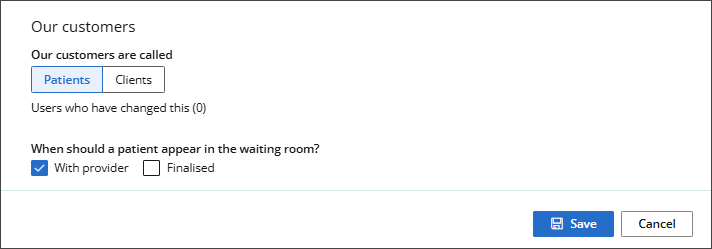
- Select what customers should be referred to as: Patients or Clients.
- When should a patient appear in the waiting room?. Tick With provider if the patient should appear while they are with the provider, or Finalised if the patient should appear once the visit is finalised.
- Click Save.
The Users List will appear.
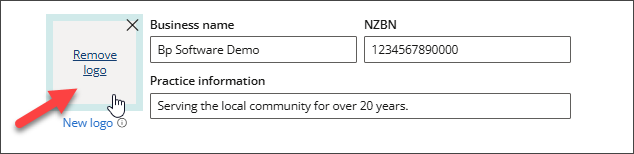
To remove the logo, hover over the image and click Remove logo.
- Click your profile icon in the top-right corner and select Settings.
- From the menu on the left of the screen, click Practice & locations. The Practice & locations screen will appear.
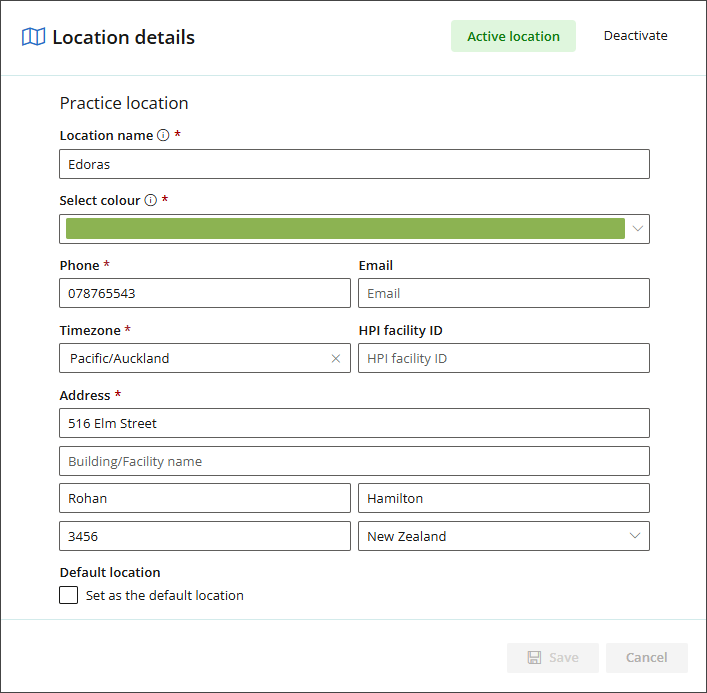
- Scroll down the page until you arrive at Location Details.
- In Location name, enter the name of your practice.
- Enter your practice Phone number and Email address.
- Select the Timezone for your region.
- If applicable, enter the HPI Facility ID.
- Enter the practice Address information, including the street, building or facility name, suburb or city, postcode, and country.
- Click Save.
The Users List will appear.
Preferences are activated at the practice level and apply to all users in Bp Omni.
- Click your profile icon in the top-right corner and select Settings.
- From the menu on the left of the screen, click Practice & locations. The Practice & locations screen will appear.
- Scroll down the page until you arrive at Preferences.
- To require users to record a reason for cancelling an appointment, toggle Capture Appointment Cancellation Reason to Enabled.
- If only one open Condition exists, and you want it to link to new appointments automatically, toggle Auto-link to condition to Enabled.
- Click Save.
The Users List will appear.
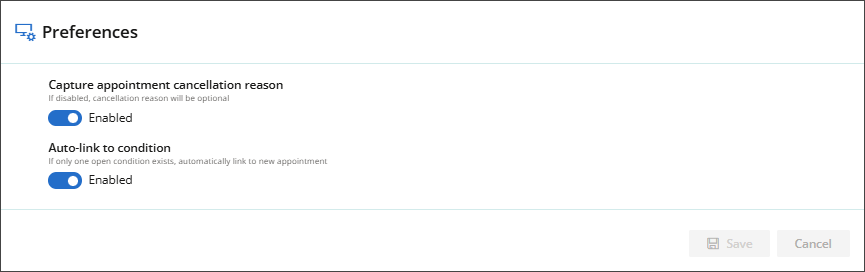
If Disabled, entering a cancellation reason will remain optional.
See Create and edit cancellation reasons for more information.
See Automatically link appointments to a condition for more information.
- Click your profile icon in the top-right corner and select Settings.
- From the menu on the left of the screen, click Practice & locations. The Practice & locations screen will appear.
- Scroll down the page until you arrive at Security.
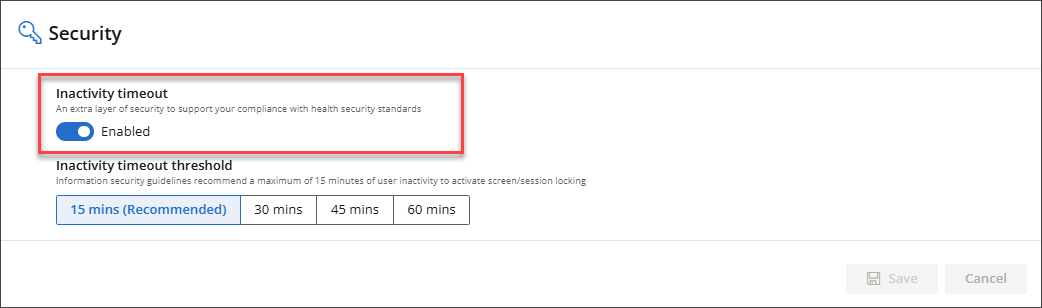
- To enhance security and ensure compliance with Health Security Standards, toggle the Inactivity timeout switch to Enabled.
-
The default recommended Inactivity timeout threshold is 15 minutes. Information security guidelines recommend a maximum of 15 minutes of user inactivity before screen or session locking occurs.
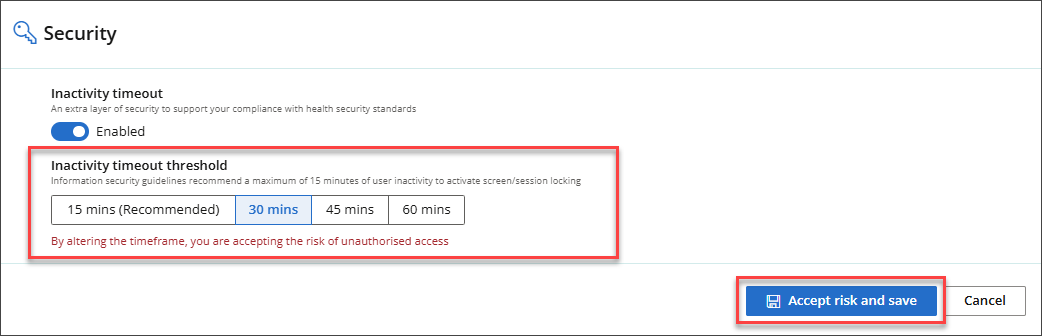
The Inactivity timeout threshold can be increased to 30, 45, or 60 minutes. However, increasing the timeframe also increases the risk of unauthorised access. If you choose to proceed, click Accept Risk and Save.
- Click Save.
The Users List will appear.
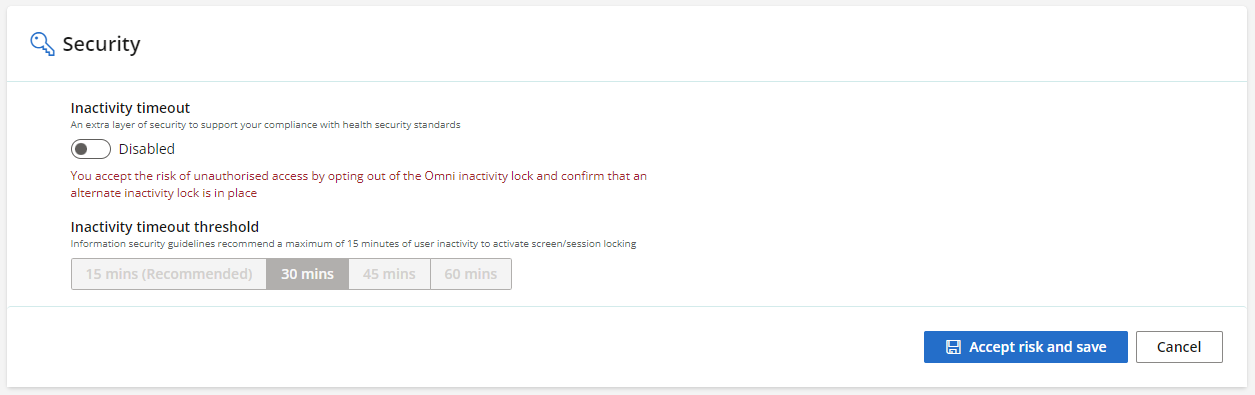
Customers of Bp Omni in Aotearoa (NZ) have the option to disable Inactivity timeouts entirely.
Customers located in Australia do not have this option due to the My Health Record integration that mandates this inactivity lock for integrated Cloud Practice Management Systems.
If customers in Aotearoa (NZ) opt to disable the inactivity timeout, we recommend implementing additional security measures to prevent patient/client data from unauthorised access. To proceed, you must acknowledge this risk as a condition for disabling the inactivity timeout lock. Click Accept Risk and Save.
- Click your profile icon in the top-right corner and select Settings.
- From the menu on the left of the screen, click Practice & locations. The Practice & locations screen will appear.
- Scroll down the page until you arrive at ACC Setup.
- Enter the relevant ACC contract types and IDs for your practice.
- In the Health Secure certificate section, click Browse files and browse to your Health Secure digital certificate, or drag and drop the certificate onto the screen.
- Click Save.
The Users List will appear.

NOTE The default HPI CPN for ACC queries can be set per user in the user settings of the selected provider.
See ACC Contracts for more information.

- Click your profile icon in the top-right corner and select Settings.
- From the menu on the left of the screen, click Practice & locations. The Practice & locations screen will appear.
- Scroll down the page until you arrive at Documents.
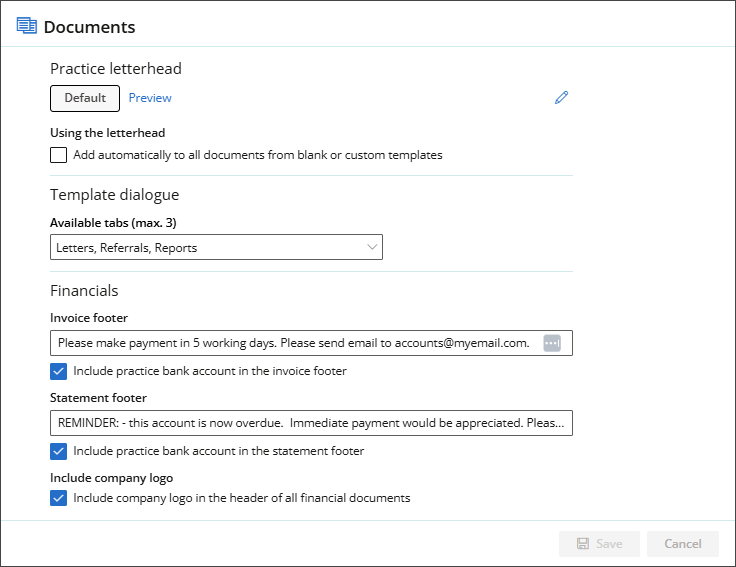
- Select the pencil edit icon to edit the default Practice letterhead in the Document writer screen.
- Tick Add automatically to all documents from bank or custom template if you want to apply the letterhead to these documents.
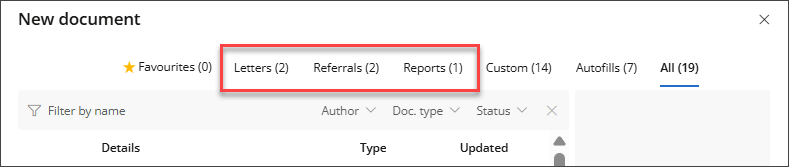
- Select up to three template categories to use as Available tabs.
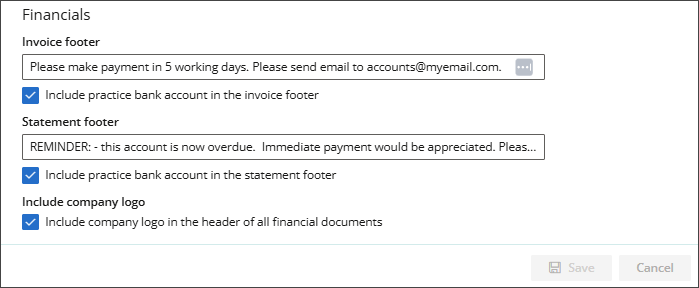
- Enter free text to be used in the Invoice footer.
- To add the Practice bank account to the Invoice footer, tick Include practice bank account in the invoice footer.
- Enter free text to be used in the Statement footer.
- To add the Practice bank account to the Statement footer, tick Include practice bank account in the statement footer.
- If you have a company logo set for the practice and want it to appear on all financial documents, tick Include company logo in the header of all financial documents.
The Users List will appear.
Practice letterhead
Template dialogue

The Available tabs allow you to quickly filter the New document modal and select the most frequently used template categories.
Financials
- Click your profile icon in the top-right corner and select Settings.
- From the menu on the left of the screen, click Practice & locations. The Practice & locations screen will appear.
- Scroll down the page until you arrive at Financial information.
- Enter the practice Bank details, including the Account name, Bank, Branch, Account number, and Suffix.
- Enter the practice GST number.
- If applicable, toggle All fees are GST inclusive to Yes and set the GST value.
- Click Save.
The Users List will appear.

Last updated: 20 October 2025.
Next steps
Now that your practice details have been entered, you can complete further set up tasks in Bp Omni.


 AU
AU 