This article describes how the pathology and radiology investigation workflow is mapped in Bp Premier and the screens that are used for each stage, including requests, allocation, and following up.
Pathology and radiology tests are ordered from the patient record, and the results are downloaded by third party secure messaging software to a location on the Bp Premier server hard disk. Bp Premier then imports the results files from the download folder into the database.
Request workflow
- A provider generates an investigation request from the patient record.
- Practice staff can review sent investigation requests to see if investigation results been returned.
- When investigation results are imported into Bp Premier manually or by the overnight process, correctly formatted results are matched to a patient record or assigned to a provider Inbox.
- Unmatched reports are reviewed and assigned manually from the Incoming Reports screen.
- A provider reviews the incoming results in their Inbox and actions any results.
- Practice staff review actioned results in the Followup Inbox so that patients can be contacted and return appointments booked.
If you have converted from another clinical software package, or have a backlog of outstanding requests, you may need to periodically clear outstanding requests.
Manage investigation requests
The Investigation Requests screen displays the investigation requests that have been ordered through Bp Premier. Use this screen to monitor outgoing requests for investigation and that results have been returned.
- Select View > Investigation requests from the main Bp Premier screen.
- Filter the requests displayed to a date range.
- Select from the By doctor drop-down list to only show requests from a specific provider. Tick the Include already returned checkbox to include investigation requests that have had results returned by a pathology lab.

Bp Premier cannot determine automatically that a request has been received in entirety, because this data is not provided in the result file from the laboratories. You can, however, determine if at least some of the request has been returned:
- Where the result is shown in green and has a Status of ‘Partial’, the request has been partially received. This status relies on the laboratory including the order number from your request in the returned result file.
- If the result has not been returned (even partially), or the laboratory has not used the order number, the request will show in pink with a status of ‘Outstanding’.
Manage incoming reports
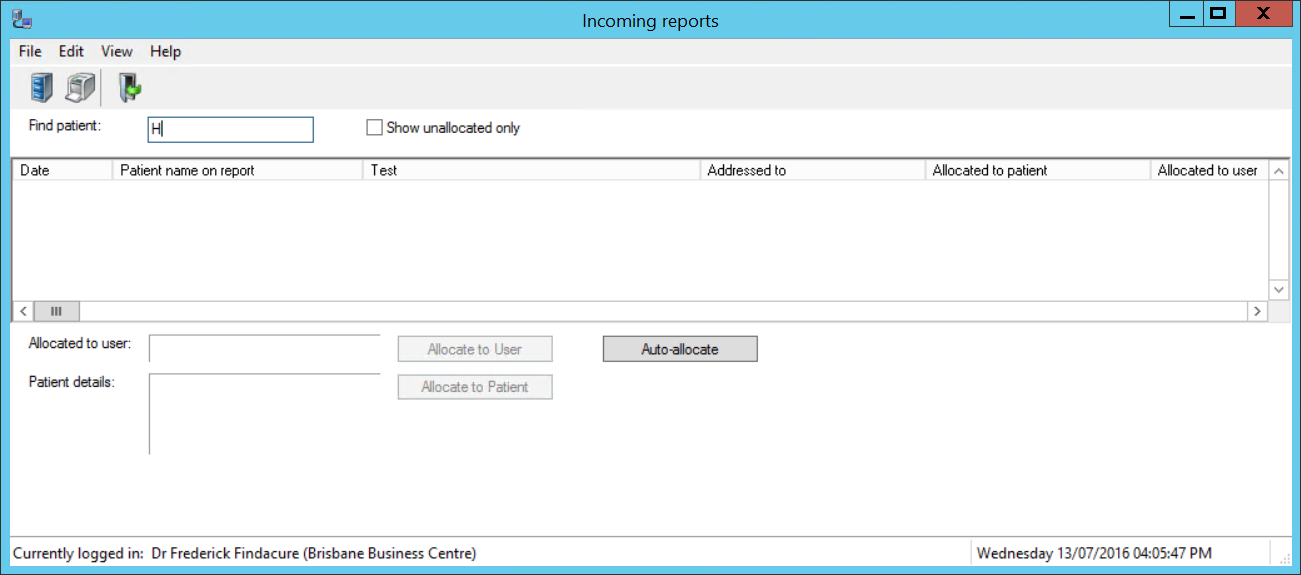
This function monitors all pathology and radiology results and reports that are imported into Bp Premier. Opening the Incoming reports screen also forces an import of any results that are waiting to be imported.
Select View > Incoming reports from the Bp Premier main screen.

This screen shows all reports that have been received and imported into Bp Premier but have not yet been processed by the practitioner via their Inbox. Results will not appear in the patient’s file until the provider has processed the result via the Inbox function.
TIP Results that cannot be matched to a patient will automatically be allocated to the provider's Inbox, unless the option in Setup > Configuration > Don't allow unallocated reports into inbox is selected.
In most cases, the system will automatically allocate a result to the correct patient and provider. However, if the result has patient or provider names spelt or formatted differently to the way the names were entered in Bp Premier, the result will not appear in any Inbox. You can tell if the system has not been able to match a result, because both the Allocated to patient or Allocated to user fields will be blank. Tick Show unallocated only at the top of the screen to show only those results that are not matched.
Any unallocated results will need to be allocated manually from this screen. To allocate a report, right-click on a report in the list and select Allocate to Patient or Allocate to User.
NOTE Best Practice Software recommends nominating a practice staff member to regularly check the Incoming reports screen to ensure that results are not missed.
View actioned investigation reports
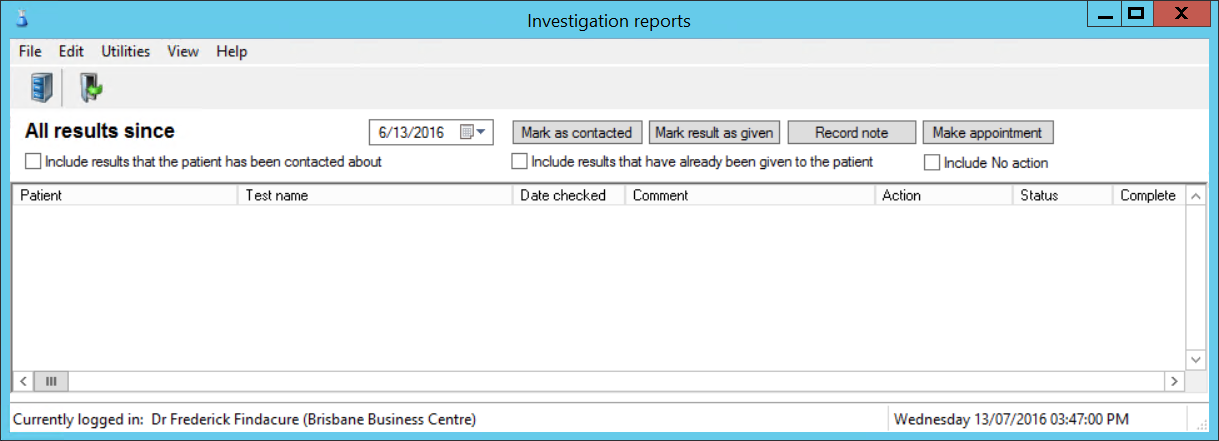
The Investigation Reports screen displays all downloaded reports that have been reviewed by a provider in the ‘Inbox’ and had a ‘Notation’ and ‘Action’ assigned to it.
The screen allows staff to view patient results and reports, for example, when a patient calls the practice to find out if results have come back and the doctor's opinion. This screen can also be used to mark results as ‘contacted’ or ‘given’; however, Best Practice Software recommend that you use the Follow up Inbox for this purpose.
- Select View > Investigation reports on the main Bp Premier screen to display the Investigation Reports screen.
- Tick the Show All Results checkbox to display all investigation results.
- Choose File > Print from the menu bar or click on the icon to print the Investigation report list.
- To access all reports for a specific patient, select Edit> Find from the menu bar and search for the patient.

By default, the screen will show all results received in the last month that have not been actioned by staff (not marked as contacted or given).
Investigation reports can be moved from one patient file to another if incorrectly allocated. Select Edit > Move and choose the correct patient using the Select patient screen. The report will be automatically transferred into the Investigation reports section of the selected patient record.
View investigation requests for a single patient
- From the patient record, select Request > List. The Investigation requests screen will appear, showing all requests made for the patient.
- Select a request and click Mark as returned to mark the request as returned to patient in the patient record.
View unchecked reports for a patient
A provider can view unchecked reports for a single patient.
From inside the patient record, select Clinical > Unchecked reports. The Provider's Inbox will open, showing any unactioned results for the patient.
Move investigation results
A report may be misfiled to the wrong section of the patient’s file, or the wrong patient.
In the Correspondence In section of the patient record, right-click and select the option to move an entry into Investigations or another patient.
In the Investigations section of the patient record, right-click and select the option to move an entry into Correspondence In. See Import, scan, or move documents in a patient record for more information.
See for more information on managing results that have been allocated. See for more information on following up reports that have been actioned and require followup activities, such as booking a recall appointment.
