Bp Premier provides a database account to allow your practice access to the SQL database through the Bp Browser utility and view data. This function can be useful for inspecting your practice data prior to exporting for reporting requirements, for example, or troubleshooting.
The BPSRawData account is deprecated from early Jade onwards. There is now only a single username and password to set up for using the Bp Browser in Setup > Configuration > Database.
NOTE The Bp Browser account is not designed for third-party access to the database. If you want to enable integration with an approved third-party, you can do so by going to Setup > Configuration > Database > Setup third-party integrations. See Approving third-party integration for more information.
Set up the Bp Browser account
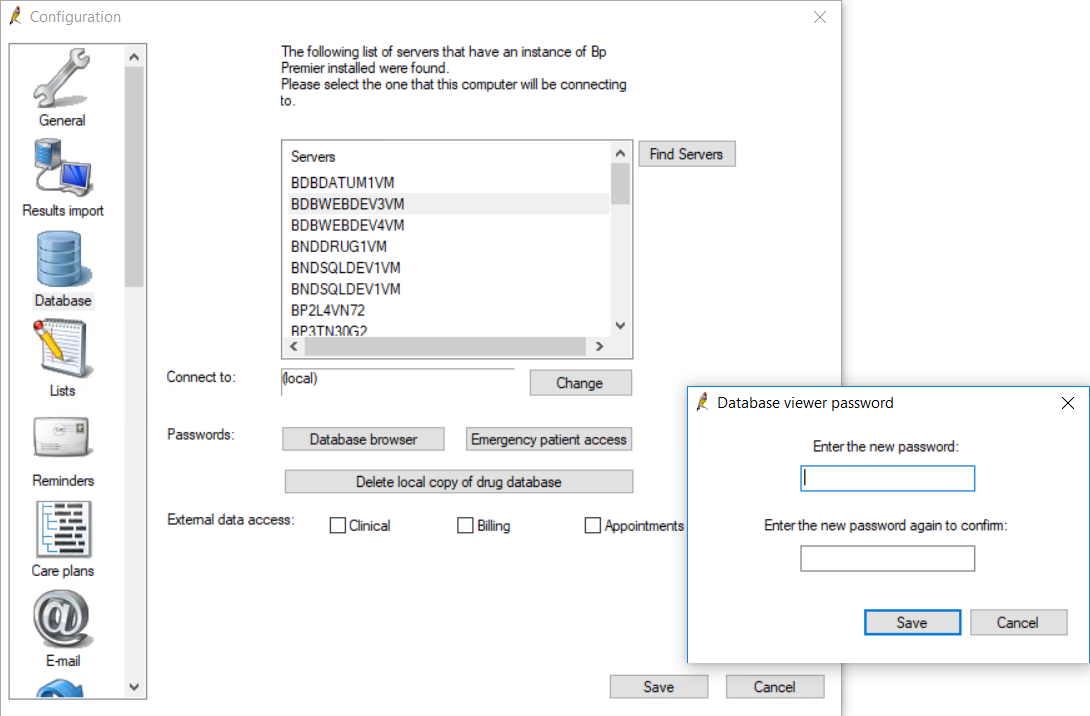
- Select Setup > Configuration from the main screen. Select the Database tab.
- Click Database browser. The Database viewer password screen will appear.
- Enter the password that you wish to use and re-enter the same password to confirm. Click Save.

IMPORTANT Do not lose the password that you set for this account, because this password cannot be reset by practice staff. Ensure that the owner of the data knows this password and you store this password in a secure location, such as the practice safe, as well as off-site.
Browse the database
- Select Start > Programs > Best Practice Software > Best Practice > BP Browser.
- The login screen will appear and the User ID will default to 'bpsviewer'. Enter the Bp browser password you set in Configuraiton. A Select table screen will appear, showing a list of tables that can be viewed and queried.
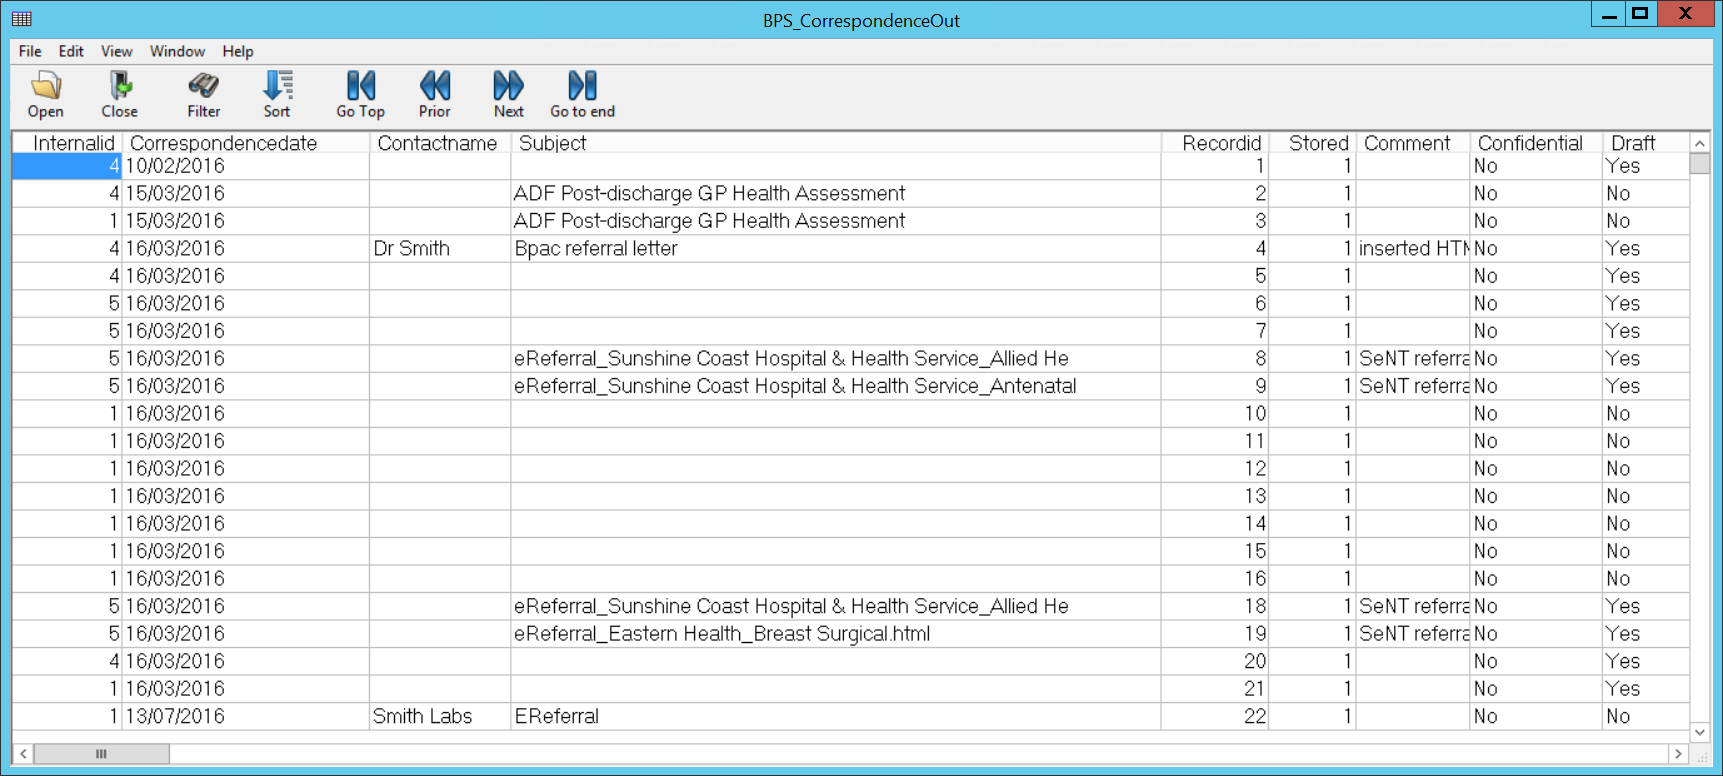
- Select the table that you wish to view and click Open. The BP Browser screen will display the fields and data that can be viewed for that table.
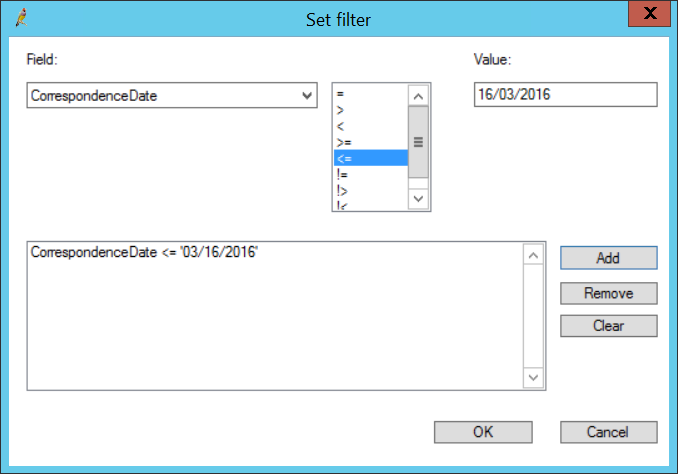
- Click Filter to display the Set filter screen.
- This screen builds statements for custom data searches on the selected table.
- Select View > Order from the menu to display the Set Order screen. This screen changes the sort sequence of the displayed data.
- Select File > Export to export a table in XML or TXT format.


