There are three types of letterhead in Bp Premier:
- The practice letterhead.
- Location-specific letterheads.
- User-specific letterheads.
By default, Bp Premier will have a least one letterhead record, usually the practice letterhead. If you converted your data from another clinical application, the practice letterhead will have been converted, as well as any user letterhead records.
The practice letterhead is a global letterhead available to all users with permission to create and edit documents. For some practices, the practice letterhead is sufficient for all staff when printing documents.
You can also create letterheads that are specific to users. For example, a provider may prefer or be required to use his or her letterhead, which contains details specific to the provider. If a user does not have a user-specific letterhead, the practice letterhead will be used for any documents created.
Location letterheads are available to all users and relate to a particular location of the practice. Location letterheads are not substituted for absent user letter heads like the practice letterhead.
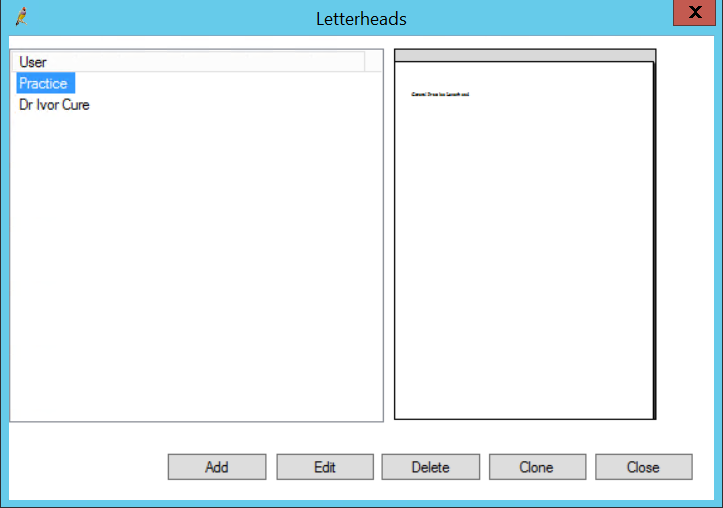
To check if you have an existing letterhead in the system, select Templates > Edit Letterhead from the word processor. All the letterheads that have been set up are shown.
NOTE If you intend to insert a logo or other graphic into your letterhead, optimise the image for size and colour in a graphic program prior to use in a template. Each time the letterhead is used, the image will be saved in the database. Keep image sizes as small as possible (less than 100Kb) to restrict the database size.
Edit the practice letterhead
- From the main Best Practice screen, click the
 icon or select Utilities > Word processor from the menu. The word processor will open.
 - Select Templates > Edit letterhead. The Letterheads screen will appear.
- Select 'Practice' from the list and click Edit. The letterhead will be loaded into the word processor. For example:
- Modify the letterhead template, inserting fields as you would for any template.
- Select File > Save.


Add a letterhead for a user
In many cases, a practice letterhead is adequate, because you can use template fields to display user details such as the doctor's name, provider number, and title, for example. However, you can create a letterhead unique to a user. When the user prints documents, Bp Premier will use their letterhead rather than the practice default.
IMPORTANT If the practice logo changes, or any details not populated by fields, you will have to change these details where they appear in all letterhead records.
- From the word processor, select Templates > Edit letterhead. The Letterheads screen will appear.
- Click Add. The Select Location/User screen will appear.
- Select the user from the list and click Select.
- Create the letterhead as you would for a normal document.
When creating a letterhead with multiple components, for example a logo with practice name, phone, and fax, you can use a table to format the elements neatly. Select Table > Insert > Table to insert a table.
- Do not use headers or footers in a letterhead . Headers and footers will not show when the letterhead is printed in a document.
- When you are finished creating your letterhead, click File > Save.
TIP Click Clone to create a user letterhead based on an existing letterhead. This saves you having to create a letterhead from scratch every time.
The following example is similar to the letterhead in the Samples database of your Bp Premier installation.
- Create a table three columns wide by one row high.
- To insert your logo into the first column, select Insert > Picture > As character. Select your logo and it will be inserted into the first column of your table. Most common picture files, such as *.jpg or *.bmp, can be inserted into the word processor.
- Type the name of the practice into the second column of your table. Change the font type and size by selecting the text and selecting the font type or size from drop down boxes on the tool bar.
- The third column in the sample letterhead contains the contact details for the practice. You will need to adjust the font size to fit a larger amount of information.
- You may also need to change the column widths. Hover the mouse pointer on the column boundary you want to move until it becomes a double-headed arrow, and drag the boundary until the column is the width you want.
See Setting up a multiple-location practice for more information.
