

Best Practice Software will communicate to all our users when a new program upgrade is available for download from the Resources page on the Best Practice Software website.
You can run a program upgrade to any Jade service pack if you are running the Summit version (1.8.4.642) of Bp Premier or later. To check the program and drug database version you are currently running on a server or workstation, log in to Bp Premier and select Help > About from the main screen.
To find out the new features in a program upgrade and review any upgrade instructions, read the release notes from the What's New page. The release notes will also tell you which Data Update you need installed before you can run the program upgrade.
Download a program upgrade
- Open the Best Practice Software website www.bpsoftware.net in a browser.
- Select Resources > Bp Premier Downloads from the menu.
- Under the Program Updates section, click the Software update for the version you want to install. The row will expand to show the update details.
- Read the prerequisite information provided to make sure your intended server or workstation meets the installation requirements.
- Click Download to download the .exe file to the default Downloads folder, or right-click download and select Save link as... or Save target as... to download the file to a known location.
- Copy the file to the Bp Premier server and double-click the file to start the upgrade.
When downloading the file, if the browser asks if you want to Run the file, always select to Save or Save As the file instead. Save the file to a known location, copy the file to a server or workstation, and then run the file. In the following example, Microsoft Internet Explorer is prompting whether you want to run or save the file. Click the arrow next to Save and select Save As instead.

For program upgrades, the file you downloaded will be an 'exe' or executable file. Check the file extension (the last part of the file name) of the downloaded file. To run a program upgrade executable, copy the file to the Bp Premier server and double-click the .exe file to start the installation. Remember to review the release notes first.
If you are installing Bp Premier for the first time, you will have been provided with an 'ISO' file by Best Practice Software, to install from scratch. See Mount and run an ISO file for more information.
Run the upgrade
IMPORTANT Before you run a program upgrade on the Bp Premier server, ensure that any workstations in remote download mode have been synchronised with the server database. See Download the Bp Premier database for remote use for more information.
- If you have User Access Control or SmartScreen enabled on Windows, Windows will ask if you want to allow the installer to make changes to your device. Click Yes.
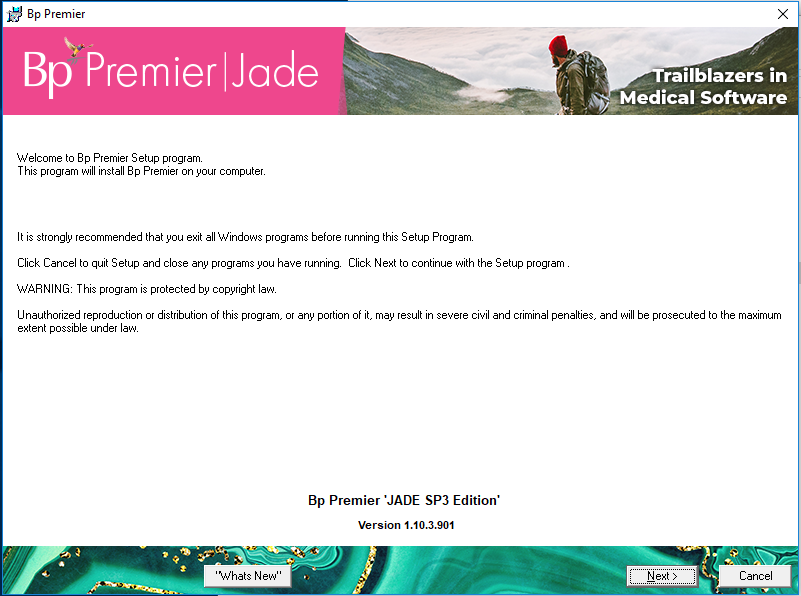
- The installation Welcome screen displays. Read the information and click Next.
- Select I agree in the EULA panel and click Next.
- Select Server or Client if you are upgrading the server or a workstation and click Next.
- In the Online Claiming panel, tick Install Bp Premier Online Claiming Module if you use Bp Premier for Medicare online claiming:
- The upgrade process will begin. The upgrade will take a few minutes to run.
- The upgrade wizard may report that Update Database failed to complete successfully. This is expected behaviour. Leave Launch Update Databases ticked.
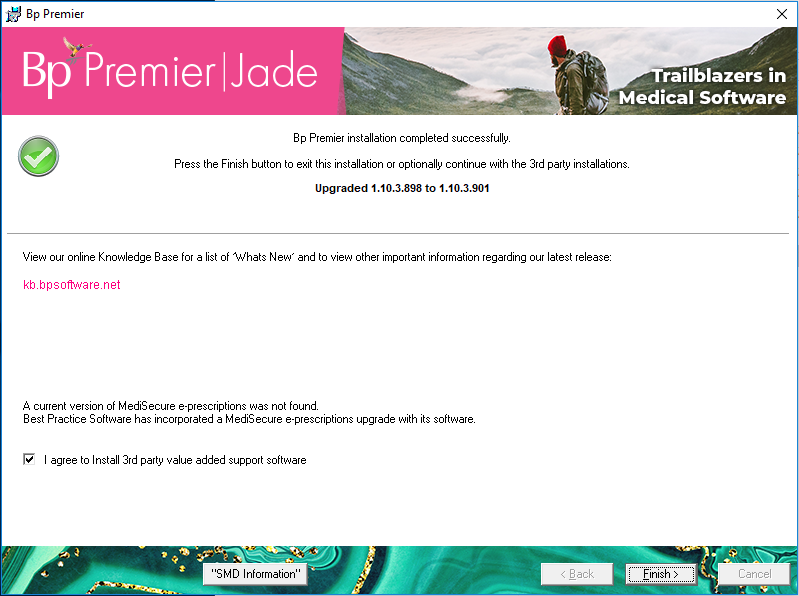
- On the Finish screen, a checkbox reading I agree to Install 3rd party value added support software displays. Checking this box and clicking Finish displays a screen where you can choose from a list of third-party software installations such as eRx and HealthLink.
- The Setup third party integrations screen displays at the end of the install. Log in with a user who has Configuration permission to enable any third party integrations for your practice. Tick all of the third-party providers shown that your practices uses and click Save. This screen is also available via Setup > Configuration > Database.
- Follow any other upgrade instructions in the release notes.
- Upgrade all workstations after the Bp Premier server.
The selection in this screen depends on whether your practice uses Bp Premier for billing, appointment book, and Medicare claiming, or is linked to another software package for these functions:
Do you use Bp Premier Management ? | Action |
|---|---|
Yes | Tick the box. You will use Bp Premier Management for Medicare online claiming. |
No | Untick the box. Online claiming will be managed by another software package. |
Unsure | Leave the box at the default setting. Medicare Online Claiming can be installed or deactivated after installing Bp Premier. |
Mount and run an ISO file
For greenfield sites that are installing Bp Premier for the first time, you will need the full installation file, which will be an 'ISO' or DVD file. A link to the larger ISO file will be provided by Best Practice Software during the onboarding process.
If the file is an 'ISO' file (the last part of the file name is '.iso'), you will need to 'mount' the file in Windows first to run the installation. Completely new installations usually require an ISO file.
Copy the .iso file you downloaded to the Bp Premier server.
- Open Windows File Explorer and browse to the folder containing the downloaded file.
- Right-click the .ISO file and select Mount.
- In File Explorer, select This PC from the left hand side. A new DVD Drive will be listed under Devices and drives, indicated by the Bp bird icon.
- Double-click the Bp DVD Drive icon to browse the contents of the ISO.
- Double-click the file Setup.exe to start the installation.


