Submit a pathology eOrder
- Open the patient record for whom you are requesting pathology.
- Select Request > Pathology from the menu. The Pathology Request screen will appear.
- If the eOrdering lab is set to the provider's preferred laboratory (Setup > Preferences > Pathology), the Pathology Request screen will show the 'eOrdering' version of the screen.
- If you have a list of Favourite tests set up, tick the tests you want to request. Ticked tests will be added to the test list on the right hand side.
- Start typing the name of the test you want to order in the search field above the Test name list. The list will be populated with tests that start with the same letters.
- To use the entered text as a general search term (which searches inside test names), click Keyword search.
- Double-click a test in the Test name list to move it to the list below. Click Further information to open up an information screen about the test.
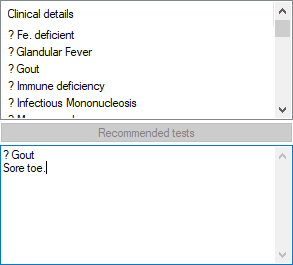
- Double-click a clinical context in the Clinical details list to move it to the list below.
- If you have imported recommended tests, the Recommended tests button will be enabled. Select a clinical context and click Recommended tests to view recommended tests for that context.
- You can also type free text clinical details into the text box.
- Tick if any of the requested tests requires Fasting, or if all tests are Non Fasting.
- Tick Pregnant if the patient is pregnant, and enter the LMP and EDC if known.
- If requesting cervical cytology, add any Site and Appearance details and whether to Send to Register.
- Change the Billing type from the default if required.
- Tick Add an entry to the actions database to automatically create a Bp Premier action to follow up the test.
- Tick Do not send to My Health Record if the patient does not want the imaging or pathology result uploaded to their My Health Record.
- Click Print and Send to print the pathology form for the patient and store the HL7 request file in the export folder.
Otherwise, select the eOrdering Laboratory from the drop-down menu at the top of the screen. The screen will change to reflect eOrdering.
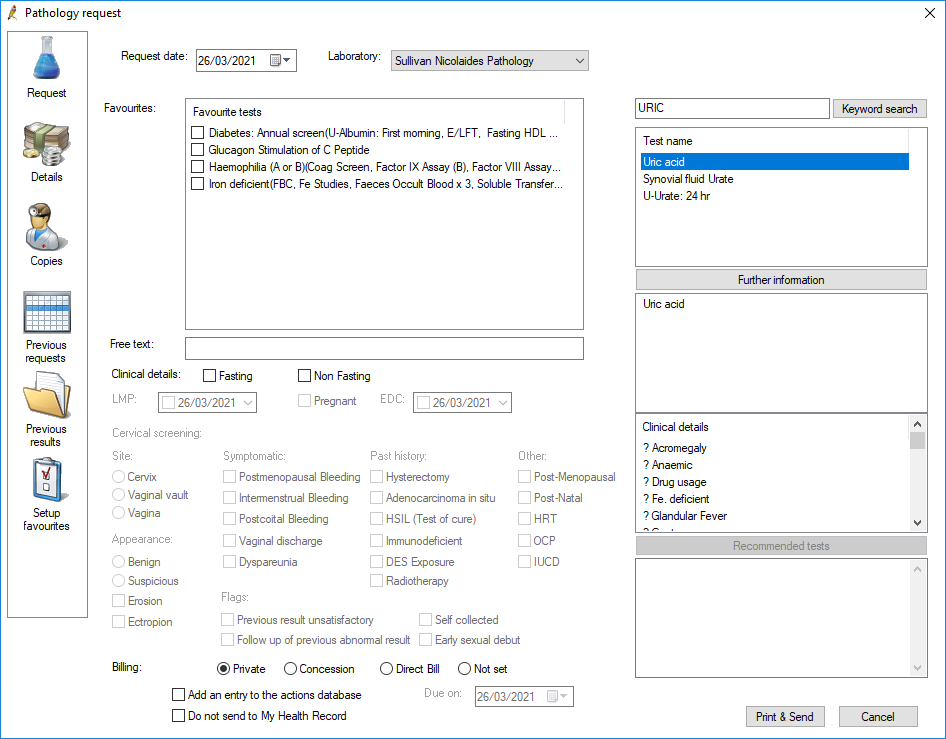
Order favourites
In Saffron SP1, The favourite tests list is made up of generic and user favourite tests configured for the eOrdering lab via the eOrdering configuration form available via Setup > eOrdering, and user favourites configured for the eOrdering lab via Setup > Preferences > Pathology.
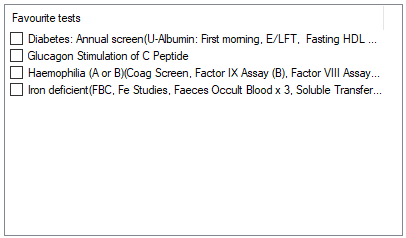
Search tests to add
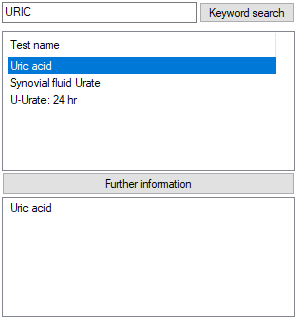
Add free-text request
If you cannot find a test through searching, you can enter a test name as Free text. The free text will be added to the list of tests.
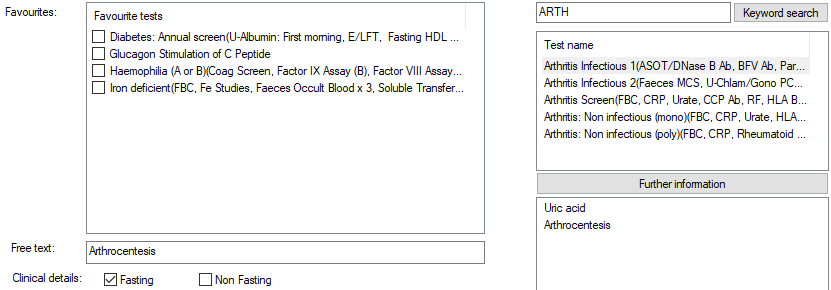
NOTE Defined tests are always preferable to entering free text.
Add clinical details
Finalise and send the request
The messaging software will pick up the request from the export folder at the next scheduled export and forward the request to the laboratory.
Submit an imaging eOrder
Submitting an imaging eOrder is the same as submitting a regular imaging investigation. See Request imaging for more information.
The only difference is that the Print button in the lower right becomes Print & Send if e-ordering is enabled for the selected laboratory. When Print & Send is clicked, the messaging software will pick up the request from the export folder at the next scheduled export and forward the request to the laboratory.
Troubleshooting
Bar codes not printing correctly
If bar codes are not printing correctly on eOrdering forms, you may be able to resolve this issue by downloading and running the Bp Fonts utility.
- Navigate to the Bp Premier downloads page.
- Find the Bp Fonts utility and click Download.
- Navigate to the folder that you downloaded BpPremier_Fonts_QH.exe to. Right click the file and select Run as administrator.
You may see a warning that BpPremier_Fonts_QH.exe may not be safe to download. You can safely download and keep the file.
If the problem has not been resolved, contact Bp Premier support for further troubleshooting.
Related topics
Last updated 23 November 2021